.png)
Easy Print from OneDrive for Business
This article describes how to configure the Easy Print terminal action to print from OneDrive for Business.
Prerequisite
A OneDrive for Business connection is configured. For more information, see OneDrive for Business Setup.
Configure Easy Print with the source OneDrive for Business
Go to MyQ > Settings > Terminal Actions.
Select Easy Print and click Edit.
If the action is not visible, to add it go to Add Action > Print > Easy Print.On the Storages tab, click Add and select Cloud Storage.
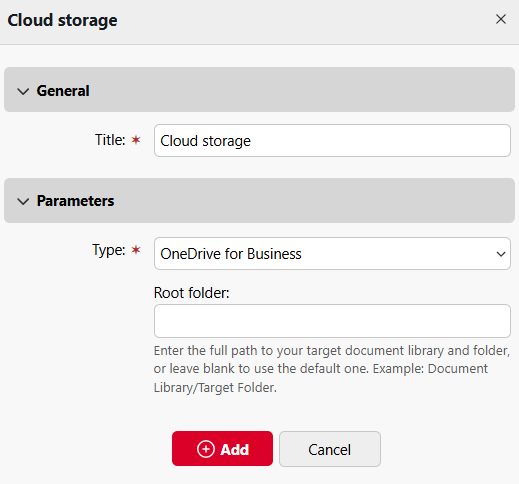
Under General, enter a title for the storage location.
Under Parameters, select OneDrive for Business as the Type.
(Optional) Specify the Root folder. The root folder is the highest level directory from which a user can print documents.
Click Add.
If an admin has connected a Cloud Storage (for example, OneDrive for Business) to Easy Print, but an individual user has not yet connected their personal account, they can still use Easy Print with OneDrive for Business set as the destination.
An email will be sent to the user's email address allowing them to connect to OneDrive for Business.
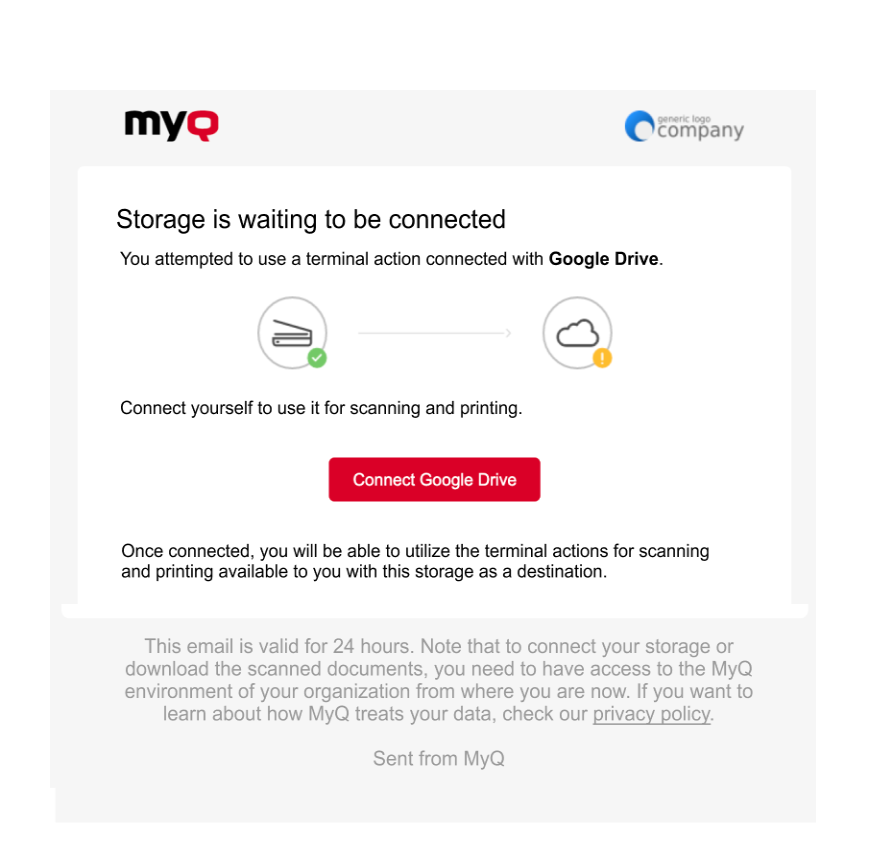
Connection email example
In a case where a user attempts to use Easy Print to print a file from OneDrive for Business, but they are not connected, and there is no email address associated with that user, the user will receive an on-screen prompt to connect their cloud storage via the web interface and try again.
This does not work with local/network directories, only with cloud storage.