.png)
Creating Quotas
To add a new quota:
On the bar in the bottom section of the Quota settings tab, click +Add Quota.

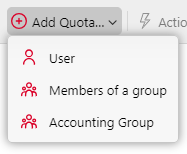
Select if the quota should be applied to a User, Members of a group, or an Accounting group. The quota editing panel opens.
On the panel, enter the quota name, set its parameters, and then click Save.
The new quota is enabled and appears on the Quota overview list (MyQ, Settings, Quota).
A user can be assigned only one direct quota. This means you can create a quota specifically for an individual User and another for a broader category such as an Accounting Group or Cost Center. If the user belongs to an Accounting Group or Cost Center, they will inherit the shared quota assigned to that group. However, if a user already has an individual quota, it is not possible to assign them an additional quota through the Members of Group category if they are part of that group.
Example:
John is a member of the Finance group and has an individual printing quota (his User quota). In addition, they share a monthly printing limit assigned to their department through the Accounting Group: Finance quota. However, it is not possible to create a separate Members of Group: Finance quota, as this would result in John having two personal quota accounts, which is not allowed.
Bulk Quota Import using CSV
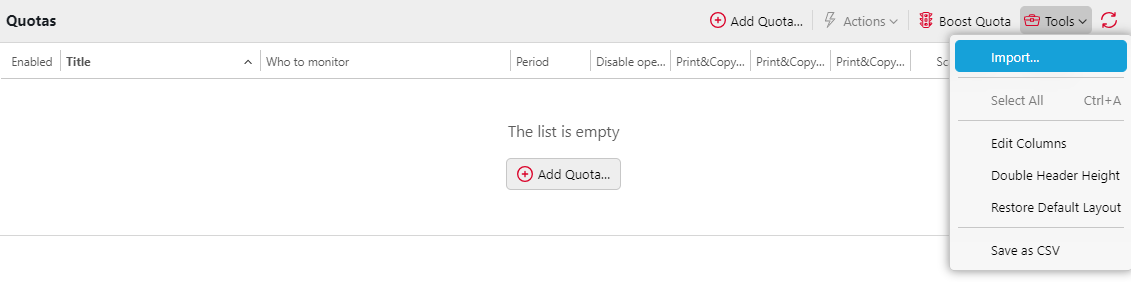
A sample CSV file called Quota_example is available in ProgramData\MyQ\Data\Import, this CSV can be populated with relevant information and imported.
You can create several quotas at once by importing them from a CSV file. Click Tools and select Import, you can then select a CSV file to import.
Set Counters and Limits with a Single Line
You can set a quota with multiple counters and limits for an entity using a single row. Separate them with the pipe character (|) and follow the same order in the counters and limits sections. For example:
NAME;MONITOR;ENTITY;COUNTER;PERIOD;LIMIT
QUOTA1;user;timcanterbury;mono|color|total|scan;day;20|30|50|10
This row creates four quotas for the user timcanterbury:
Mono: 20 per day
Color: 30 per day
Total: 50 per day
Scan: 10 per day
The information in the following table should be used to correctly format the CSV. Column order does not matter, and non-required columns can be omitted.
Column | Type | Required | Description |
name | string | Yes | Name of quota |
monitor | string
| Yes | Who to monitor. |
entity | string | Yes | User or Group When group used, full path must be specified. Example: Use same separator as for users import/export. |
counter | Unique list of comma-separated values (at least one) from:
| Yes | Monitored value. The number and order of values for Examples:
|
period | string
| Yes | Quota period. |
period start | One number, two numbers with comma or time of day. Exact format depends on Quota period type. | No | Adjusting period start. Values and default values differs based on what Quota period is selected. Day: Time of the day, 00:00 - 23:59 or 00:00 - 11:59 am/pm. Examples: 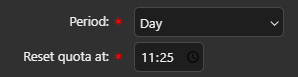 Web UI in HH:MM format. 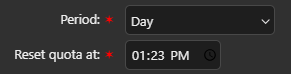 Web UI in HH:MM am/pm format. Week: Day of the week 1 - 7. Examples: Month: Day of the month, 1 - 28, default is Quarter, Half year and Year: Two values divided by
 For example Last X days: How many days from “now” will be counted into quota, 1 - 365, default is 30. |
limit | List of comma-separated positive numbers (at least one). | Yes | If The list of values in Examples:
|
enabled |
| No | Enable or disable quota Default: 1 |
warning | number (0 - 100) | No | Warning level. When quota reach this level, email is sent to the entity. Default: 80 |
disable operations |
| No | Enable or disable operations after quota is reached. Default: 0 |
valid from | date string | No | Determines from which day is the quota valid from in form of Example: |
terminate job |
| No | Terminate the current job when reached. Default: 0 |
warning recipients | List of recipients which can be username or email address, divided by comma | No | When warning level of quota is reached, these recipients will be notified by email. To send notification to current user who is triggering this notification, use Default: empty, not sending warning email to anyone. |
reached limit recipients | List of recipients which can be username or email address, divided by comma | No | When quota is reached, these recipients will be notified by email. To send notification to current user who is triggering this notification, use Default: empty, not sending reached email to anyone. |