.png)
Scan to Amazon S3
In order to scan to Amazon S3, you need to:
Set up a bucket on the Amazon console. Your scans will be stored in this bucket.
Create a user who will be used in the MyQ Web UI.
Give the created user rights to the bucket.
Fill in the Client ID and Security Key in the MyQ web administrator interface.
Set up an Easy Scan terminal action to scan to Amazon S3.
Setting up a bucket on the Amazon S3 console
You need an Amazon account to create a bucket to store the scans in. MyQ does not require any specific settings for scanning to an S3 bucket.
Login to https://console.aws.amazon.com/s3 and sign in with your Amazon account or create a new account. You need a credit card as proof of name. The credit card will also be used to charge the use of Amazon S3.
Use the https://docs.aws.amazon.com/AmazonS3/latest/gsg/s3-gsg.pdf to guide you through creating a S3 bucket.
It is recommended to use a bucket lifecycle configuration, details of how to do so can be found here.
Create a user in Amazon S3
You need to create a user to make a connection between Amazon S3 and the MyQ Web UI.
Log in to the Amazon console.
Click the arrow next to your login name and select My Security Credentials from the drop-down menu.
Click Users in the Identity and Access Management (IAM) panel and click Add user.
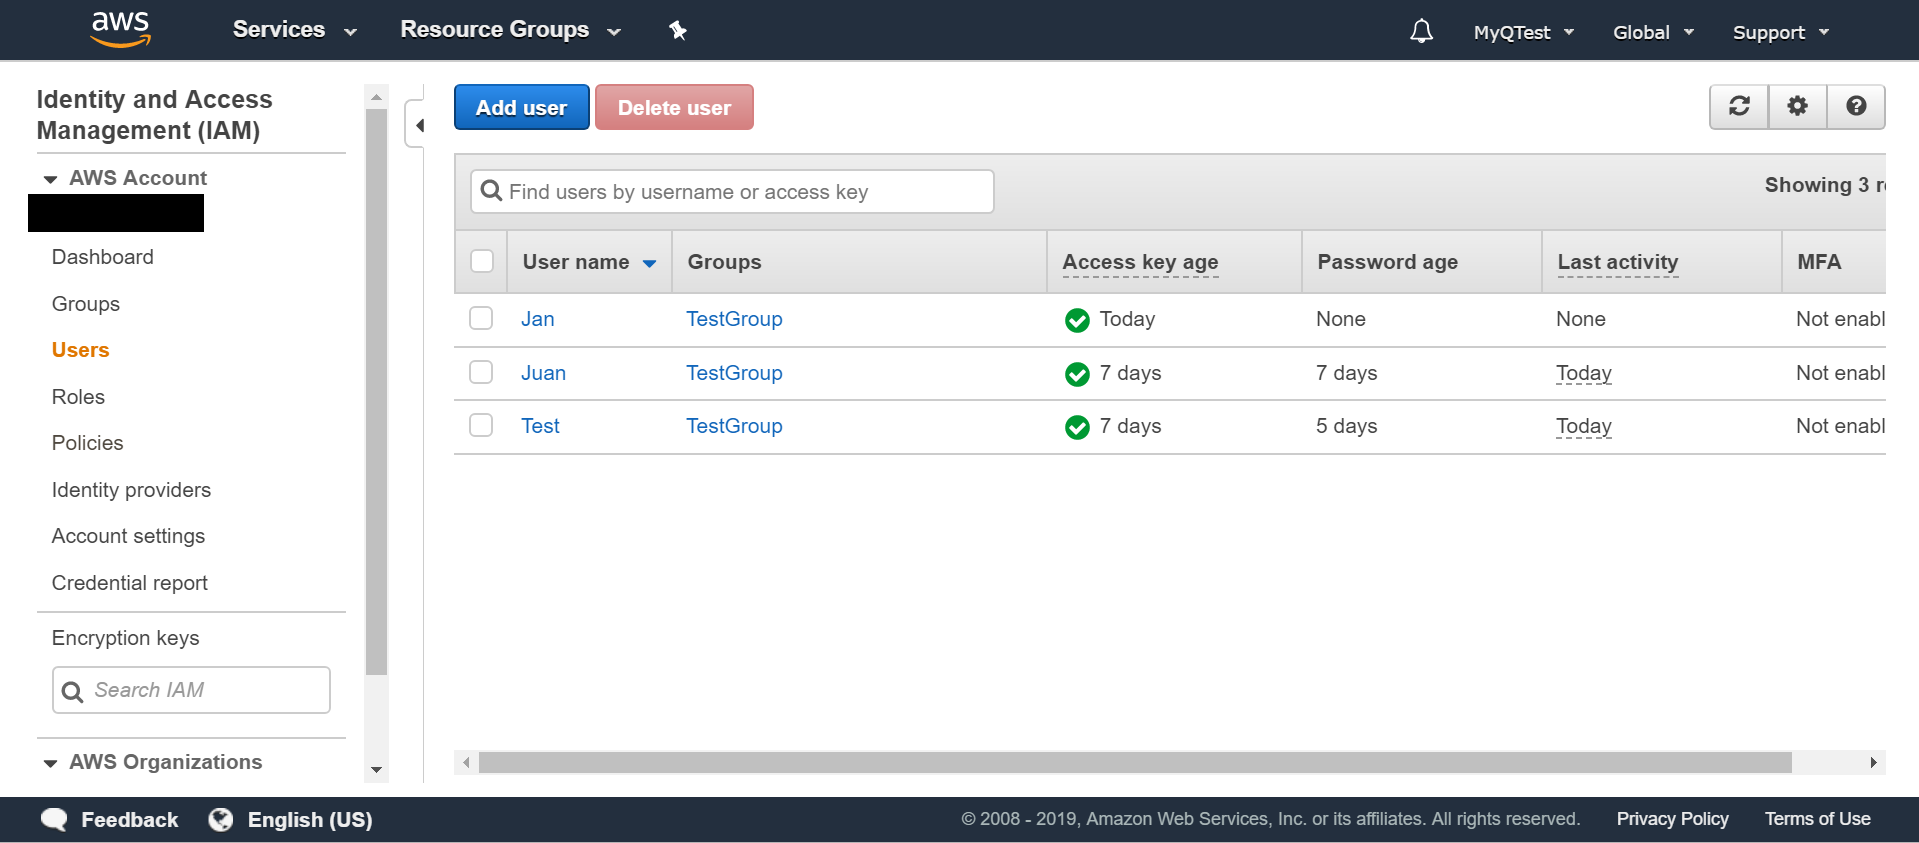
Follow the instructions to create the user.
Copy and save the Client ID and the Access Key ID of the created user, as you need them in the following steps.
Give user access rights to the bucket
To give bucket permission to the user, you can follow the official instructions, or follow the short procedure below:
Click Policies in the Identity and Access Management (IAM) pane. Click Create a new Policy. The policy settings should be set as in the image below. If you do not want to provide the user with access to all buckets: deselect Any and click Add ARN to enter a specific bucket.
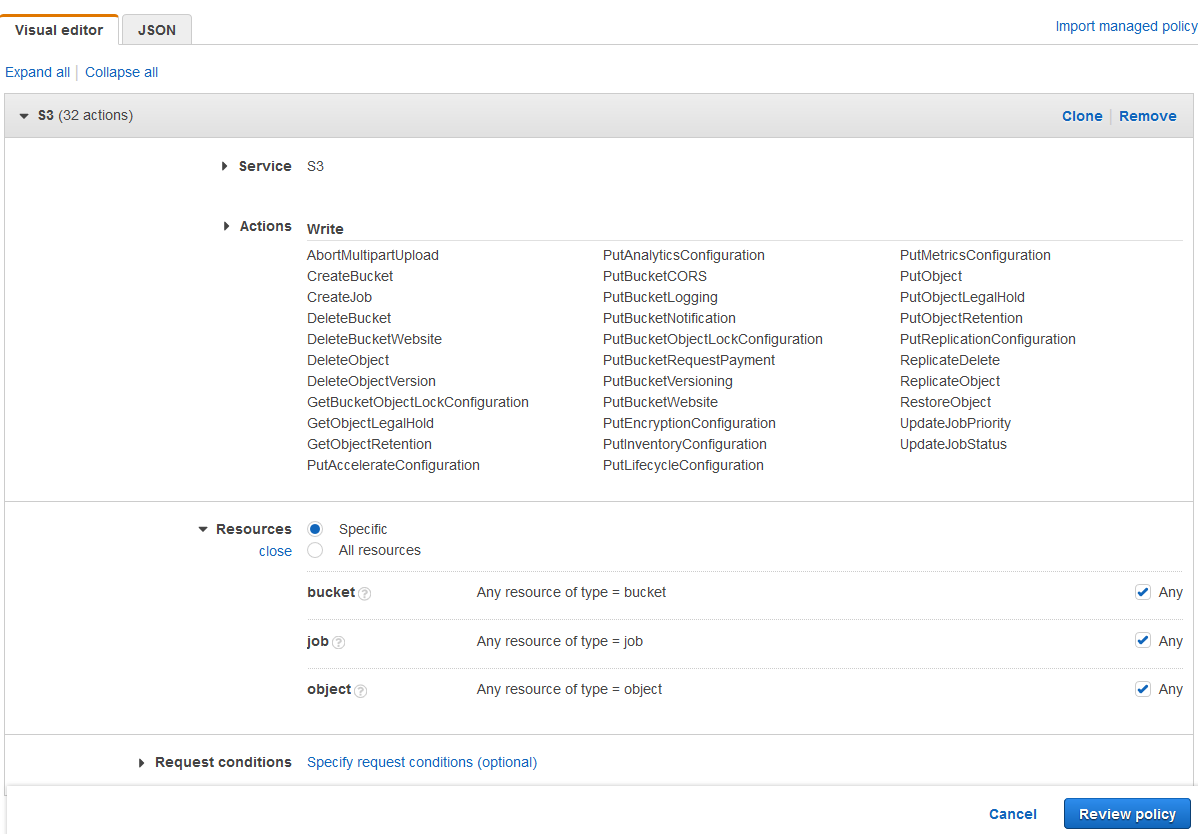
Alternatively, use a JSON. This example would provide the same permissions as detailed in the screenshot above.
CODE{ "Version": "2012-10-17", "Statement": [ { "Sid": "MyQScan2S31", "Effect": "Allow", "Action": [ "s3:ReplicateObject", "s3:PutObject", "s3:GetObjectRetention", "s3:AbortMultipartUpload", "s3:PutObjectRetention", "s3:DeleteObjectVersion", "s3:RestoreObject", "s3:PutObjectLegalHold", "s3:GetObjectLegalHold", "s3:DeleteObject", "s3:ReplicateDelete" ], "Resource": "arn:aws:s3:::*/*" }, { "Sid": "MyQScan2S32", "Effect": "Allow", "Action": [ "s3:PutAnalyticsConfiguration", "s3:PutAccelerateConfiguration", "s3:PutMetricsConfiguration", "s3:PutReplicationConfiguration", "s3:CreateBucket", "s3:UpdateJobStatus", "s3:PutBucketCORS", "s3:PutInventoryConfiguration", "s3:PutEncryptionConfiguration", "s3:GetBucketObjectLockConfiguration", "s3:PutBucketNotification", "s3:DeleteBucketWebsite", "s3:PutBucketWebsite", "s3:PutBucketRequestPayment", "s3:PutBucketLogging", "s3:PutLifecycleConfiguration", "s3:UpdateJobPriority", "s3:PutBucketObjectLockConfiguration", "s3:DeleteBucket", "s3:PutBucketVersioning" ], "Resource": [ "arn:aws:s3:::*", "arn:aws:s3:*:130665556230:job/*" ] }, { "Sid": "MyQScan2S33", "Effect": "Allow", "Action": "s3:CreateJob", "Resource": "*" } ] }Click Groups in the Identity and Access Management (IAM) pane. Click Create New Group. Give the group a name and Save it.
Click Add Users to Group and add the created user to the group.
Click the Permissions tab and click Attach Policy. Select the policy you just created and Save it all. The user now has Write access to the created bucket.
Setup a connection between MyQ and Amazon S3
Open the Connections settings tab of the MyQ Web Interface (MyQ, Settings, Connections).
Click +Add and select Amazon S3 from the menu.
Add a Title. This will be used to identify the Cloud Storage Destination.
Add the Access Key ID, the Security key that you previously copied and saved, the Region, and Bucket and click OK.
Create and set the Amazon S3 destination
Create a new destination (edit or create an Easy Scan terminal action; on its properties panel, in the Destinations tab, click +Add).
On the new destination's properties panel, under General, select the Cloud Storage option in the Type drop-down.
In the Parameters section, in the Type drop-down, select Amazon S3 or any other Title you defined in the Connections settings in the previous steps and click Save.
Fill in the fields:
Bucket: the name of the Amazon S3 bucket to store the scans in.
Region: the region you have set when creating the bucket.
Folder path: enter the path of a subfolder.