Creating Projects
To add new projects to MyQ, go to MyQ, Projects and:
On the bar at the top of the Projects main tab, click +Add project. The new project properties panel opens on the right side of the screen.

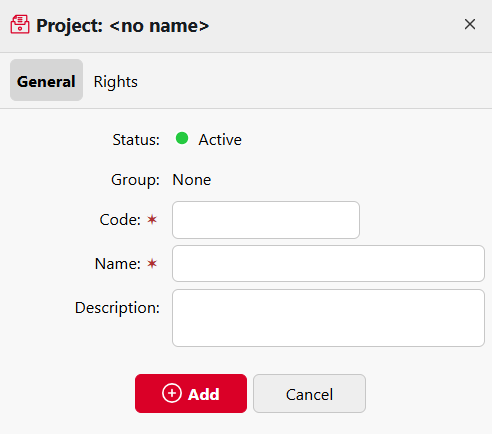
On the General tab, enter a unique project Code, the project Name, optionally its Description, and then click Save.

Click on the Rights tab, to manage user rights to the project (all users have rights to a project by default). On the bar at the top of the Rights tab, click +Add User. The Select user or group dialog box appears, where you can select the user (or group of users) that you want to provide with rights to the project, and then click OK. To remove the rights from a user, select the user and click the trash can button. The user (or group of users) disappears from the Rights list.

.png)