Adding/Removing Printers to Groups
To add a printer to a group:
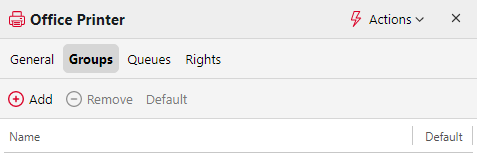
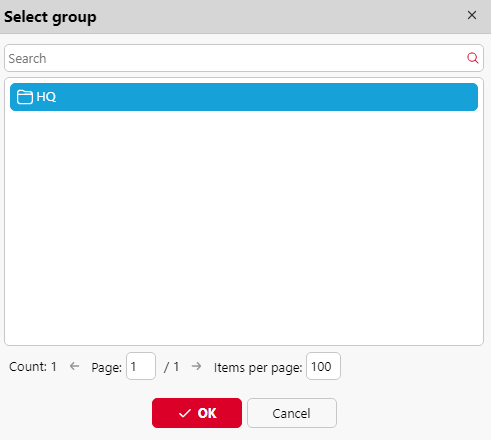
On the bar at the top of the Groups tab, click +Add. The Select group dialog box appears.

In the Select group dialog box, select the groups, and then click OK.

Printers can also be added to a group on the Printers main tab using drag and drop. Drag the printer and drop it on the group icon on the groups tab on the left side of the screen.
To remove a printer from a group:
On the bar at the top of the Groups tab, click –Remove. The group disappears from the Groups tab.
To remove selected printing devices from a group on the Printers main tab, select the group there, select the printing devices that you want to remove, click Actions, and then click Remove from group in the Actions drop-down (or right-click the printer and click Remove from group).
.png)