Quick Setup Guide
In the Quick Setup Guide widget, you can set the basic and most important features of the MyQ system:
License
Adding and activating licenses
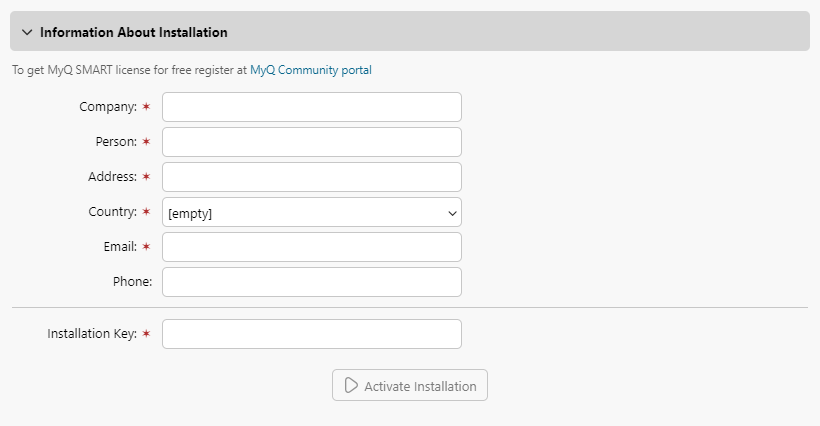
Click Enter License. The License settings tab opens. You are asked to enter the following information about your installation:

Then, Enter the installation key in the field and activate your licenses.
You can also register in the MyQ Community portal and request a free MyQ SMART license.
Administrator email

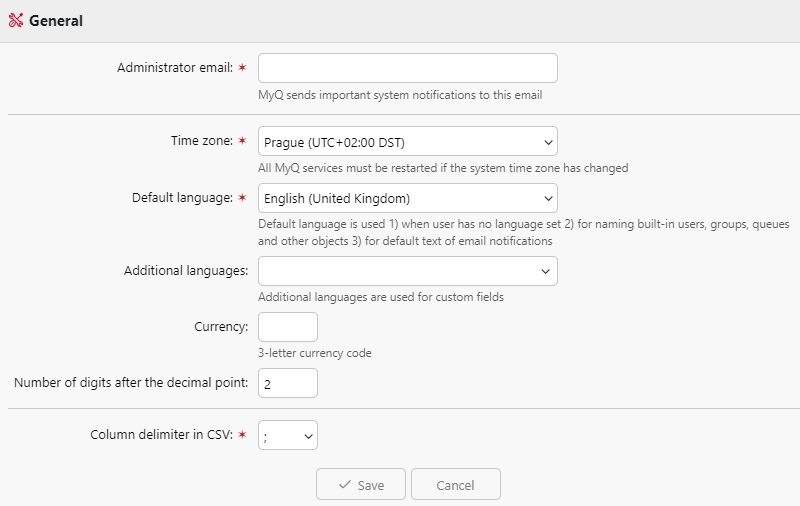
By clicking Enter the administrator's email, you open the General settings tab, where you can set the administrator email. Important system messages (disk space checker warnings, license expiration etc.) are automatically sent to this email.
Outgoing SMTP server
By clicking Configure the outgoing SMTP server, you open the Network settings tab, where you can set the outgoing SMTP server.
Printers
Adding printers:
By clicking Discover Printers, you open the Printer Discovery settings tab, where you can discover and add printing devices.
By clicking Add printers manually, you open the Printers main tab, where you can manually add printing devices.
Activating added printers:
Click Activate to activate all the added printing devices.
Users
By clicking Add users manually, you open the Users main tab, where you can manually add users.
By clicking Import users, you open the Users synchronization settings tab, where you can import users from the MyQ Central server, from LDAP servers, or from a CSV file.
.png)