.png)
Printing to MyQ
This topic discusses the settings that need to be configured outside of MyQ to enable MyQ’s essential functions, such as monitoring jobs and detecting users.
Microsoft Windows and MacOS settings are described below. Although the procedure of installing and setting the print drivers is different on other operating systems, the principle remains the same. You need to add a printer or print port, set the MyQ server's IP address or hostname, and set the name of the queue that jobs are sent to via this port.
Windows settings
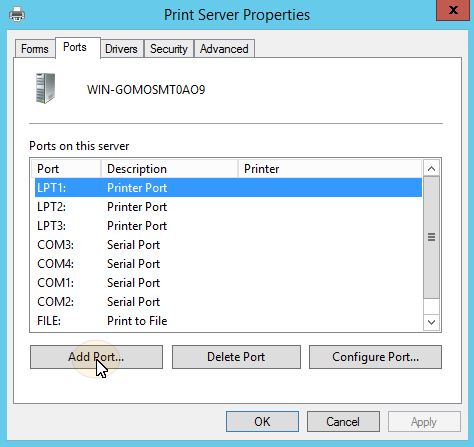
In Windows, under Devices and Printers, select any printer, and then click Print server properties. The Print Server properties dialog box appears.
In the dialog box, open the Ports tab, and then click Add Port. The Printer Ports dialog box appears.
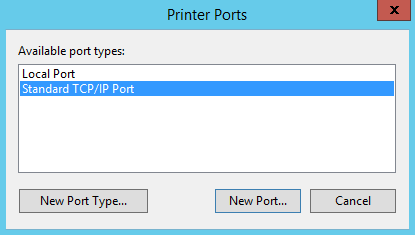
In the Printer Ports dialog box, select Standard TCP/IP Port.
Click New Port. The Add Standard TCP/IP Printer Port Wizard dialog box opens.
Click Next.
Enter the IP address or the hostname of the MyQ server.
Optionally change the Port Name.
Click Next. You are asked to provide additional port information.
Under Device Type, select Custom.
Click Settings. The Configure Standard TCP/IP Port Monitor dialog box appears.
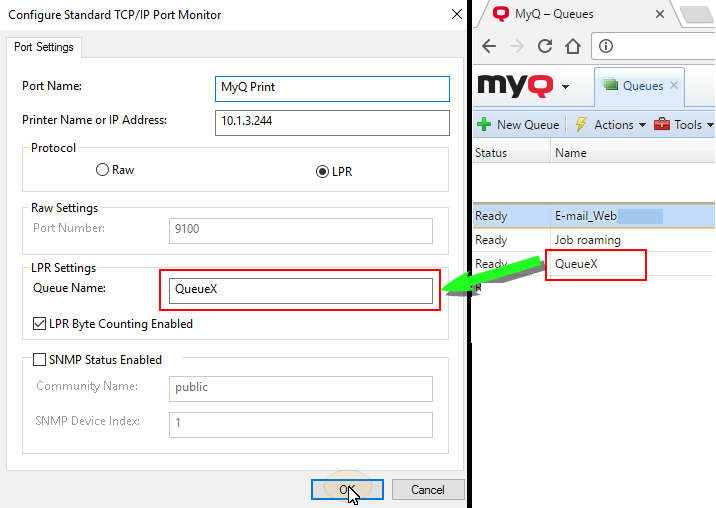
In the dialog box, under Protocol, select the LPR option. Under LPR settings, enter the name of the MyQ queue where you want to print. Select the LPR Byte Counting Enabled option. Click OK after the settings are changed.
Back on the Add Standard TCP/IP Printer Port Wizard dialog box, click Next. You are informed about the characteristics of the new port.
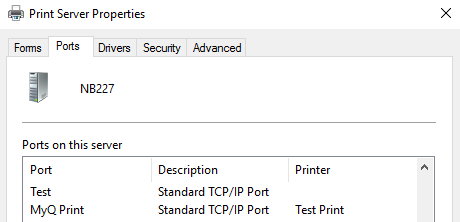
Click Finish. The new port is added to the ports list in the Ports section of the Print server properties dialog box.
MacOS settings
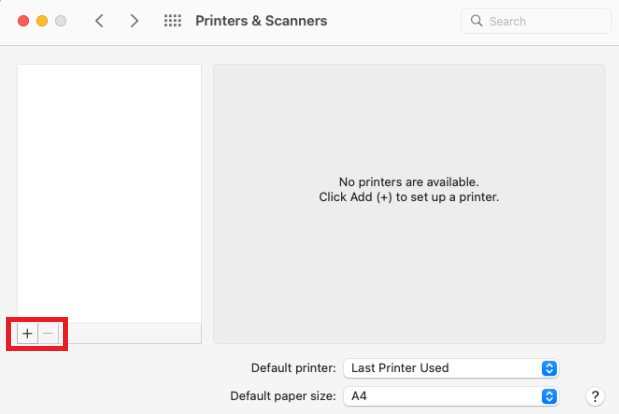
Go to Apple menu > System Preferences, and then click Printers & Scanners.
Click the plus button (+) to add a new printer.
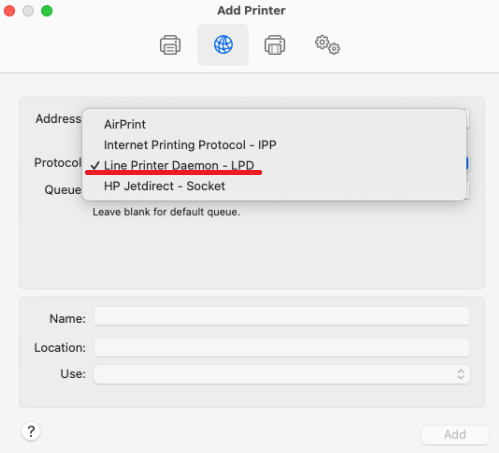
In the Protocol field, select Line Printer Daemon - LPD from the list.
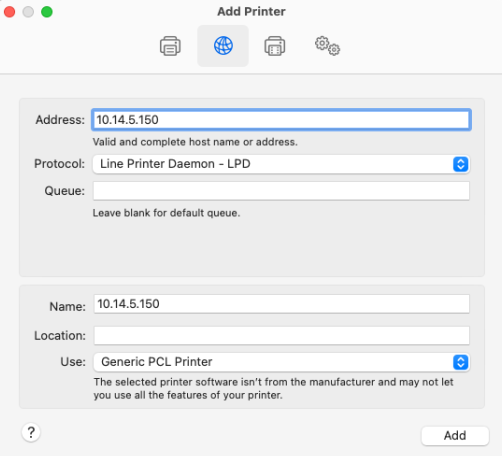
In the Address field, add the Hostname/IP address of the print server.
In the Queue field, add a queue name according to the MyQ server setting.
Add a Name and a Location for your printer. In the Use field, select a printer driver from the list. Click Add to set up the printer.
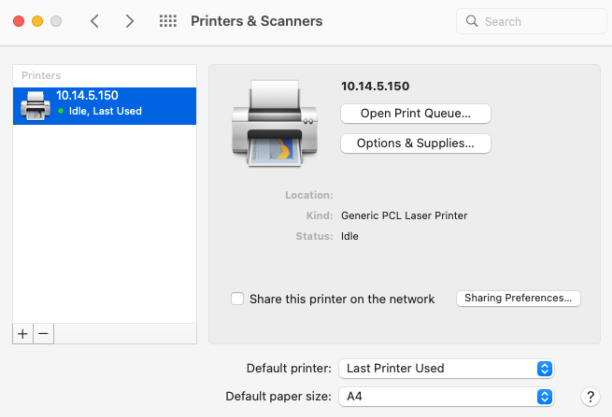
Once the printer is set up, it appears on the Printers & Scanners list.
Methods of Printing
This topic presents several options for printing with the MyQ system.
There are other printing options, related to advanced features of MyQ, such as running MyQ on multiple servers, or to a variety of embedded terminals that can be purchased together with the MyQ system. Information about these options is provided in the respective guides describing these features and in the MyQ embedded terminal manuals.