.png)
Entra ID (Azure AD) with Microsoft Graph Setup
Microsoft Entra ID, previously known as Azure Active Directory (Azure AD), is a cloud-based identity and access management solution. This article explains how to integrate Microsoft Entra ID with MyQ to provide user authentication and other services.
Create a Microsoft Entra ID Connection
Go to MyQ > Settings > Connections.
Click Add and select Microsoft Entra ID from the list.
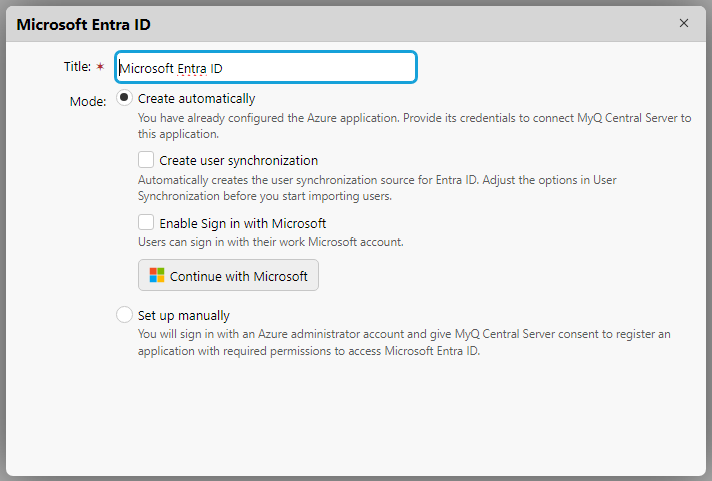
Enter a Title for your connection and select your preferred Mode:
Create automatically: MyQ X configures the Azure application required for accessing Entra ID user information.
Set up manually: Configure the Azure application manually. Select this option if you want to manage all aspects of the integration setup.
Proceed to the corresponding section below.
Create Automatically
This mode allows the administrator to have MyQ create the Enterprise Application (Service Principal) on their tenant and grant this application permissions to access Entra ID users.
Considerations
If you are hesitant to grant even temporary administrative access for the creation of a client secret, the automatic connection procedure to ODB will not be available for use. In such cases, it's advisable to manually create an application within your organization's Azure environment and configure the connection to MyQ X by yourself (mode Set up manually). This approach ensures that you maintain full control over the application's permissions and the security aspects of the connection, aligning with your organization's specific security policies and compliance requirements.
Prerequisites
For creating the service principal on the customer’s tenant, Application Administrator or Cloud Application Administrator roles are required.
For granting admin consent to the service principal, the Global Administrator role is required.
To finish all steps in the automatic setup, the Global Administrator role is required.
Steps to automatically set up the Microsoft Entra ID application
The administrator signs in with their Azure Administrator account. MyQ X Entra ID Connector service principal is created on the tenant.
The administrator grants the delegated permission to manage Azure applications.
Permissions requested in this step:
Application.ReadWrite.All(to retrieve a Security key)Directory.Read.All(to read the default domain name in the connected tenant so that it can be displayed in MyQ).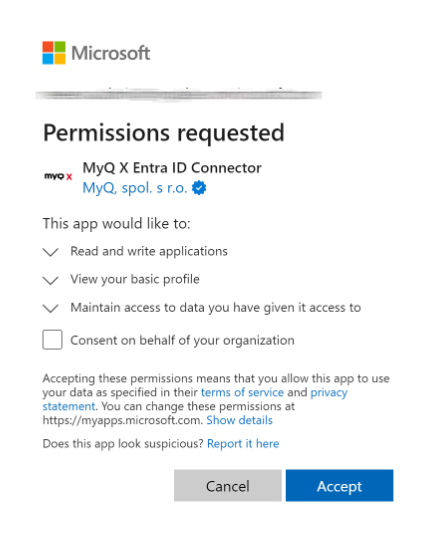
The administrator grants the MyQ X Entra ID Connector enterprise application permissions to read Users and Groups and grants Admin consent.
Permissions requested in this step:
Group.Read.AllUser.Read.All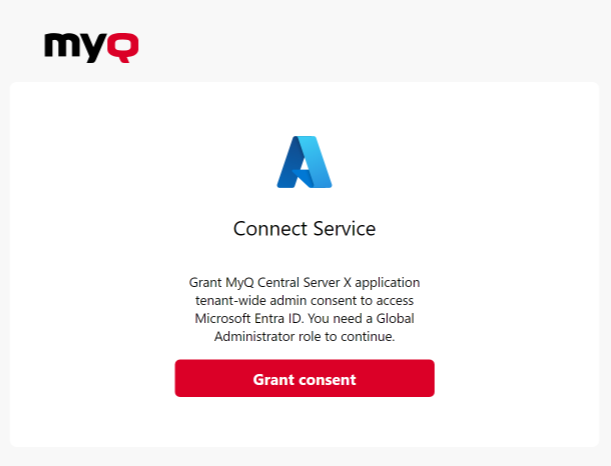
Once the process is completed, the Microsoft Entra ID connector is saved, and the connection details are securely saved in MyQ.
Re-authorizing the Entra ID Connection
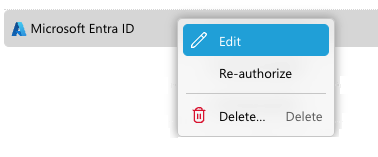
The automatic connection to Entra ID can be changed or switched to manual after it has been created. By right-clicking on the connection, the Re-authorize option will be available in the context menu.
Application Management
The validity of the Secret is 2 years. Be sure to rotate the key when its expiration is due. You can do this with the Re-authorize option in MyQ. When the secret is within 30 days of expiry, MyQ will send a Health Check warning.
Credentials for service principals are not visible in the Azure portal. They can be managed via PowerShell or Microsoft Graph API.
In case you need to revoke the app’s access or currently used Secret, you can simply delete the entire MyQ X Entra ID Connector enterprise application in Azure and create a new one with the Re-authorize option in MyQ.
Additional information
If the automatic setup is completed again, it does not create a new instance of the application on the tenant, but the current application is updated (e.g. new secret on the service principal on the tenant created). If the MyQ X Entra ID Connector application has been removed from Azure, it is created again.
Service principal (enterprise application) is created on the tenant after Step 1 (without necessary permissions which are granted in Step 2). Step 2 can be finished later (by right-clicking the MyQ X Entra ID Connector and selecting Re-authorize).
To better understand what MyQ is doing in this mode, Microsoft explains this method in their Developer documentation – Understand user and admin consent from the perspective of the application developer
Manual Setup
Microsoft Entra ID Application Configuration
Log in to the Microsoft Azure portal and go to App registrations.

Click New registration to create a new application or select an existing application.
If you are creating a new application, set the Name and in Supported account types select Accounts in this organizational directory only ({Tenant name} only - Single tenant) option if all your users are members of your tenant. Multitenant application can also be used if required, depending on the target audience of the application.
You can skip the Redirect URI settings for now (described in step 7). Click Register to create the application.
From the application’s Overview screen, go to API Permissions and select Microsoft Graph API and the required type of permission (Delegated or Application) as illustrated below.
The following permissions are required:
Microsoft Graph \ Group.Read.AllMicrosoft Graph \ User.ReadMicrosoft Graph \ User.Read.All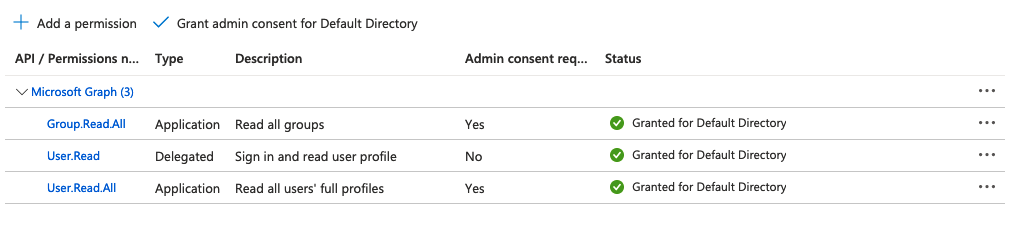
Note that the system will also automatically request the following OpenID Connect scopes during user authentication to enable enhanced identity verification.
openid(allows sign-in and read basic user profile)email(access to user’s email address)profile(access to user’s basic profile information)
The status "Granted for Default Directory" needs to be set on all permissions that require them. All needed permissions can be added and configured with the buttons at the top of the list of permissions.

Use "Add a permission" to add new permission.
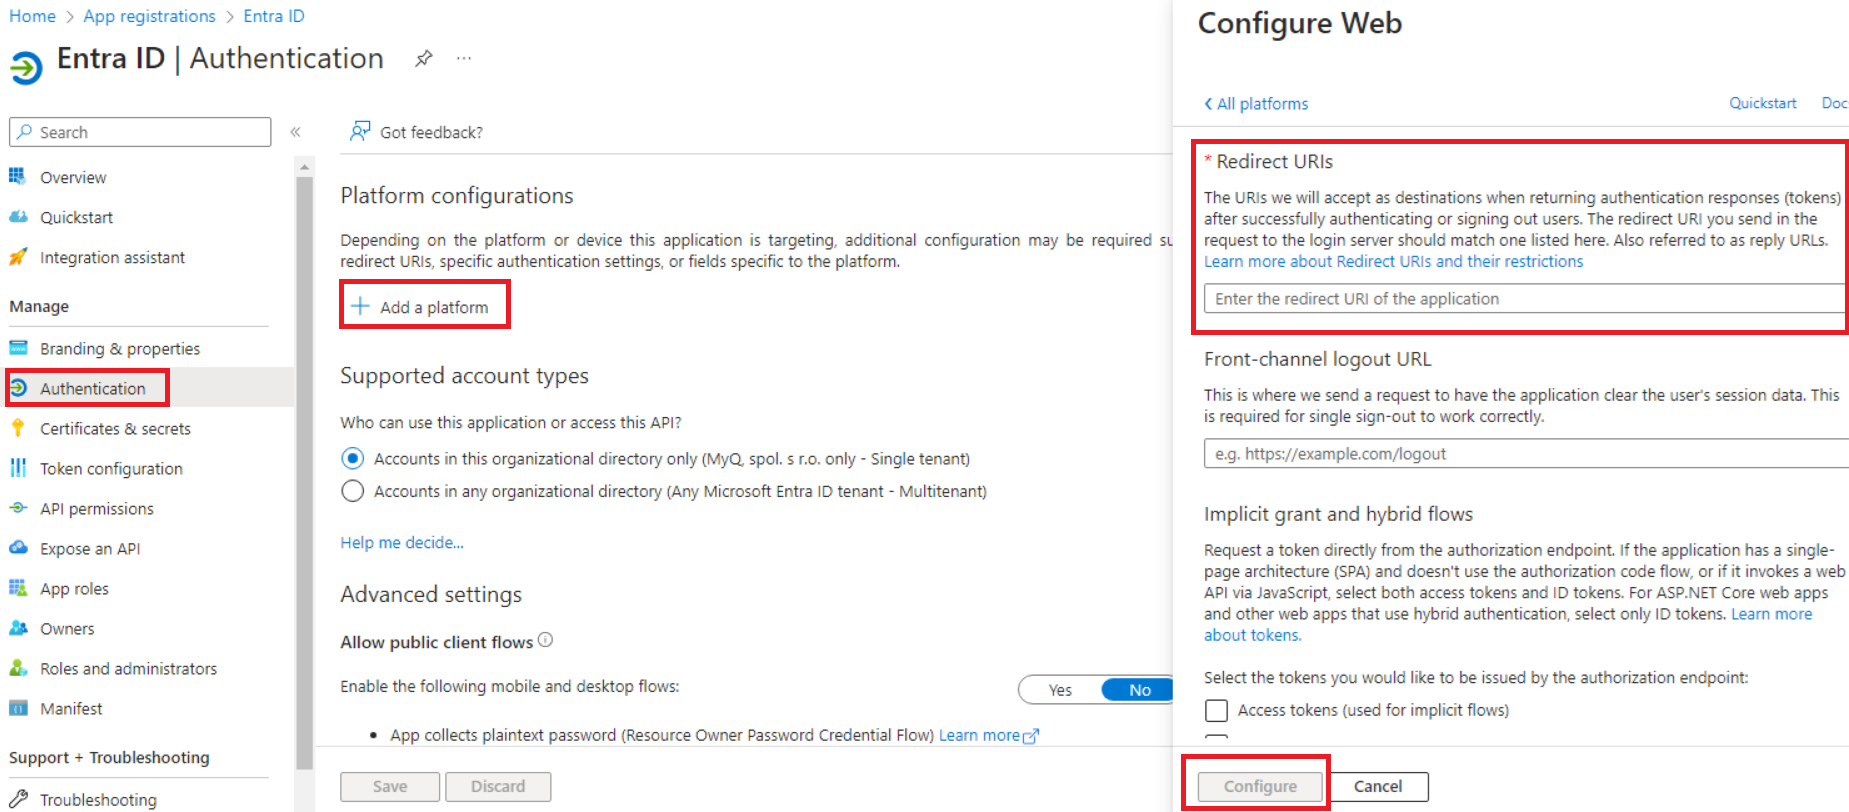
Use "Grant admin consent for Default Directory" to set the status of the permission as "Granted for Default Directory".Go to Authentication, and under Platform configurations click Add a platform.
Select Web, and list all redirect URLs for your MS Entra ID application. For the actual URLs, use the hostname (and port) of your server in the following format:
https://{hostname:port}/authAdditionally, click Add a platform and select Single-page application. Add the following redirect URL, ensuring that the trailing slash is included:
https://helper.myq.cz/openid/
All servers that use Entra ID sign-on must have a redirect defined in the Azure application. Make sure to perform this step for every print server and central server in your deployment.Click Configure for each platform configuration.
In the application’s overview page, save the Application (client) ID and the Directory (tenant) ID, as they are needed for the MyQ configuration.
Click Add a certificate or secret next to Client credentials and complete the following steps:
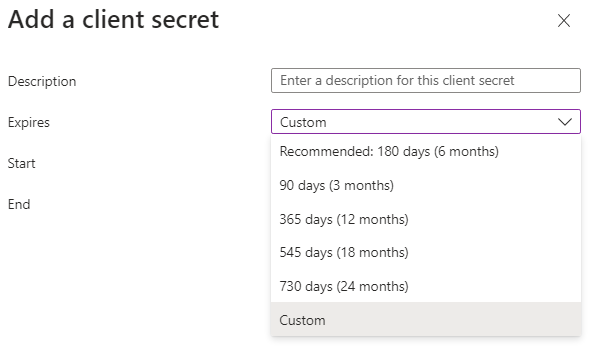
Click New client secret.
Add a Description.
Set the expiration for the key.
Click Add.
Save the client secret key Value, because you need it for the configuration in MyQ and you cannot retrieve it later.
Configuration in MyQ
Go to MyQ, Settings, Connections to connect MyQ to Microsoft Entra ID. Click Add and select Microsoft Entra ID from the list. In the pop-up window, fill in the required information:
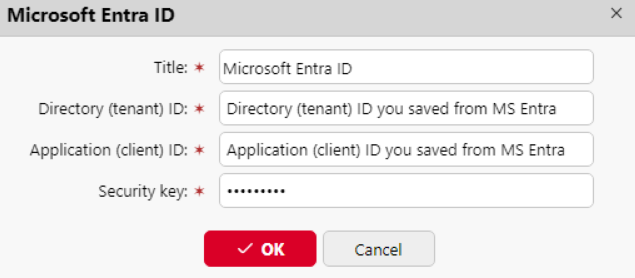
Title: Add a title for the connection.
Tenant ID: Add the Directory (tenant) ID you saved from Microsoft Entra.
Client ID: Add the Application (client) ID you saved from Microsoft Entra.
Security key: Add the (secret) Value you saved from Microsoft Entra.
Click Save and your Microsoft Entra ID connection is now complete.
Microsoft single sign-on
To use Microsoft single sign-on:
Enable "Use as an authentication server" in Microsoft Entra ID synchronization source - Users tab prior to synchronizing users or enable Microsoft Entra ID as an authentication server manually for selected users in their details on the Users main page.
In the Microsoft Entra ID authentication server settings, enable displaying the 'Sign in with Microsoft' login method.
When Microsoft single sign-on is enabled, the Sign in with Microsoft button is always displayed on the MyQ Web UI login page, but only users who use Microsoft Entra ID as their authentication server can use it to log in. Any attempt to use Microsoft single sign-on by a user who does not use the Microsoft Entra ID authentication system will end with an error.
What happens when a user tries to sign in with Microsoft in the MyQ Web UI:
The user clicks the single sign-on button.
If the user is not signed in to Microsoft in the browser, they are forwarded to the Microsoft login page to sign in, and then logged into MyQ with the provided account.
If the user is signed into two Microsoft accounts, they are forwarded to the Microsoft login page and are given a choice to select the account to continue with.
Logout in MyQ Web UI signs out the user only locally, not from Microsoft.
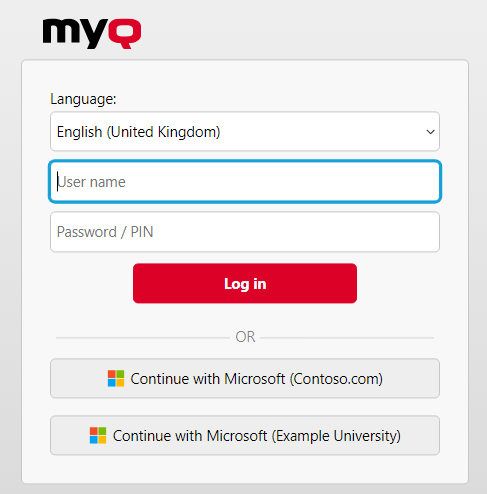
In cases where multiple Entra ID authentication servers are configured, the login page will display multiple "Continue with Microsoft" buttons.
Limitations
Users using Microsoft Entra ID authentication server cannot sign in on the MyQ Web User Interface with a PIN. However, they can use their PIN on the MyQ Embedded terminals and MyQ Desktop Client up to version 10.0.
Synchronization and authentication through Microsoft Entra ID with Microsoft Graph can now be used via the following steps:
Adding a Microsoft Entra ID authentication server in MyQ, Settings, Authentication Servers.
Adding a Microsoft Entra ID synchronization source in MyQ, Settings, User Synchronization.
Entra ID (Azure) Multi-Tenant Synchronization and Authentication
You can now use multiple Entra ID tenants in MyQ environments to synchronize and authenticate users. This is particularly useful in shared print infrastructure settings, such as those found in the public sector, where multiple organizations manage printers from a single location, while each uses its own Entra ID.
Follow one of the processes as described above but repeat it to set up multiple instances. Ensure that clear and unique naming is given to each tenant, which will allow users to identify which is relevant for their use.