Setup
Installing MyQ on the server in the cluster (all nodes)
On each cluster node, do the following:
Run the MyQ installation file and install MyQ (details can be found here).
Make sure that the time zone set on the MyQ server is the same as the time zone set on each node).
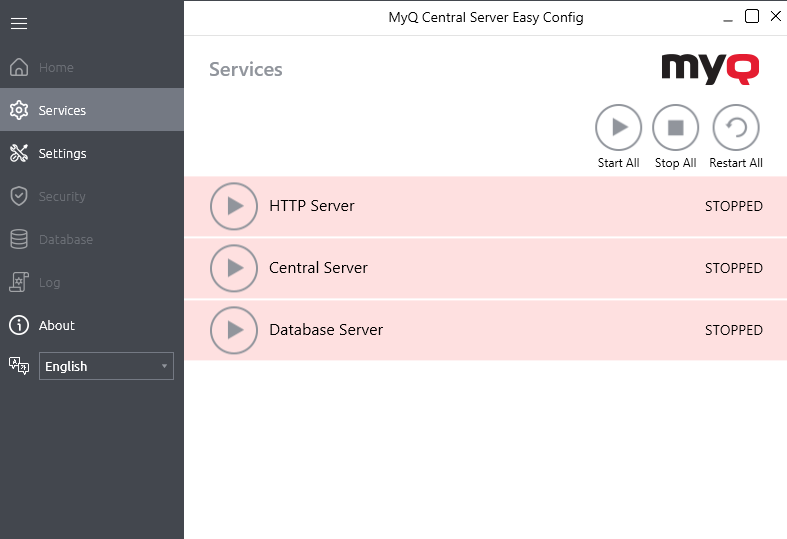
Stop All MyQ services in the MyQ Easy Config application.
Setting services to manual startup (all nodes)
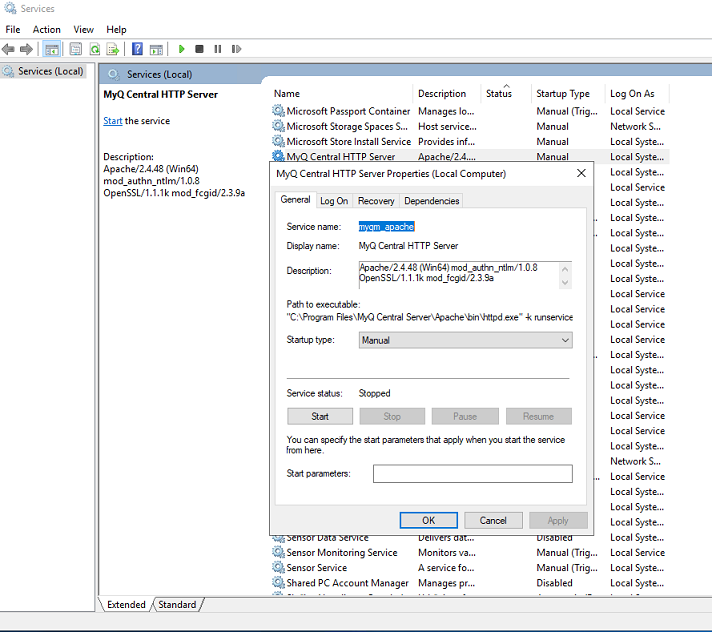
All services used by the MyQ server need to be set to manual startup, on every node.
The following services need to be changed this way:
MyQ Central HTTP Server
Firebird Server - MasterInstance
MyQ Central Server
Creating the MyQ server MS Cluster role (Failover Cluster Manager)
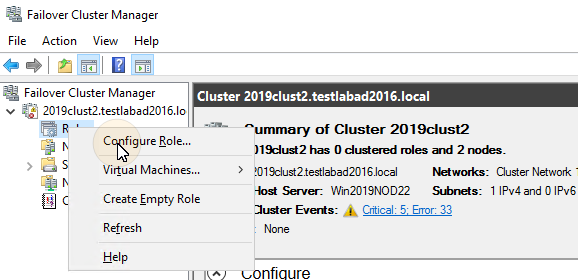
Open Failover Cluster Manager and do the following:
Right-click Roles and select Configure Role on the shortcut menu. The High Availability Wizard opens.
Click Next. The Select role tab opens.
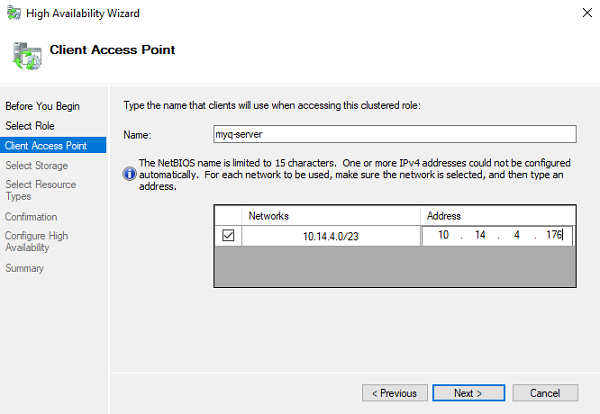
On the tab, select Other Server, and click Next. The Client Access Point tab opens.
On the tab, type a new Name for the MyQ server cluster, for example myq-server, then enter an unoccupied IP address from the network to be used by the MyQ server role, and lastly click Next. The Select Storage tab opens. MyQ will use the hostname for communication with terminals, as the SMTP server in MFPs etc.
On the tab, select the storage volumes that you want to use for the MyQ server.
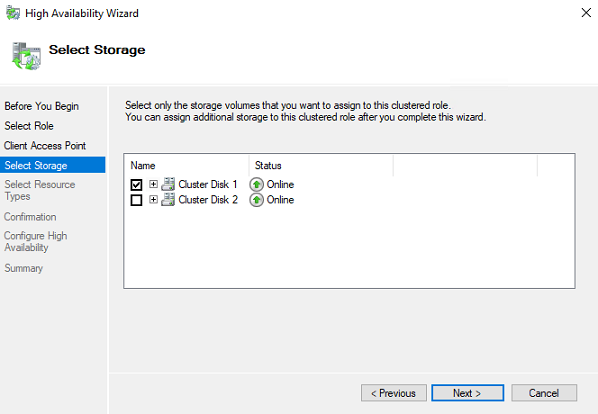
Click Next to finish the installation process.
.png)