To use your Print Server as an IPP printer for Windows, macOS, Linux, and Chromebook clients, enable and configure print job submission using IPPS.
The maximum job size received over IPPS is unlimited.
Prerequisites
-
IPP client is enabled on both the server running Print Server and the client machines.
On Windows 10/11, this should be enabled by default, but on Windows Servers, you need to enable it explicitly. Go to Control Panel - Programs - Turn Windows features on or off. On the Features tab install "Internet Printing Client", and restart the machine. -
The MyQ certificate is installed on all client machines that will be printing.
Enable Jobs via IPPS
-
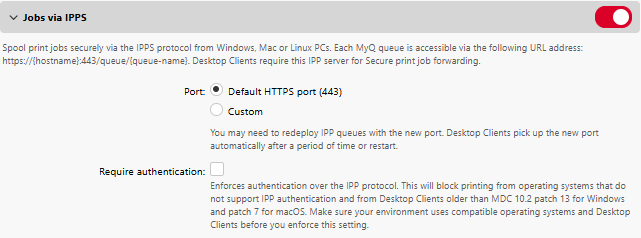
Go to MyQ > Settings > Jobs > Jobs via IPPS.
-
Enable jobs via IPPS.
-
(Optional) Specify a custom port.
By default, IPPS uses the same port as the Web Server. -
(Optional) Enable Require authentication. When this option is enabled, IPP communication must include authentication headers to print to this endpoint.
-
Click Save.
-
Then, on each IPP client, set the following URL:
https://{hostname}:{port}/queue/{queue-name}
Notes:
-
PM Server reserves ports for IPP (631) and IPPS (717). Do not use them.
-
IPPS configuration changes take effect when you click Save. At this point you will be prompted to confirm the restart of the HTTP Router. Then you should reconfigure all IPP clients to use the new settings.
View IPPS Hostname and Port
You can easily view the IPPS URL, with hostname and port, for your Print Server. Go to MyQ > Queues > Add Queue, and check the Jobs via IPPS section of the Job Receiving tab.
Configure IPPS on Client Systems
User Authentication
IPP supports user authentication out of the box. During printing, the IPP server can prompt the client to authenticate by entering credentials for an existing MyQ account.
You can enforce authentication for all IPP and IPPS print jobs by enabling the Require authentication option. When enabled, the IPP server rejects any print job that does not include a valid authentication header.
When Require authentication is enabled:
-
IPP communication must include authentication headers to print to this endpoint.
-
When printing from MyQ Desktop Client, authentication is performed silently using the bearer token.
-
When printing without MyQ Desktop Client, the user is prompted for their MyQ credentials.
Enabling Require authentication blocks printing from:
-
Operating systems that do not support IPP authentication.
-
MyQ Desktop Client versions older than MDC 10.2 patch 13 for Windows and patch 7 for macOS.
Standard Print Options
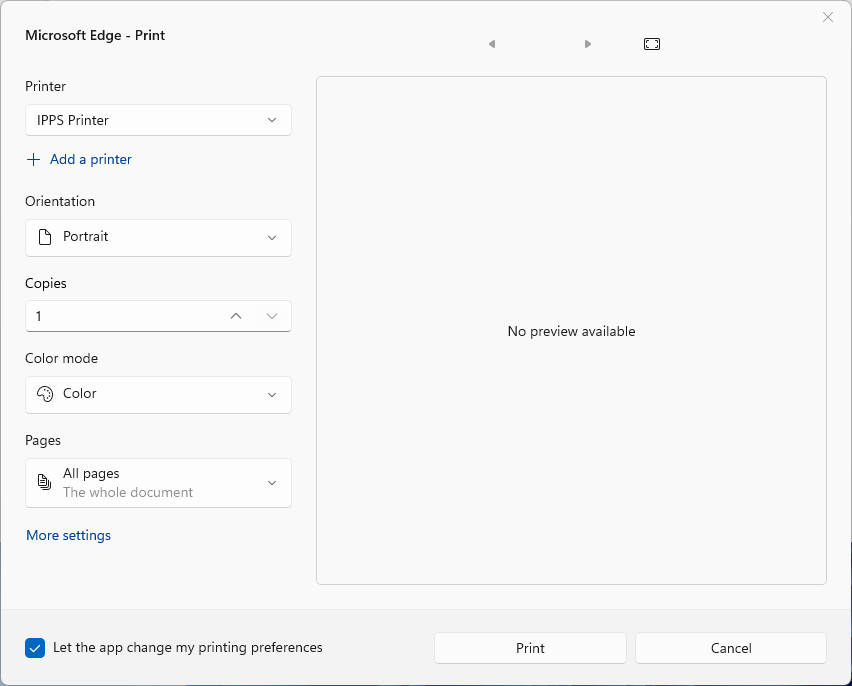
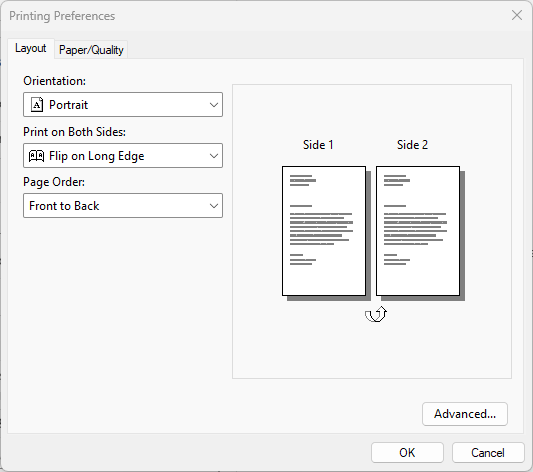
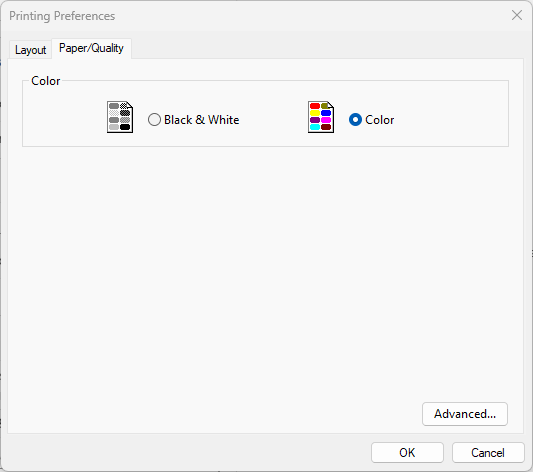
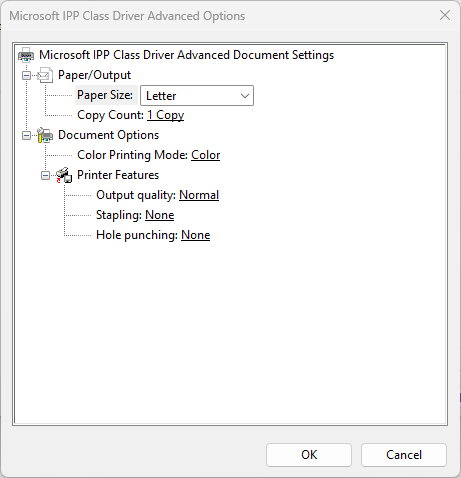
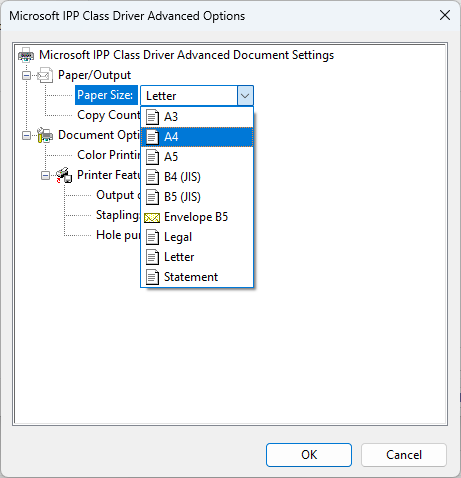
The IPPS server offers a set of standard print options that users can change when printing. By default, the available options are:
-
Copies
-
Color mode: Color, Monochrome, Grayscale
-
Pages: All pages, Custom (page range selection)
-
Duplex (Print on both sides): Flip on Long Edge, Flip on Short Edge, None (Simplex)
-
Page order: Front to back, Back to front
-
Paper sizes: A3, A4, A5, B4, B5, Folio, Ledger, Legal, Letter, Statement, Other (any other
unrecognized format)
The available options and their names differ depending on the OS used and the application for printing. Some apps might display options that MyQ does not support; these are ignored during processing and release.
Extended Print Options with IPPS Pass-Through
When a queue is configured to use IPPS pass-through, MyQ propagates the full set of IPPS capabilities from the target printer to the queue. This allows client operating systems to display additional printer-specific options, such as:
-
Advanced stapling and punching combinations
-
Tray or media source selection
-
Other printer-specific IPPS options supported by the device and the client OS
The available extended options depend on what the printer reports through IPPS and what the client OS renders in its print dialog. This is particularly relevant for environments using Windows Protected Print (WPP), where printing is performed exclusively over IPPS.
See also: Job Receiving Tab
Finishing Options
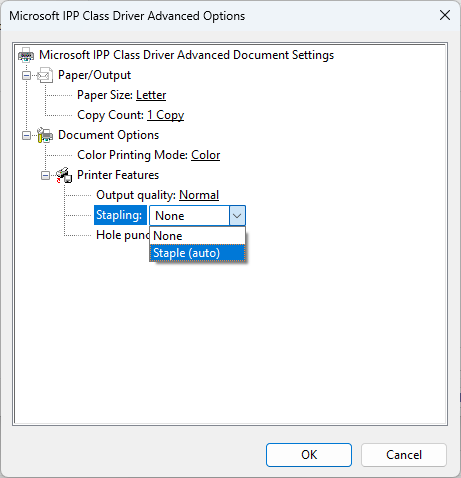
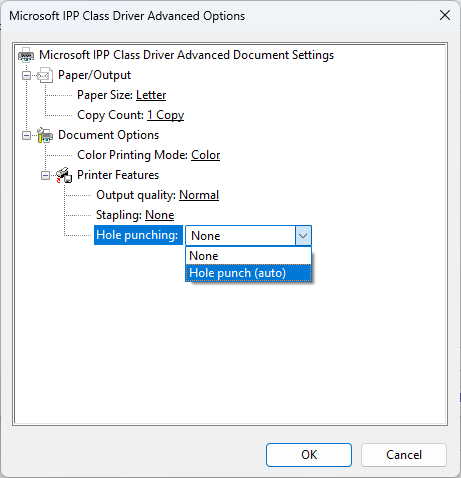
As mentioned previously, the support for advanced finishing parameters is limited. The IPPS currently supports Staple Yes (Auto) and No, and Hole punch Yes (Auto) and No.
When "Yes (Auto)" is selected, the final staple and punch positions will be determined by the device on which the job is eventually released. The default settings of the device will be used, based on the regional device settings and the installed finisher type.