
The MyQ Kiosk App runs as a device-locked interface enabling users to log in and release their print jobs at a Release Station. This procedure describes how to set up an Android tablet as a dedicated kiosk device running the MyQ Kiosk App, and connect it to your Release Station.
Prerequisites
-
A factory-resettable Android tablet
-
Network credentials
-
MyQ Release Station connection details
During set up scan the QR code to install the MyQ Kiosk App:
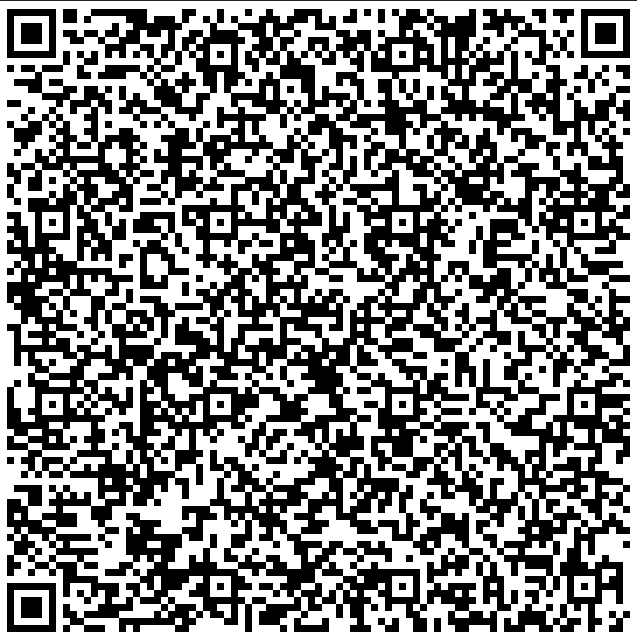
For manual installation, download the installer here:
Part 1: Set Up the Android Tablet
-
Factory reset the device.
-
On the Welcome screen, do not tap Start.
Tap a blank part of the screen seven times in rapid succession.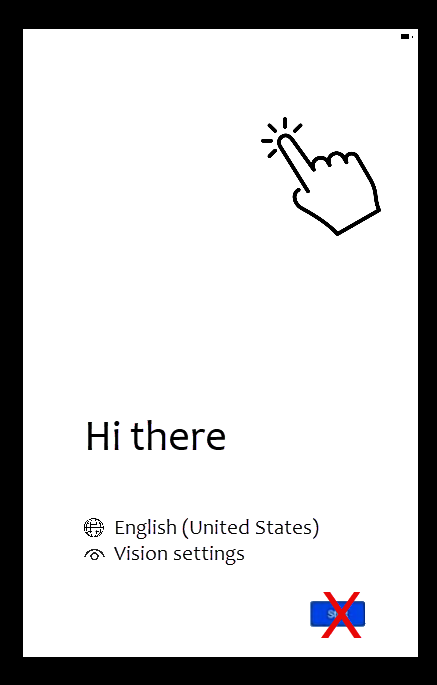
The QR scanner opens.
-
Scan the QR code to download the MyQ Kiosk App installer.
-
Connect the tablet to your network, and select that network.
The Getting Your Tablet Ready screen appears. -
Continue through the steps, and restart the device if prompted. When you see This Device Belongs to Your Organization, tap Next.
-
When the screen shows Let's set up your work device, tap Accept & continue.
-
When the message This device isn't private appears, review the privacy information and tap Next.
-
On the Google Services screen, choose your preferred options and tap Accept.
-
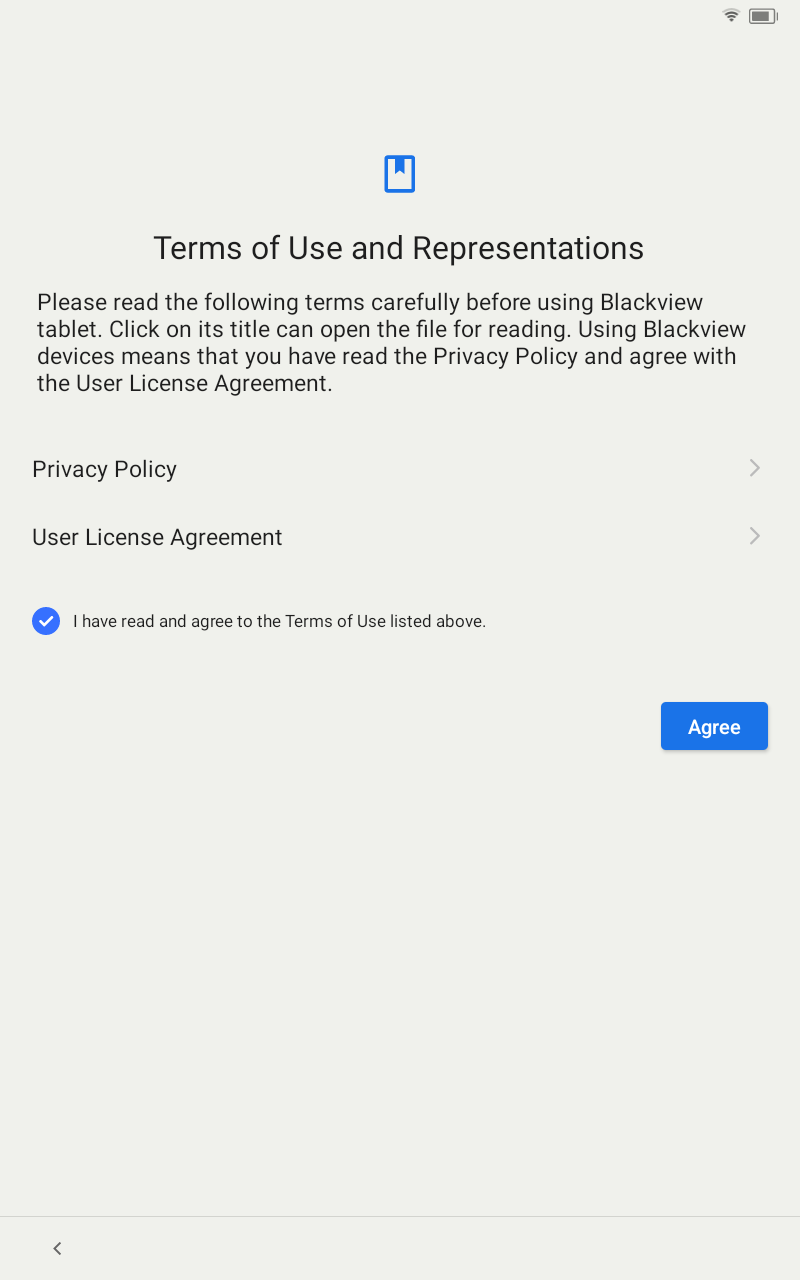
On the Terms of Use and Representations screen, agree to the Privacy Policy and User License Agreement.
-
Under System Navigation, select a navigation mode and tap Next.
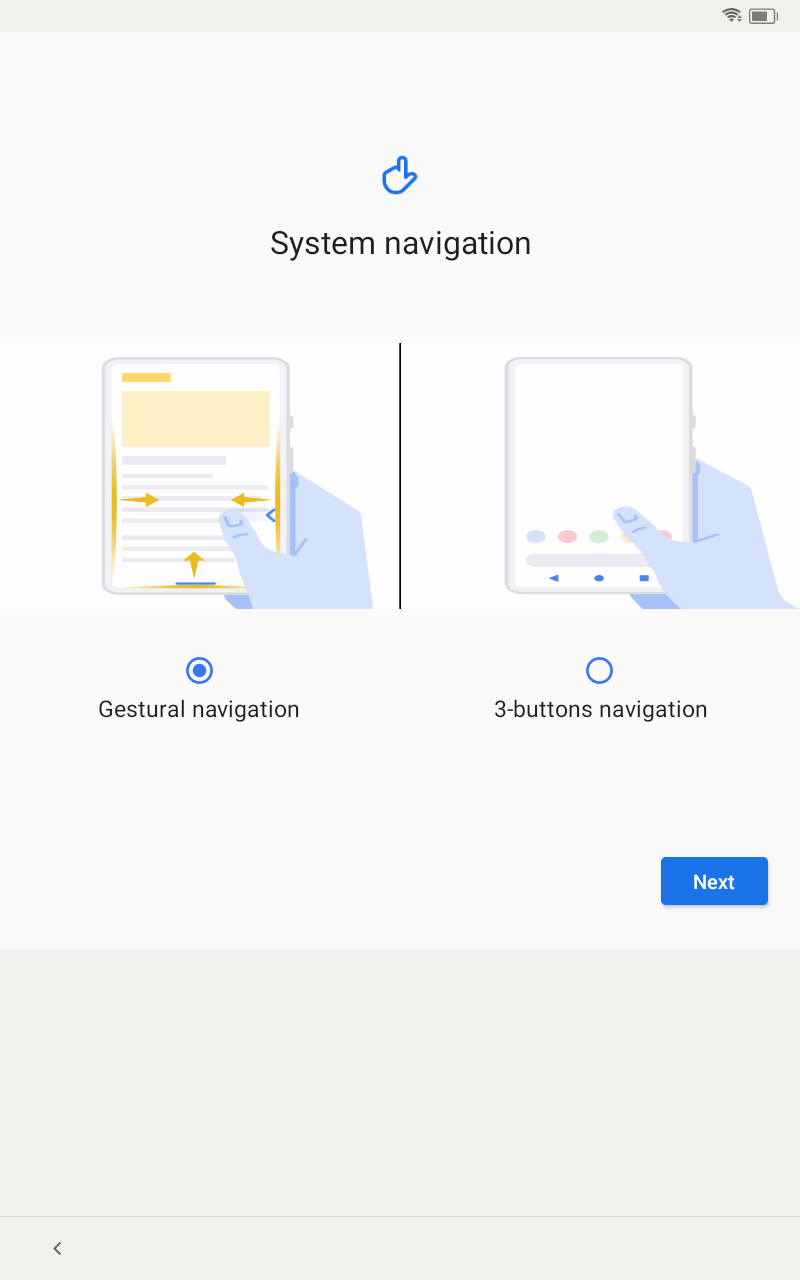
Setup is complete. The device returns to the home screen.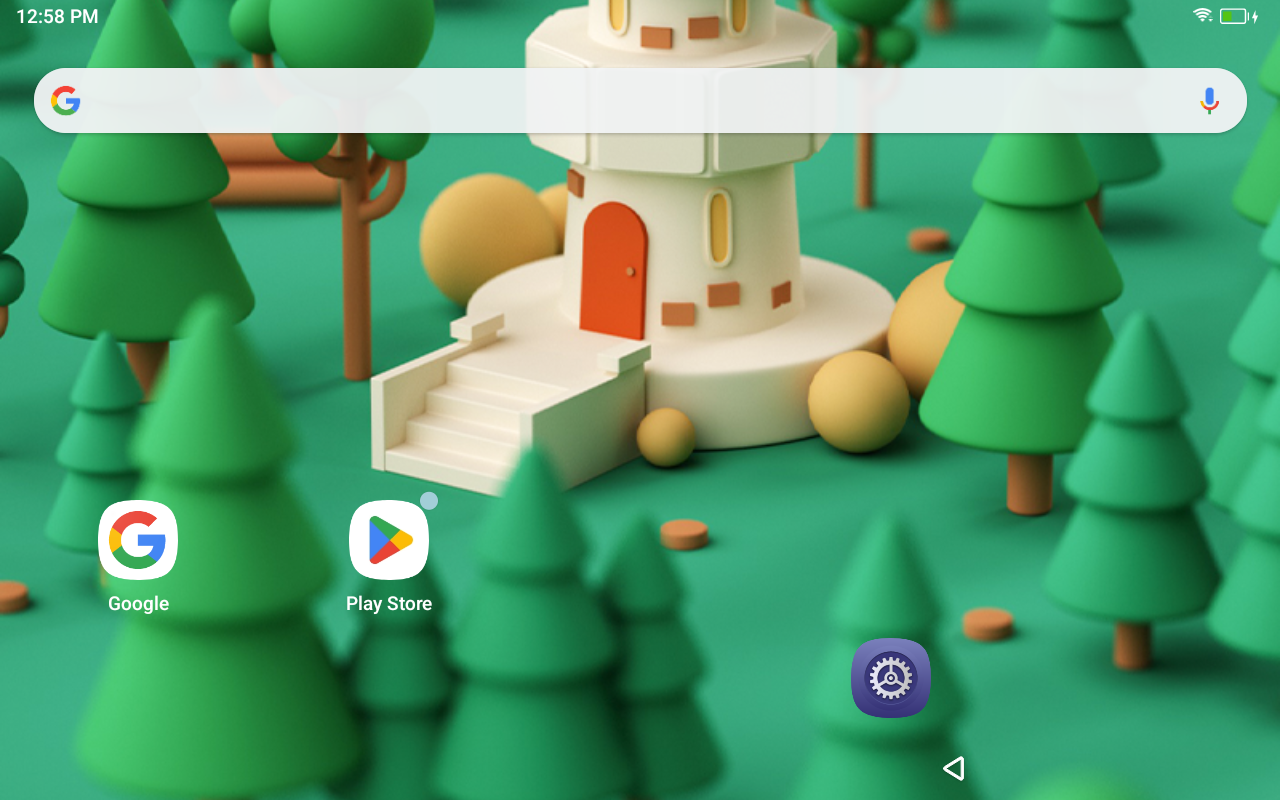
-
To verify your setup, swipe up on the home screen and verify that MyQ Kiosk appears among your apps.
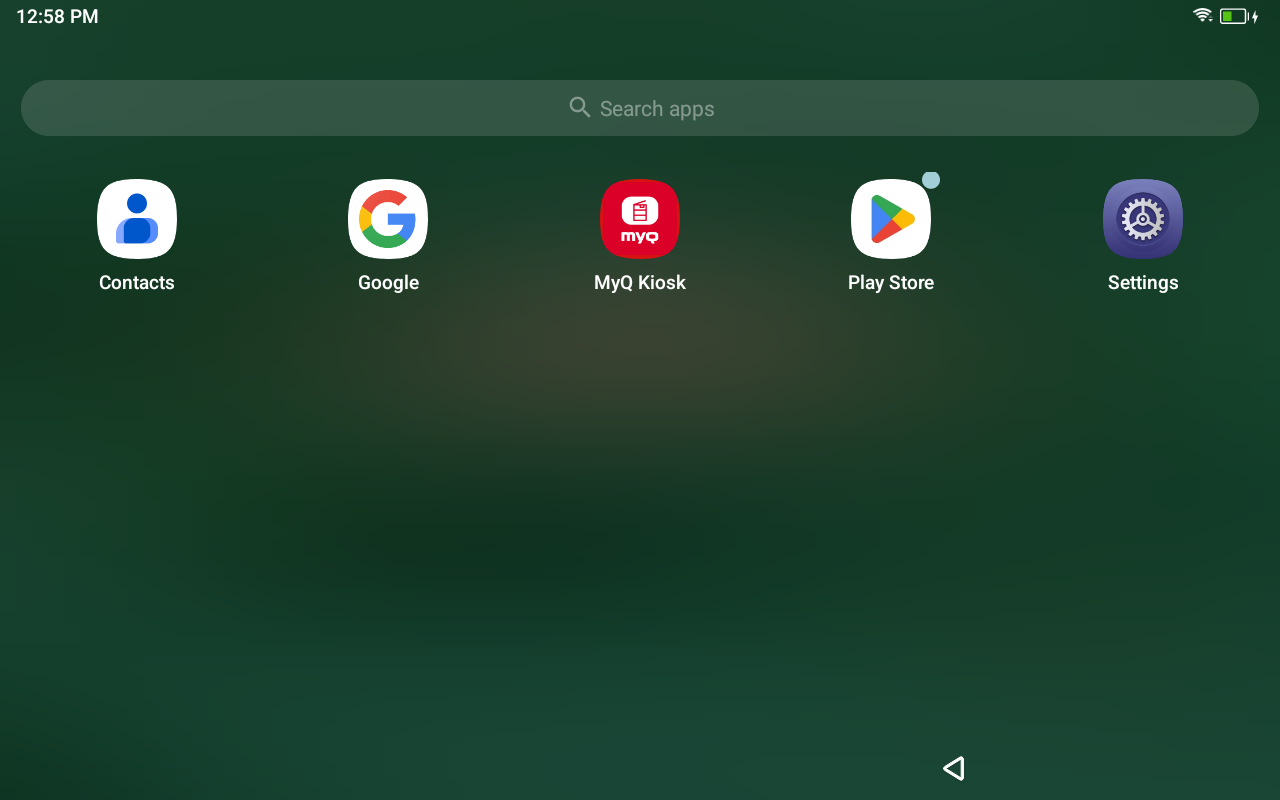
Next, configure the MyQ Kiosk app.
Part 2: Configure the MyQ Kiosk App
-
From the home screen, swipe up to open the app list and tap MyQ Kiosk. The app opens with the message MyQ Kiosk is not configured yet. Ask an administrator to set the kiosk address.
-
To enter admin mode, tap the bottom-left corner of the screen seven times in rapid succession, then enter the admin PIN (default:
1234).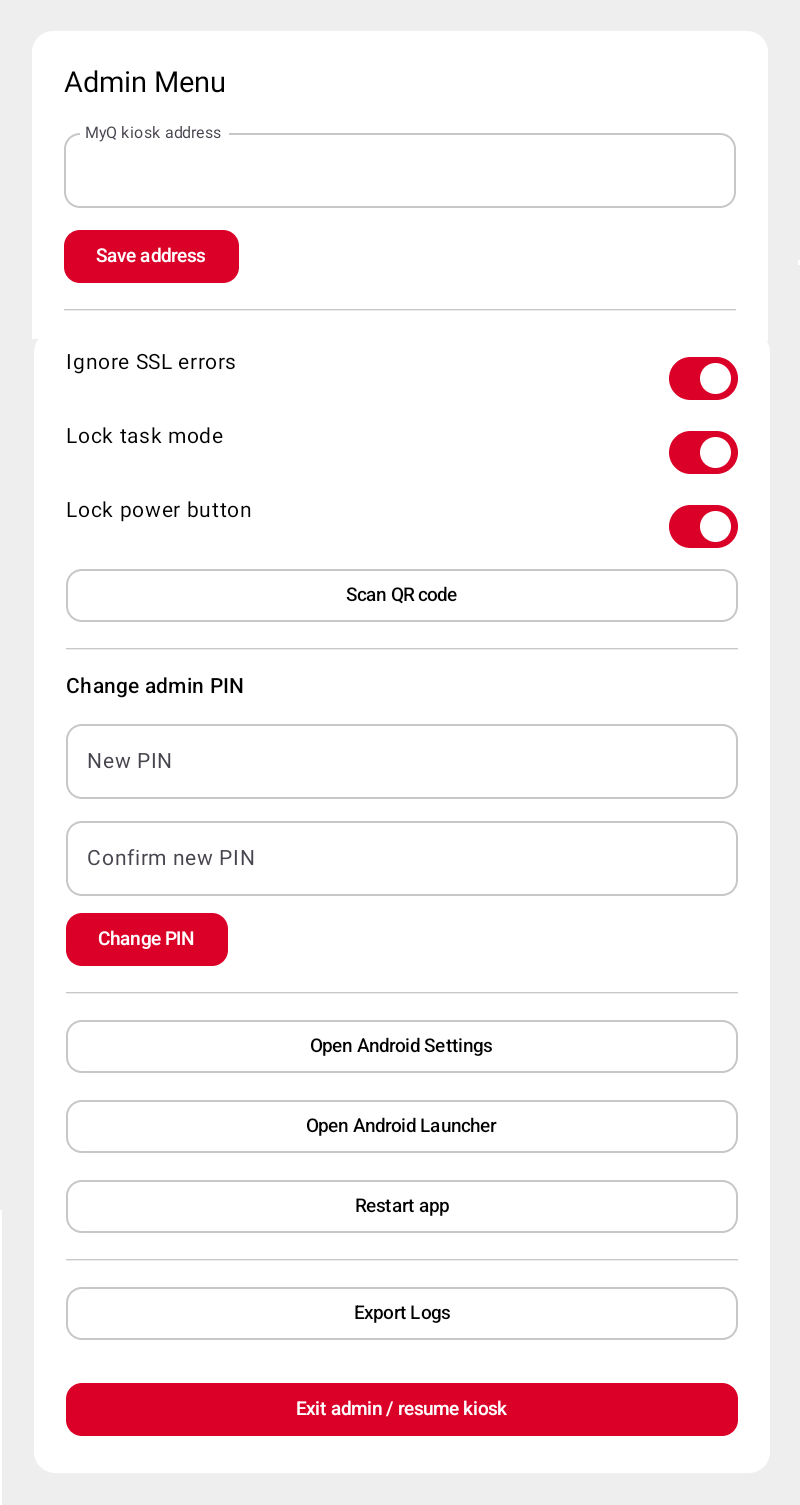
-
Configure the following admin settings as needed:
-
MyQ kiosk address: the URL of your release station.
-
Ignore SSL errors: (recommended) prevent SSL errors from blocking communications. Use this, for example, in environments where self-signed certificates are used.
-
Do not cache login credentials: (recommended) prevent the app from storing user credentials.
-
Lock Task Mode: (recommended) restrict the device to the MyQ Kiosk App only, other apps cannot be used.
-
Lock Power Button: disable users from restarting the device by pressing the power button.
-
Scan QR Code (coming soon): scan a QR code generated by the MyQ Server to automatically populate the Admin Menu settings.
-
Change admin PIN: (recommended) change the default
1234to a unique value, then tap Change PIN. -
Open Android Settings: open the Android system settings. Because the MyQ Kiosk App is set as device administrator, this is the only way to reach system settings (for example, to change the time zone or keyboard).
-
Open Android Launcher: access the Android home screen. Because the MyQ Kiosk App is the device administrator, this is the only way to reach the home screen.
-
Restart app: close and restart the Kiosk App, returning to the home screen.
-
Export Logs: export logs as a plain-text archive to
Downloads/MyQKioskLogson the device. Retrieve the file via USB or any other file-sharing method available on the device.
-
-
Tap Exit admin / resume kiosk to return to kiosk mode. If you have configured the Release Station URL correctly, the login screen appears and the device is ready for use.