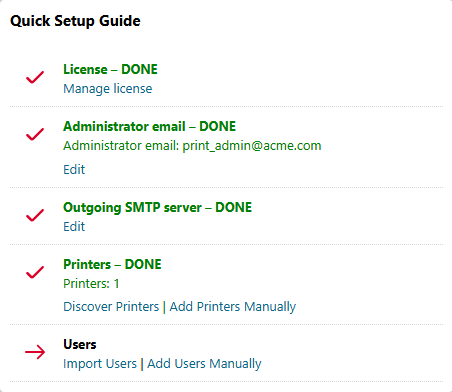
The default Home dashboard layout includes the Quick Setup Guide widget, which helps you complete important tasks for new installations.
As you progress through the Quick Setup Guide, your home dashboard shows what tasks are completed and what tasks remain.
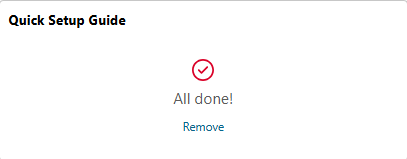
When the basic setup tasks are completed, the Quick Setup Guide shows the message “All done!”.
Activate License
To use all the features of MyQ, enter your key and activate your installation.
-
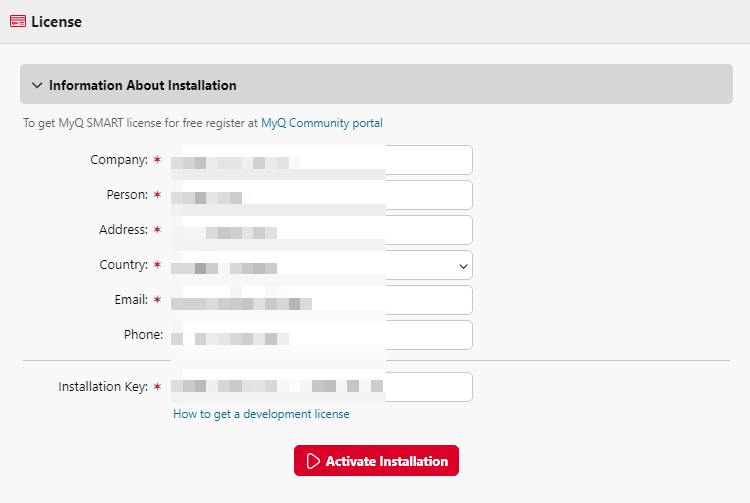
From the Quick Setup Guide widget, click Enter License. The License settings tab opens.
-
Enter your company and contact information, and your installation key, and click Activate Installation.
-
In the confirmation dialog that appears, click Activate.
The License settings tab now shows information including your license plan, expiration date, license key, and number of activated embedded terminals.
Next, set the administrator email address.
Set Administrator Email
To automatically receive system emails, such as disk space warnings and license expiration notifications, set the administrator email.
-
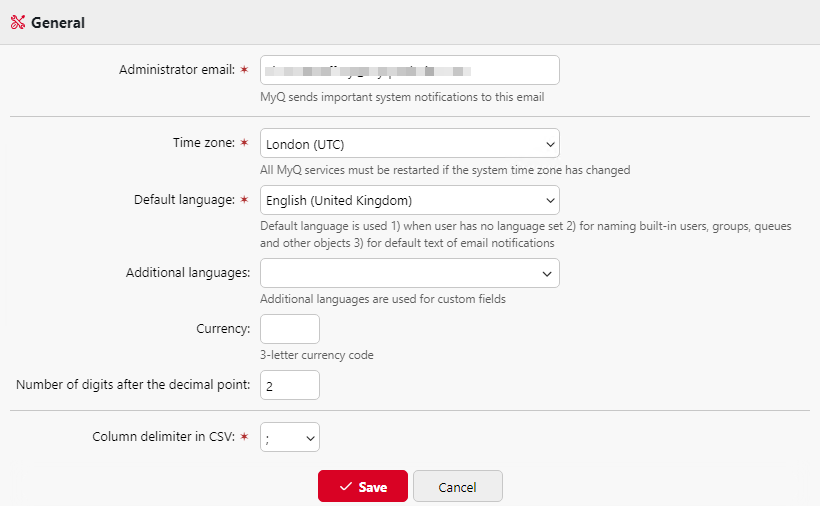
From the Quick Setup Guide widget, click Enter the administrator's email. The General settings tab opens.
-
Enter the administrator email address, and click Save.
Next, provide your outgoing SMTP server details to enable Print Server to send emails.
Set Outgoing SMTP Server
To enable MyQ server to send email, you must enter your SMTP server information in the network settings.
-
From the Quick Setup Guide widget, click Configure the outgoing SMTP server. The Network settings tab opens.
-
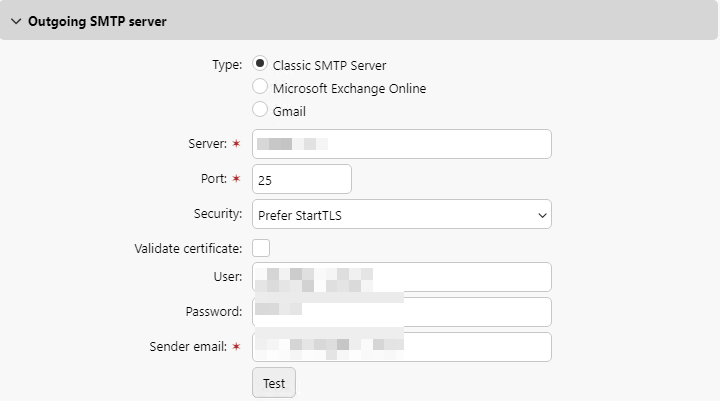
In the Outgoing SMTP server section, select your server type and enter your SMTP server details. Click Test to confirm that the connection is working.
Next, add printers and users.
Add Printers
For this quick start guide, we will add printers manually. However, in a production scale deployment, you would create a Printer Discovery to detect and add multiple printers.
Add and Activate a Printer
-
Go to MyQ > Printers, and click Add Printer.
-
Enter the printer IP address in the Address field.
You can typically find this information from network settings on the device control panel. -
(Optional) Specify the location of the printer.
-
Click Add+ to save your changes. The printer now appears in your list of printers with status Inactive.
-
Select the printer in the list and go to Actions > Activate.
The printer status changes from Inactive to Ready.
In our example, we added and activated two printers:
-
HQ Kyocera in the Marketing Dept. This will be our device for direct printing.
-
HQ Epson in the HR Dept. This device will be used for secure pull printing and MyQ terminal actions.

Add Users
For this quick start guide, we will simply add one user manually. However, in a production scale deployment, user synchronization would be integrated with the organizations user directory and automated. The print server supports import from LDAP, CSV, and Microsoft Entra ID.
-
In the Quick Setup widget, click Add Users Manually. The Users tab opens.
-
Click Add User.
-
Specify a User name and Full name for the user.
-
Enter a unique numeric PIN for the user, or click Generate PIN.
-
Click +Add.
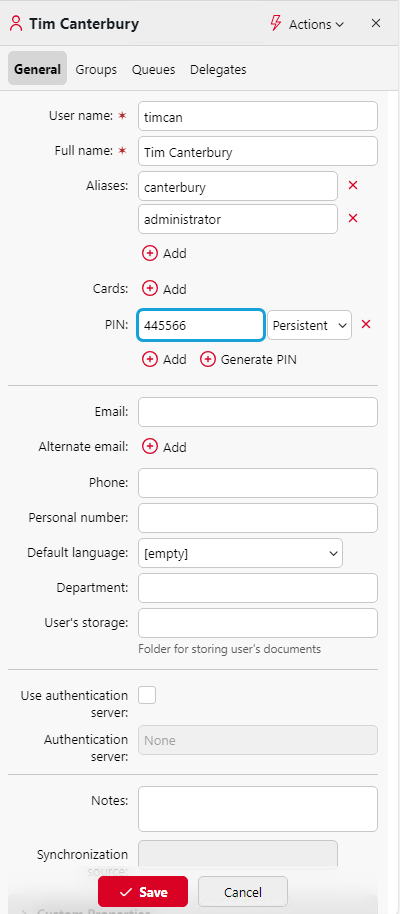
In our example, we added Tim Canterbury. Because Tim also works under the Windows domain username “administrator”, we also include this as an alias.