Once Easy Config confirms that everything looks good, you are ready to start using the Web Interface.
Log in as Admin
-
Launch the Web Interface. You can access it in these ways:
-
On the system where you installed the Print Server, open MyQ Web Administrator from the Windows Start menu.
-
On a computer on the same network as your Print Server, open a web browser and go to
https://<hostname>:<port>
Replace<hostname>with your server’s IP address or hostname, and<port>with your port.
-
-
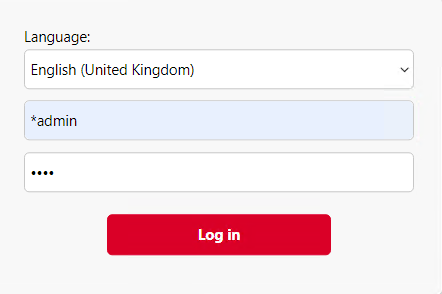
Log in as your server administrator (*admin) with the password that you set in Easy Config.
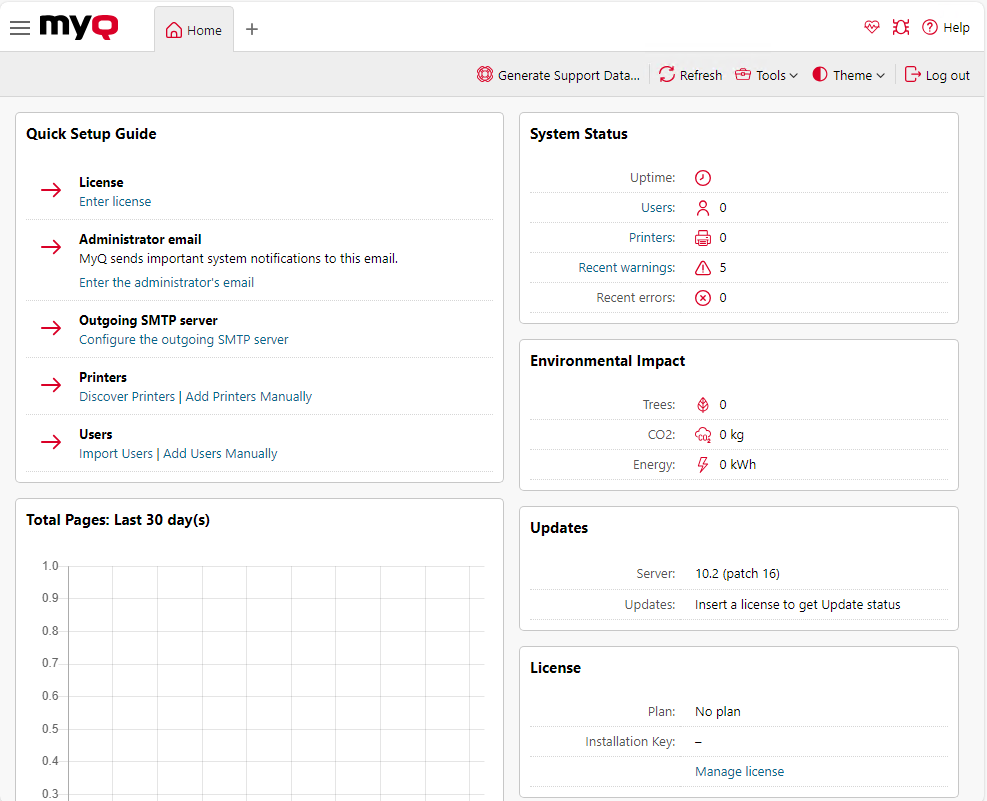
The Home tab opens, containing a dashboard where you can access usage information, environmental impact, the Quick Setup configuration widget, and more.
Set Your Language
To change the display language of the web interface, modify the language-locale section of the URL. For example to switch from English to Spanish, but to keep the US locale, change /en-us/ to /es-us/ in the URL. For a complete list of supported languages, see Available languages in the Print Server guide.
Web Interface - Menu Overview
There are two primary menus you will use to access the features and settings of the MyQ server: the Main Menu (sometimes called the MyQ Menu) and the Settings Menu. In general when this guide refers to main tabs and settings tabs, we mean tabs in the Main Menu and Settings Menu, respectively.
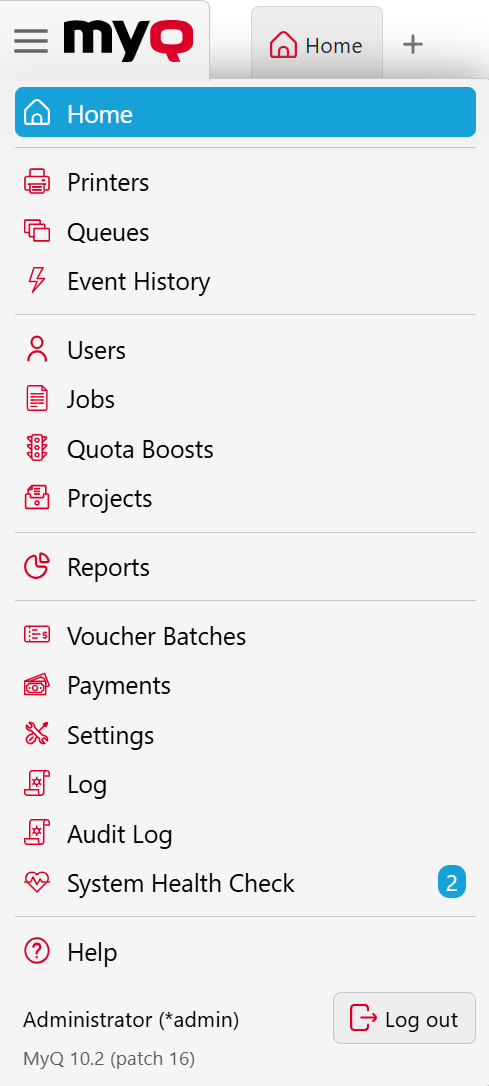
Main Menu
From the Main Menu, you access your customized Home Dashboard, and features for managing printers, queues, users, accounting and more.
To open the Main menu, click the logo at the upper-left corner of the screen.
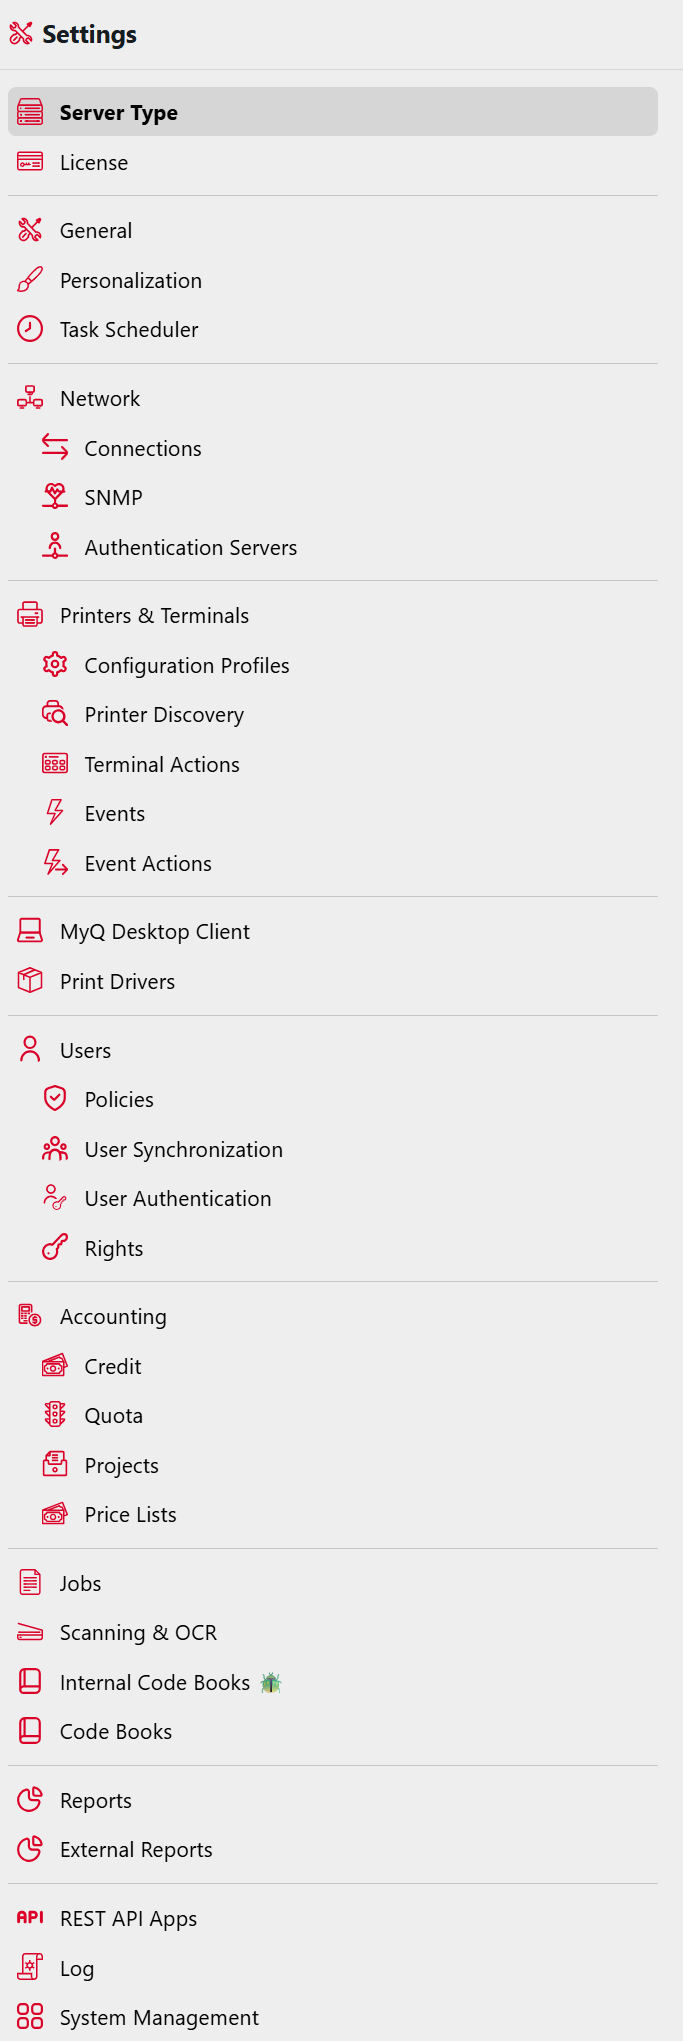
Settings Menu
From the Settings Menu, you manage connections and integrations, terminals, users access your customized Home Dashboard, and manage your printers, queues, users, accounting and more.
Click Settings on the Main menu.