Before you add SharePoint Online as a scan destination, you must first set up a SharePoint Online connection.
A single connection can support SharePoint Online in two modes:
Single-site mode: Admin sets a specific Site URL in the destination, and optionally a root folder. The terminal does not show a site list. When folder browsing is enabled users can browse only within that site.
Multi-site mode: Site URL is left empty. The terminal shows a list of all sites or followed sites only; users select a site at the terminal, and when folder browsing is enabled, they can browse document libraries and folders across SharePoint Online sites.
Prerequisite
Create and set the SharePoint Online destination
-
Go to MyQ > Settings > Terminal Actions and open an Easy Scan terminal action.
-
On the Destinations tab click +Add and select Cloud Storage.
-
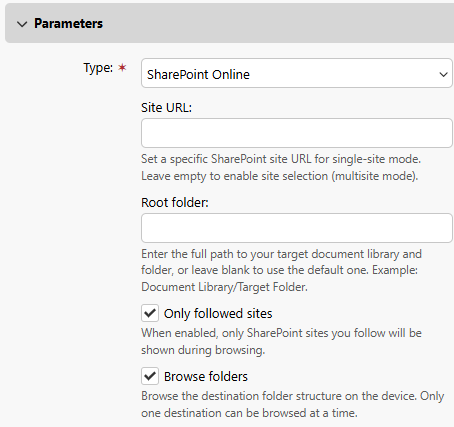
In the Parameters section, select SharePoint Online.
-
(Optional) Specify a Site URL and root folder for the scan destination. This uses single-site mode. To use multi-site mode, leave this field empty.
-
(Optional) Select Only followed sites to display only sites that the user follows. This option is unavailable in multi-site mode, and when application-wide access is enabled in the SharePoint Online connection settings.
-
(Optional) Select Browse folders to enable users to navigate within the SharePoint directory hierarchy.
User Action: Connect Cloud Storage
If the following two conditions are met, the cloud storage widget is displayed on the Home screen of the user logged on the MyQ Web Interface:
-
There is at least one Easy Scan terminal action with this destination.
-
The user has rights to see the Easy Scan button or is connected to cloud drive.

To be able to store the outgoing scan file on SharePoint Online, the user must connect their cloud storage to their MyQ account.
This can be performed in the Web UI, or by clicking the button in the Welcome email.
Connect in Web UI
To connect to a SharePoint Online storage destination, the user must perform the following actions:
-
Log in to the MyQ Web User Interface with your user account.
-
On the Cloud storage widget, click Connect. The Cloud storage dialog box appears.
-
Sign-in to SharePoint Online and confirm permissions (when asked about the permissions, click Allow).
-
The SharePoint Online connection status changes to Connected.
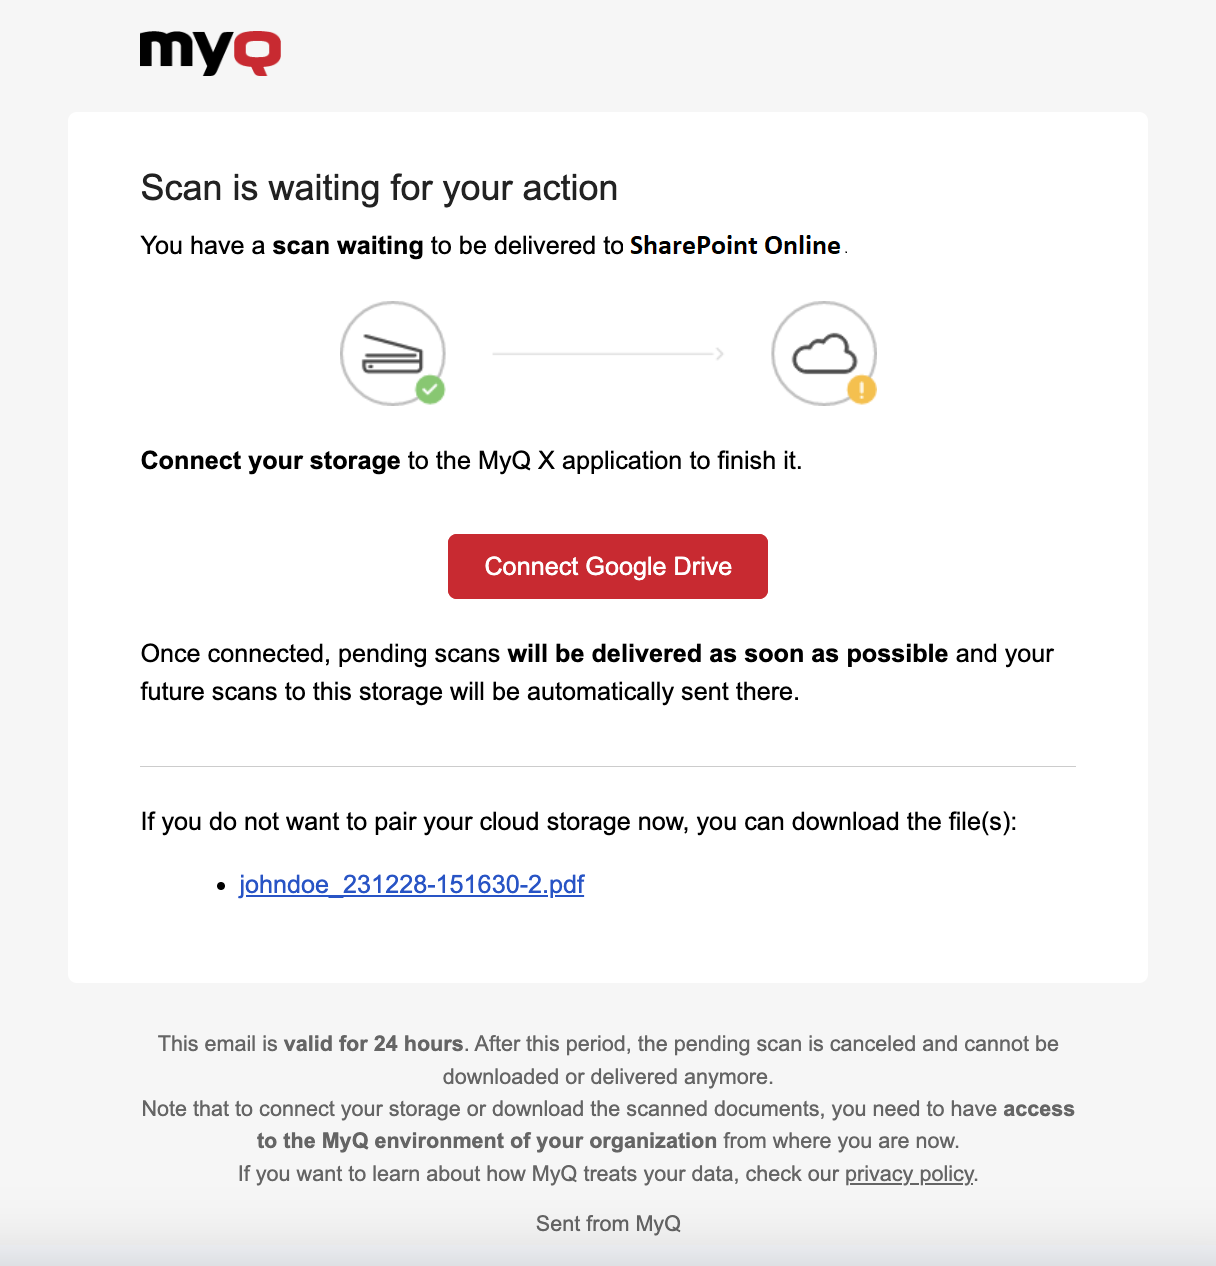
Connect in Welcome Email
If an admin has connected SharePoint Online to Easy Scan, but an individual user has not yet connected their personal account, they can still use Easy Scan with SharePoint Online set as the destination.
An email will be sent to the users email address allowing them to connect to SharePoint Online, after which their scanned document/s will be delivered there. This email is valid for 24 hours after the scan has taken place. This email also contains a secure link to directly download the scanned document/s.
If a user attempts to use Easy Scan to send a file to SharePoint Online, but they are not connected, and there is no email address associated with that user, the user will receive an on-screen prompt to connect their cloud storage via the web interface and try again.