MyQ X Mobile Client is supported on these platforms:
-
Android 7.0 (API 24)+
-
iOS 16.0+
Install it free of charge, directly from your platform store – the App Store (for iOS devices) or Google Play Store (for Android and ChromeOS devices).
Connect to a MyQ Server
The first time you open the app you must connect it to a MyQ server.
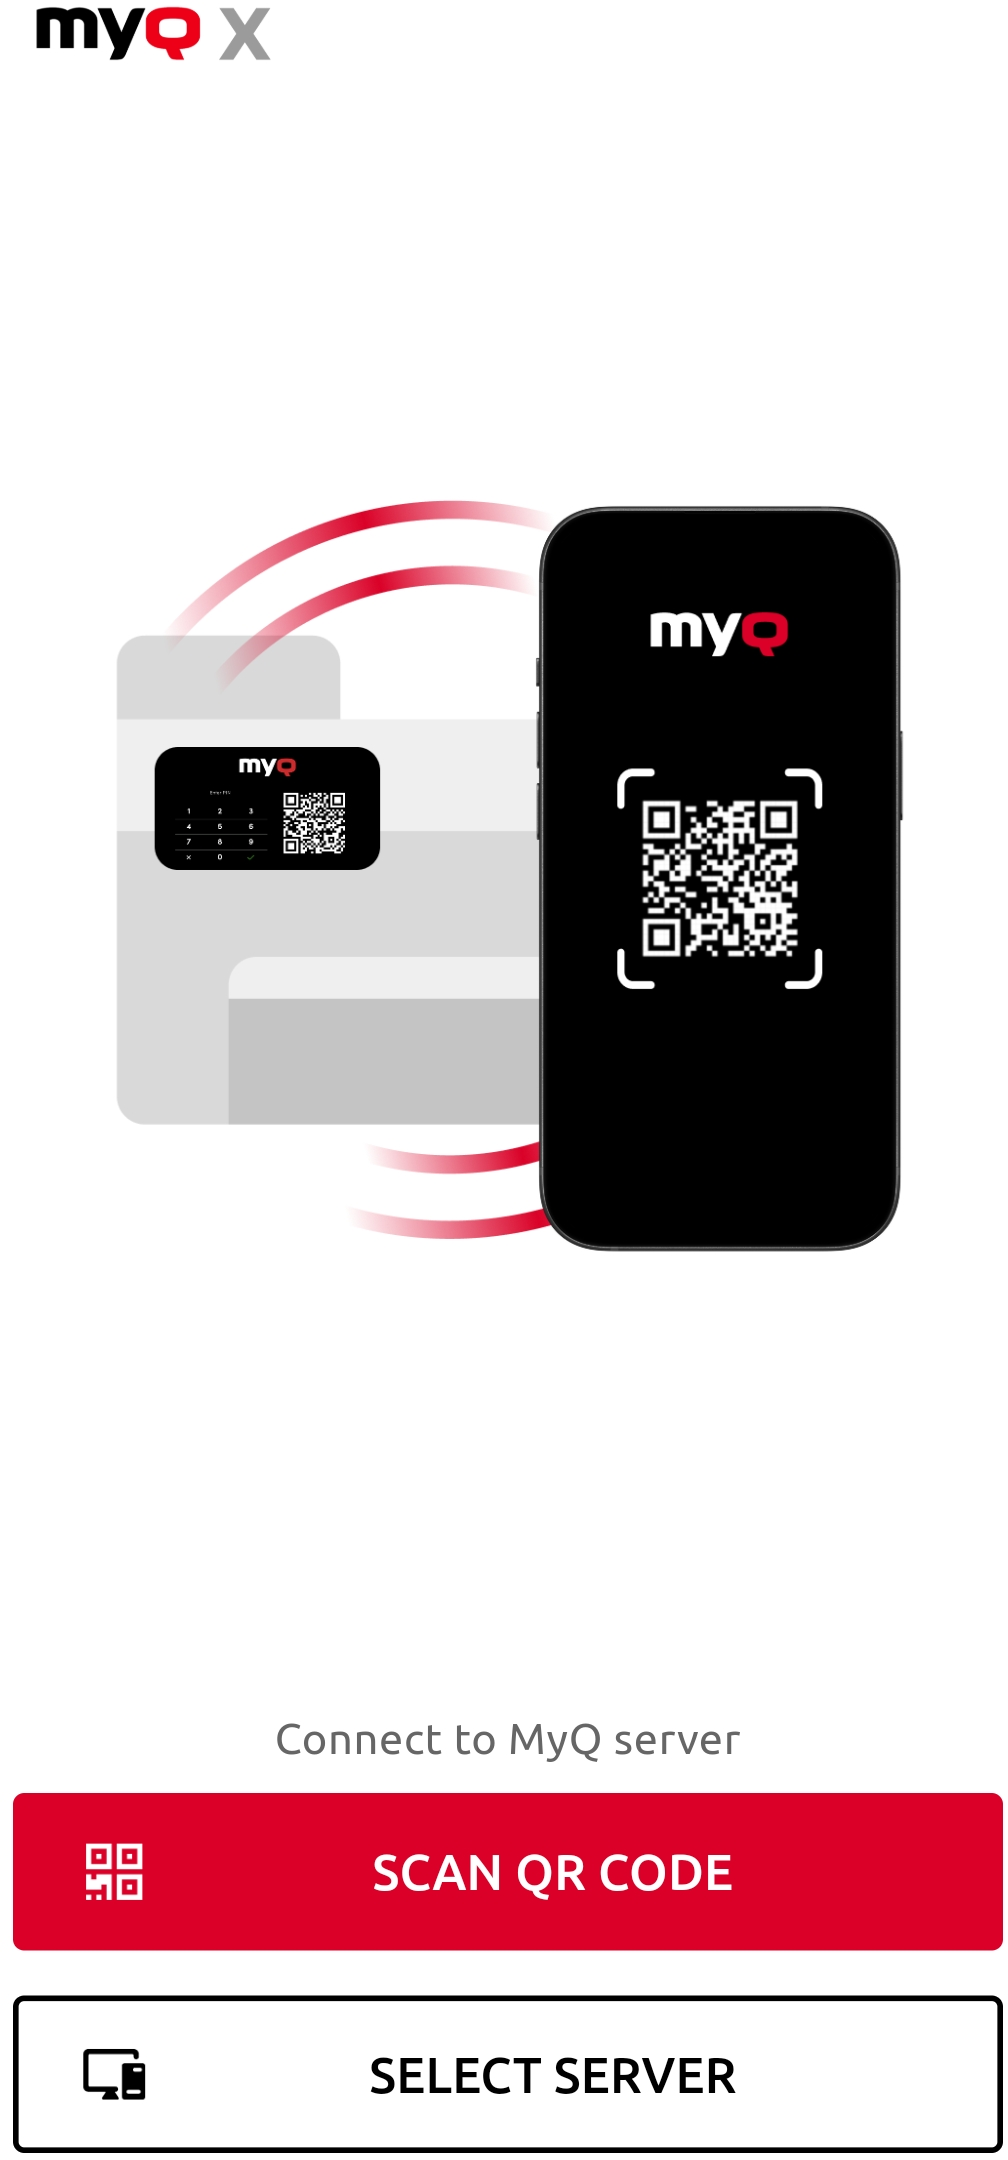
You can connect in these ways, and for both you will need information from your MyQ administrator:
-
Scan QR Code
Use your mobile device to scan a server-generated QR code.
You can often find this attached to a printing device. You can also view this in the MyQ Server Web UI. -
Select Server
Manually enter the hostname/IP address and port for your server.
After connecting the server, you then sign in with your MyQ credentials.
Connect by Scanning a QR Code
When you use the MyQ X Mobile Client to scan the QR code from a printing device, the app automatically configures the server connection on your device.
Connect Manually
Enter the following server information:
-
(Optional) Server name
Enter a name to identify the Server/Location (if left blank, the server's hostname is used). -
Hostname/IP Address
Enter the hostname or IP address of your MyQ Print Server (disable if proxy URL is used). -
Port
Enter the port of your MyQ Print Server (default is 443). -
(As applicable) Using proxy URL
Enable this option if you want to use a proxy. This option is supported for MyQ Print Server version 10+. See Using a Proxy URL. -
(As applicable) URL address: Enter the URL of your proxy.
Next, tap ADD SERVER. If you are using a proxy URL, you will be prompted to sign in to your Azure account. Login as your MyQ User.
Log in to the MyQ server
To log in to the MyQ server, type your MyQ credentials, and then tap LOG IN.
The app saves the connection settings for previously used servers. If you want to select one of the previously used servers, tap SELECT FROM SAVED SERVERS, then tap on the server where you want to connect. The login screen opens and you can log in.
Using a Proxy URL
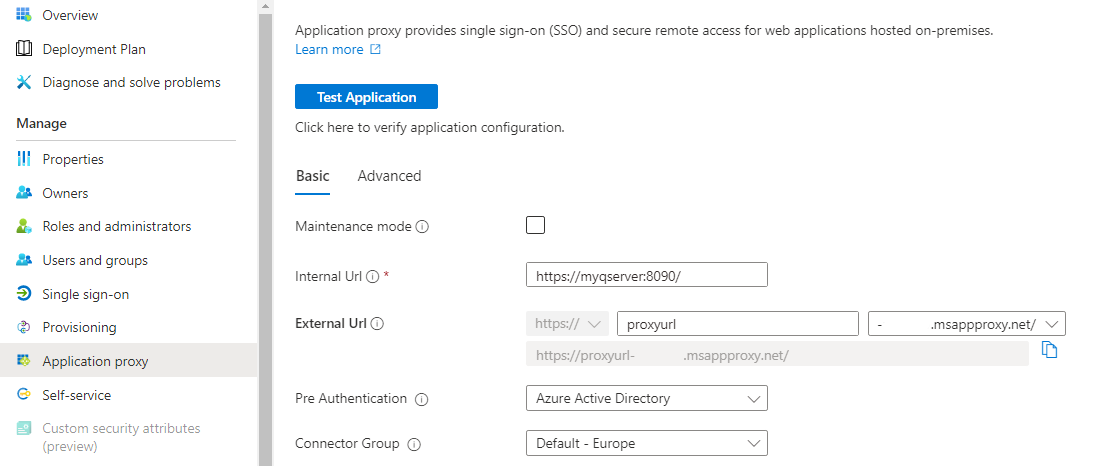
Azure Active Directory includes an Application Proxy service that lets users access on-premises applications by signing in with their Azure AD account, even when they are not on the local network or connected to a Virtual Private Network (VPN).
To learn how to prepare your environment for use with Application Proxy, see What is App Proxy?. For information about how to configure your Application Proxy service, see Add an on-premises application for remote access through application proxy in Microsoft Entra ID.
After preparing your environment, you can use the Azure AD admin center to add an on-premises application to your Azure tenant.
MyQ supports these Pre Authentication options:
-
Azure Active Directory
Users adding the MyQ server must sign in with their Azure account in order to connect to the server and sign in with their MyQ account in the app. -
Passthrough
Add the server without authenticating with your Azure account.
With the Passthrough method, the MyQ Web User Interface can be accessed anywhere from the internet through the Application Proxy URL without authentication. Before using this method, consider whether this is in line with the security standards in your organization.
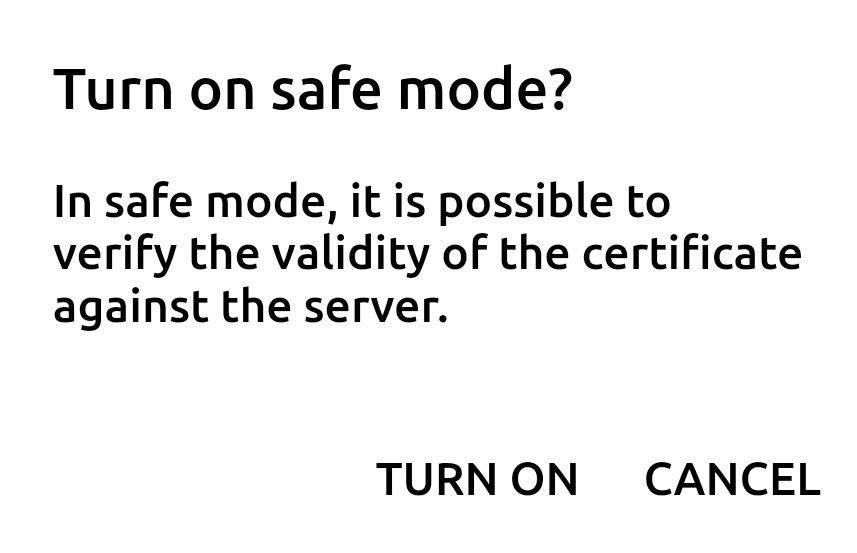
Whether you scanned the QR code or manually entered the information, you then get a prompt asking you to turn the safe mode on (required), which uses certificate verification against the server for a secure connection. Tap TURN ON to enable it:
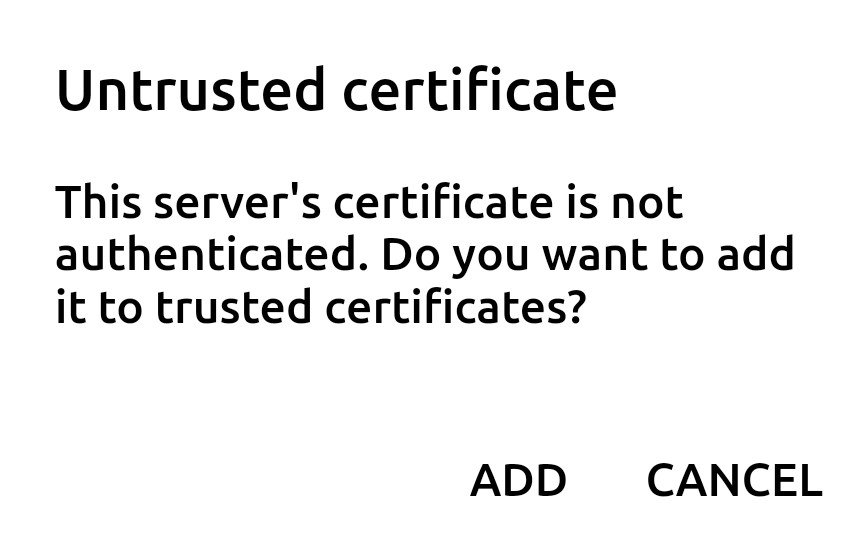
As soon as safe mode is enabled, you are prompted to add the certificate to the trusted certificates. Tap ADD. The login screen opens, and you can log in.
If the Invalid SSL certificate message appears, no trusted SSL certificate was found. In such cases, contact your network administrator.