Requirements
-
Device must support BSI and be on the Supported Devices list.
-
BSI must be enabled on the device.
-
MyQ Brother Embedded terminal 10.2 is supported by MyQ Print server 10.2 patch 15+, the latest version is recommended.
To complete a Manual Installation/Uninstallation Enable Remote Configuration must be Disabled in the Configuration profile.
To complete a Remote Installation/Uninstallation Enable Remote Configuration must be Enabled in the Configuration profile.
See Vendor Specific Options: Brother for details.
Manual Installation
-
Go to the printer’s web UI at
http://*IP address of the printer*/. -
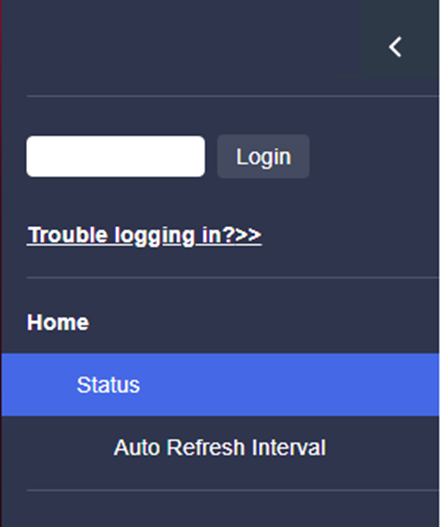
Select Open Secure Login.

-
Enter the device administrator password and click Login.
-
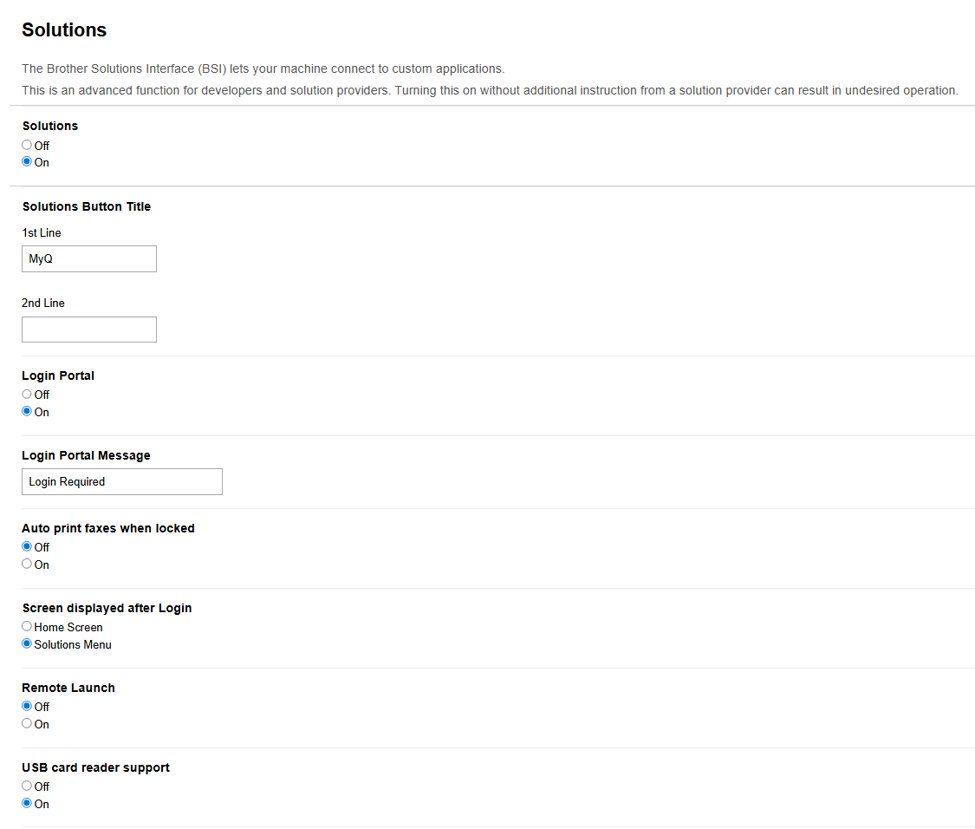
Go to Administrator > Solutions.
-
Set Solutions to On.
-
Set Solutions Button Title 1st Line to MyQ.
-
Set Login Portal to On.
-
Set Screen displayed after Login to:
-
Home screen to display the Home screen after login.
-
Solutions Menu to display the Print All button after login.
-
-
Set USB card reader support to On.
-
-
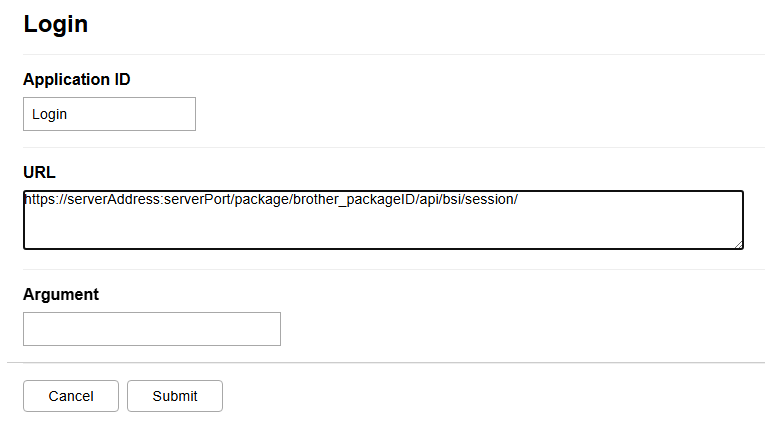
Go to Administrator > Solutions > Solutions Application Entry > Login.
-
Set Application ID to Login.
-
Set URL to
https://serverAddress:serverPort/package/brother_packageID/api/bsi/session(for examplehttps://10.14.17.152:8090/package/brother_32c4ffd7/api/bsi/session).-
The server address could be a hostname or IP address; in the case of an IP address the IP address has to be added in MyQ server Web UI > Settings > Network > Certificates > Server alternative names.
-
The package ID is a unique ID for the installed Brother package on the server, the ID changes after reinstallation of the package. You can find the package ID in Microsoft Task Manager or in the folder
C:\ProgramData\MyQ\Terminals.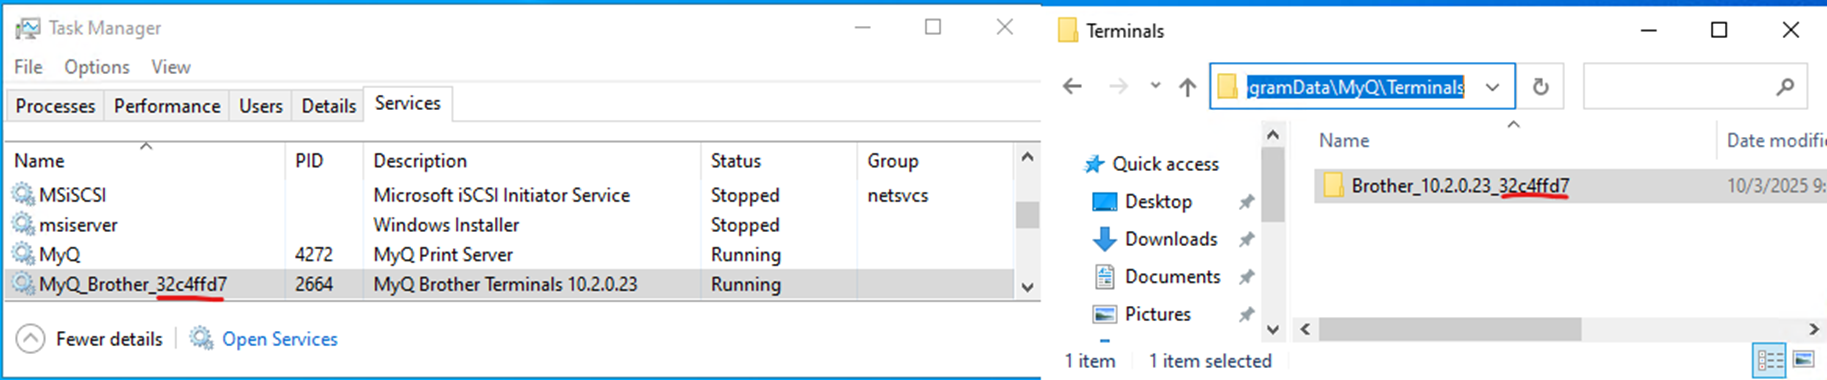
-
-
Leave Argument Empty.
-
-
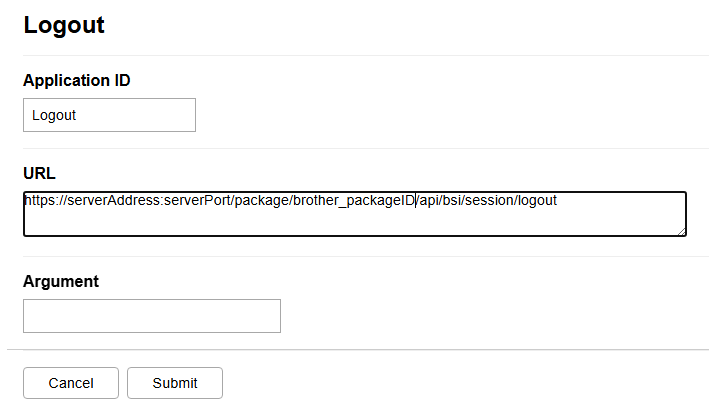
Go to Administrator > Solutions > Solutions Application Entry > Logout.
-
Set Application ID to Logout.
-
Set URL to
https://serverAddress:serverPort/package/brother_packageID/api/bsi/session/logout(for examplehttps://10.14.17.152:8090/package/brother_32c4ffd7/api/bsi/session/logout).-
The server address could be a hostname or IP address; in the case of an IP address the IP address has to be added in MyQ server Web UI > Settings > Network > Certificates > Server alternative names.
-
The package ID is a unique ID for the installed Brother package on the server, the ID changes after reinstallation of the package. You can find the package ID in Microsoft Task Manager or in the folder
C:\ProgramData\MyQ\Terminals.
-
-
Leave Argument Empty.
-
-
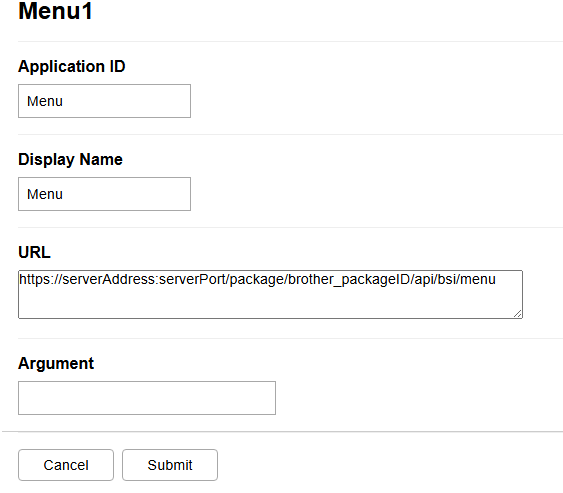
Go to Administrator > Solutions > Solutions Application Entry > Menu1.
-
Set Application ID to Menu.
-
Set Display Menu to MyQ.
-
Set URL to
https://serverAddress:serverPort/package/brother_packageID/api/bsi/menu(for examplehttps://10.14.17.152:8090/package/brother_32c4ffd7/api/bsi/menu).-
The server address could be a hostname or IP address; in the case of an IP address the IP address has to be added in MyQ server Web UI > Settings > Network > Certificates > Server alternative names.
-
The package ID is a unique ID for the installed Brother package on the server, the ID changes after reinstallation of the package. You can find the package ID in Microsoft Task Manager or in the folder
C:\ProgramData\MyQ\Terminals.
-
-
Leave Argument Empty.
-
-
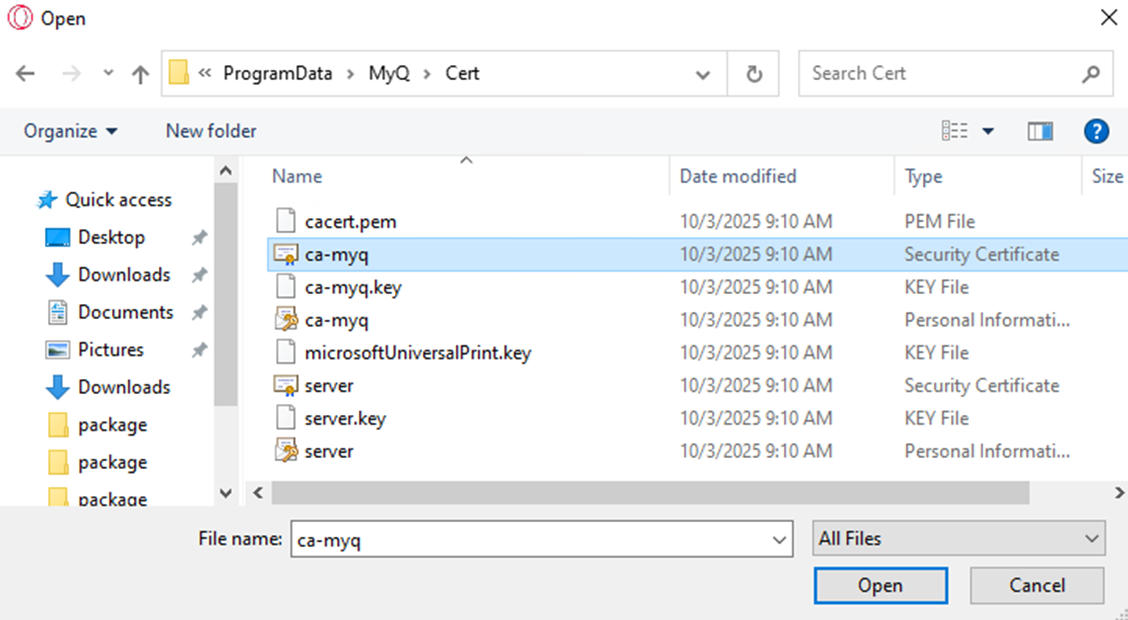
Go to Network > Security > CA Certificate.
-
Import a CA certificate (use
ca-myq.crtfrom the folderC:\ProgramData\MyQ\Cert).
-
-
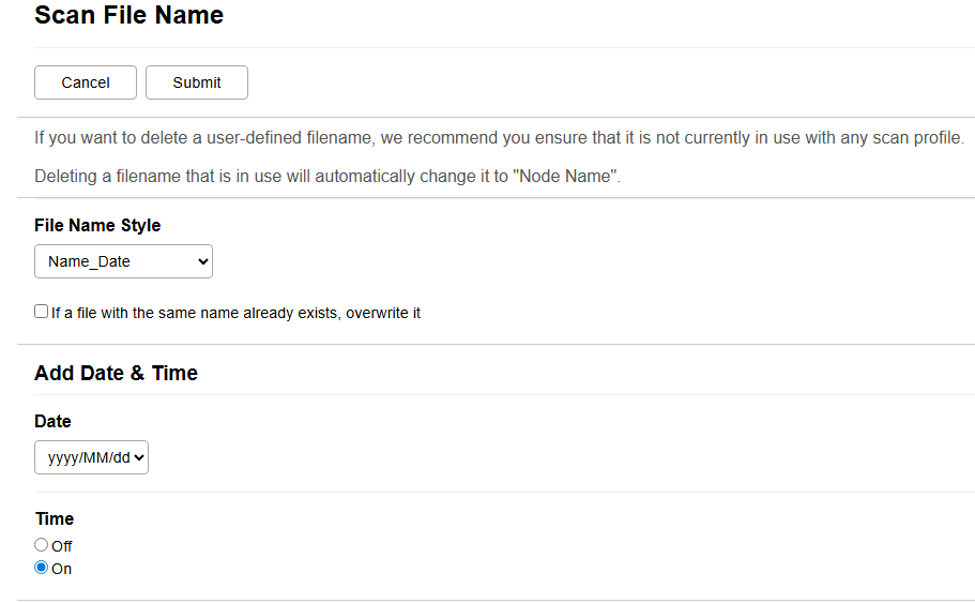
Go to Scan > Scan File Name.
-
Set File Name Style to Name_Date.
-
Set Date to yyyy/MM/dd.
-
Set Time to On.
-
-
Go to Scan > Scan to E-mail Server.
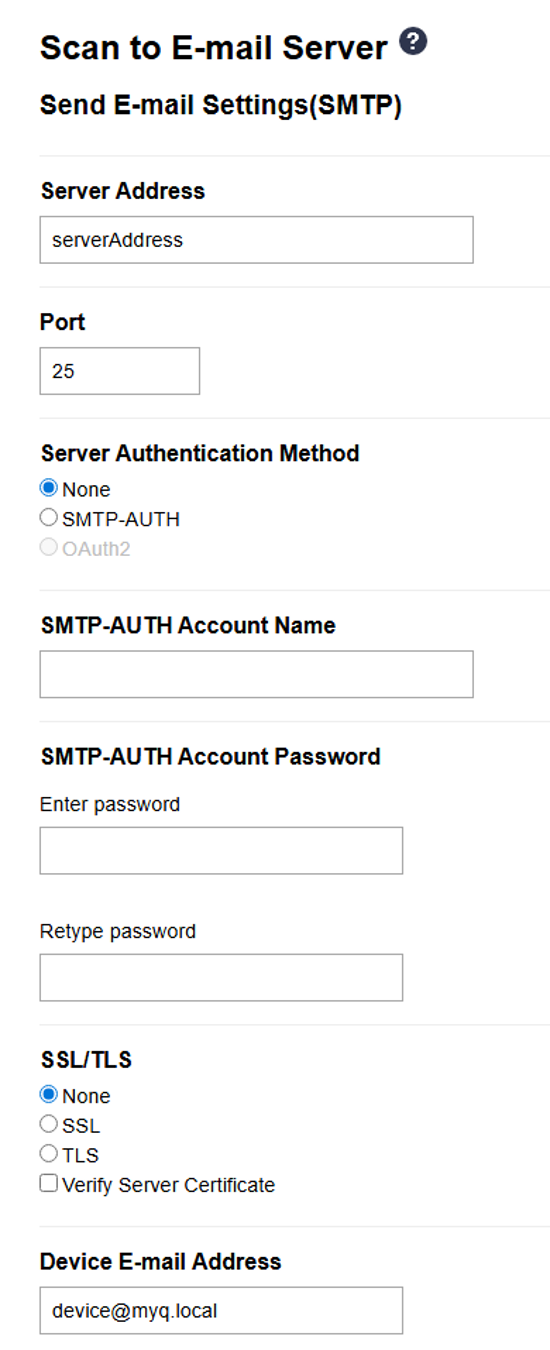
-
Set Server address to hostname or IP address of MyQ server.
-
Set Port to MyQ SMTP server port.
-
Set Device E-mail Address to device@myq.local.
-
-
Go to Address Book.
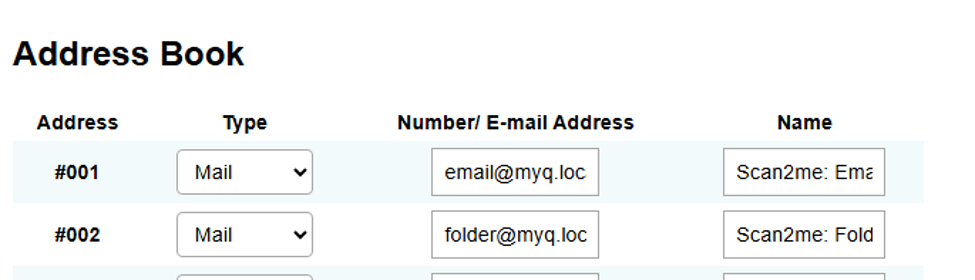
-
Add E-mail Address email@myq.local.
-
Add E-mail Address folder@myq.local.
-
-
Go to Administrator > Date&Time.
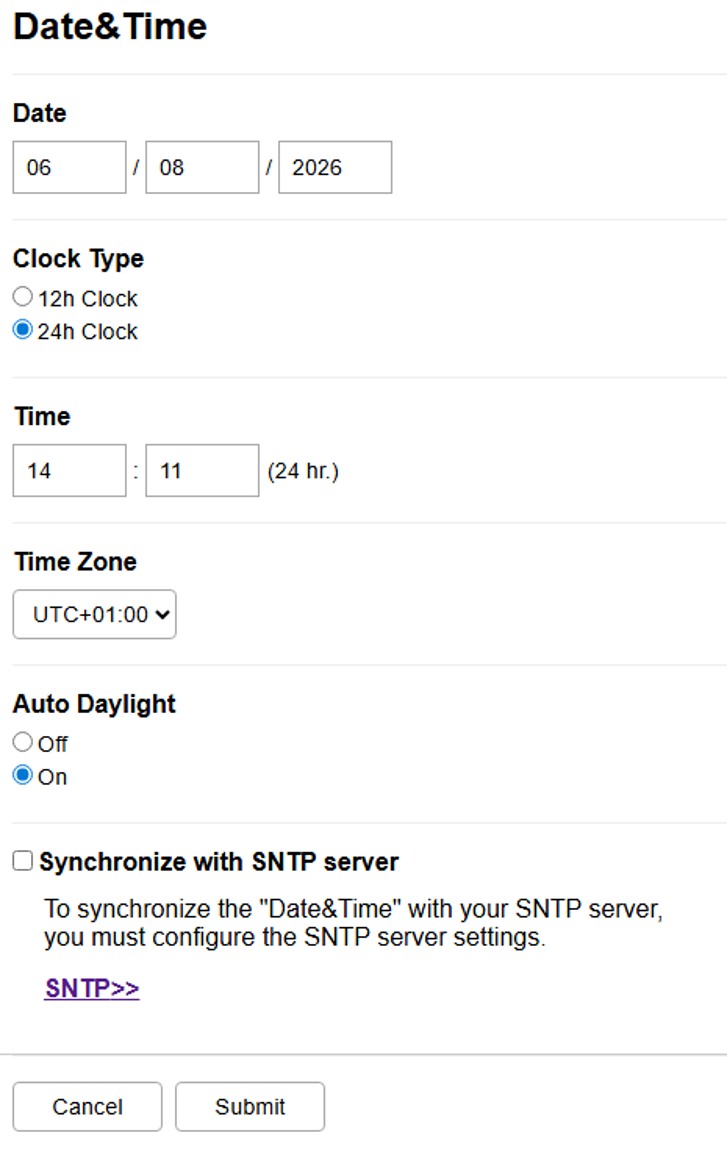
-
Set correct Date
-
Set correct Time
-
Set correct Time Zone
-
The device must have the correct date and time set. Note that the date and time are not configured during automatic remote setup.
Remote Installation via Printer Discovery (BETA)
This installation method has been tested on a limited number of devices. If you experience difficulties, please utilize manual installation.
The easiest way to install the MyQ Brother Embedded terminal is via remote installation from the MyQ Web administrator interface.
You do this by creating separate printer discoveries and adding a configuration profile to any one of them. Additionally, you can assign the discovered printers to a group and/or queue.
Before installation, make sure that the server hostname/IP address in MyQ > Settings > Network is correct. If it’s not, often due to a license update or upgrade, remote setup will fail.
Some older devices cannot use Server Alternative Name from the certificate:
-
If the server Hostname is used for the installation of the terminal the server Hostname must be defined in MyQ > Settings > Network > This server hostname.
-
If the server IP address is used for the installation of the terminal the server IP address must be defined in MyQ > Settings > Network > This server hostname.
To remotely install the MyQ Brother Embedded Terminal:
-
Follow the instructions in the MyQ Print Server guide to create and configure a Printer Discovery.
-
Next, create a configuration profile to attach to your Printer Discovery.
-
The Brother section is displayed if the Brother terminal package is installed on the MyQ server.
Vendor-Specific Options: Brother
After you install the terminal package on the Print Server, the following vendor-specific option is available in Configuration Profiles:
-
Enable Remote Configuration - Configures the device automatically when remote configuration is completed. When disabled, the device is activated and the configuration of the device web UI must be completed manually via the steps in Configure Device Manually. The default value is Enabled.
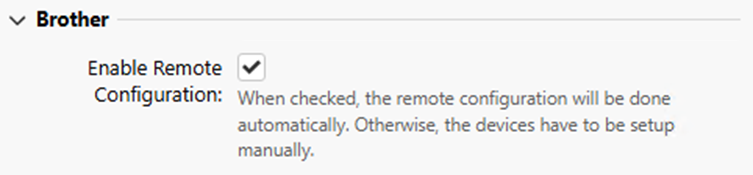
Applying changes on the terminal that were made in the Brother section requires a force remote configuration of the device.
Changing login methods
If you want to change login methods after the installation, you need to edit the configuration profile and reactivate your printer(s).
You can choose between two types of login:
-
Simple login - select up to three methods of login.
-
Two-step authentication -select a combination of the login methods.
To change the login type:
In the MyQ Web administrator interface, go to MyQ > Settings > Configuration Profiles.
Select the profile you want to change and click Edit on the main ribbon (or right-click and select Edit or double-click). Choose the login method in the panel to the right.
Click Save. A pop-up window tells you that you need to activate the printers again.
Click OK if you want to re-activate all the printers connected to this profile, or click Skip if you only want to change the settings for specific printers.
If you chose to skip, go to MyQ > Printers to open the Printers overview. Select the printer(s) to change, right-click and select Activate.
Restart the printing device(s).
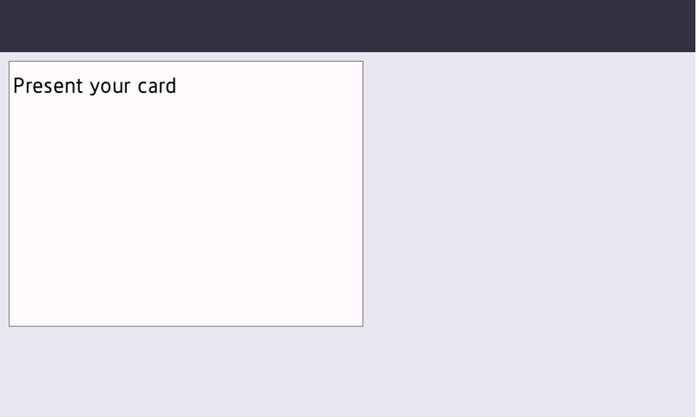
When Login Portal is enabled the device features can’t be accessed without the user logging in first.
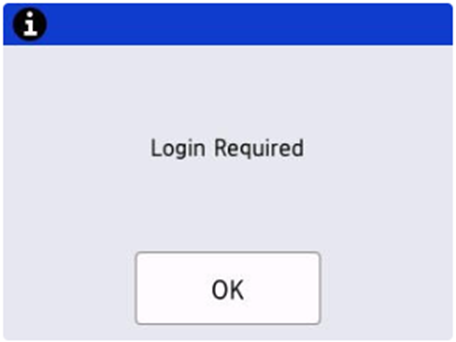
After clicking OK, the user can select one of the available login methods.
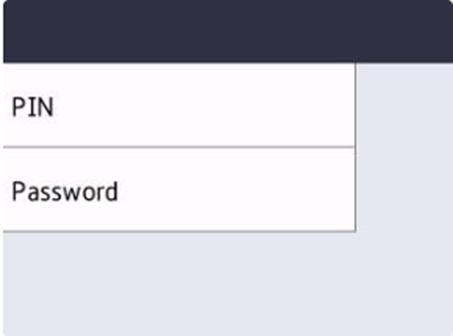
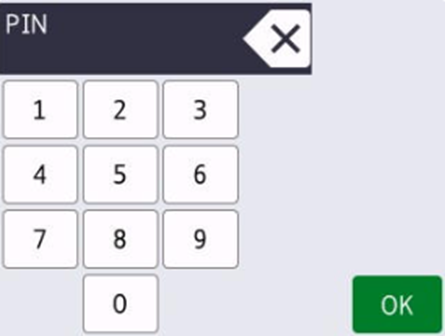
After selecting PIN, successful login results in opening of the Home Screen. Unsuccessful login results in a message informing the user with a back arrow to return to the initial login by PIN screen.
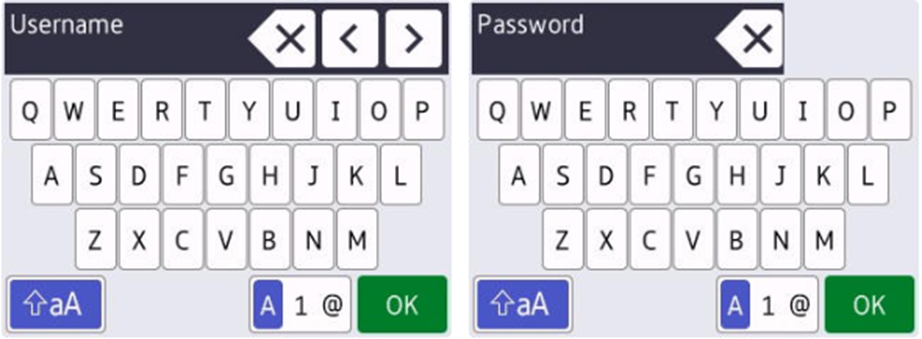
After selecting Password, successful login results in opening of the Home Screen. Unsuccessful login results in a message informing the user with a back arrow to return to the initial login by PIN screen.
After selecting Card or directly by swiping a card, successful login results in opening of the Home Screen. Unsuccessful login results in a message informing the user with a back arrow to return to the swipe card screen.
External and integrated card readers are supported.
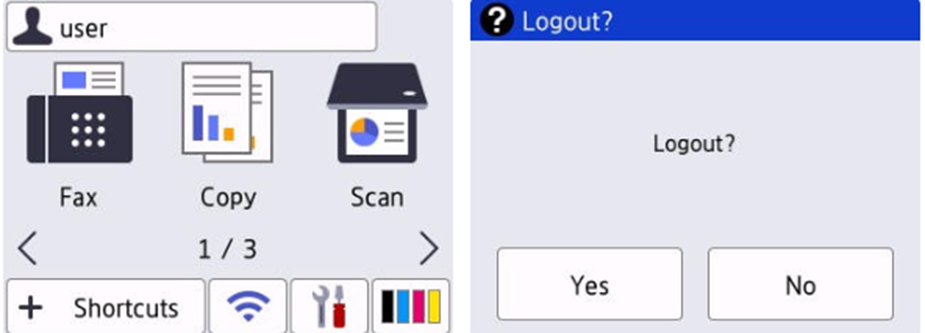
Logout is initiated automatically or by clicking the username on the upper part of the screen and then clicking Yes.
Logout by card is not possible on Brother Devices.
Update and Uninstallation
Updating the Terminal
The terminal package can be updated in the MyQ web administrator interface.
Manual Update
For Manual Updates Enable Remote Configuration has to be Disabled in the Configuration profile.
After replacement of the package, it is necessary to manually change the packageID of the terminal in the Login, Logout and Menu1 settings in the device web UI for each device.
Remote Update
After replacement of the package all required changes should be completed automatically.
Manual Uninstallation
-
Go to Administrator > Solutions > Solutions Application Entry > Login.
-
Delete Application ID.
-
Delete URL
-
-
Go to Administrator > Solutions > Solutions Application Entry > Logout.
-
Delete Application ID.
-
Delete URL
-
-
Go to Administrator > Solutions > Solutions Application Entry > Menu1.
-
Delete Application ID.
-
Delete Display Menu.
-
Delete URL.
-
-
Go to Administrator > Solutions.
-
Delete Solutions Button Title 1st Line.
-
Set Login Portal to Off.
-
Set Solutions to On.
-
-
Go to Network > Security > CA Certificate.
-
Delete MyQ Certificate Authority
-
Limitations
-
Some devices ignore SAN and use only the certificate subject field. In that case, the same hostname used to create the server certificate must be used to configure the device.
-
It’s possible to also enable the NFC reader, but the settings must reflect how the card data are formatted by other reader used by other devices. Note that when both USB card reader and NFC reader enabled and USB card reader is connected, the NFC reader is not active.
Remote Uninstallation (BETA)
You can remotely uninstall the embedded terminal from the MyQ web administrator interface. However, to perform the uninstallation, printer credentials must be defined either in the printer properties in MyQ or within the Configuration Profile used during remote installation. Uninstallation without valid credentials is not possible.
To Uninstall a Terminal Remotely:
-
Go to MyQ > Printers.
-
Select the printer you want to uninstall and go to Actions > Set Configuration Profile…
-
Select No terminal and click OK. Confirm the change of the configuration profile and the uninstallation should start automatically.