Depending on your setup, you may see some of these options, while others are not accessible. If you are uncertain about which features you have access to, contact your administrator.
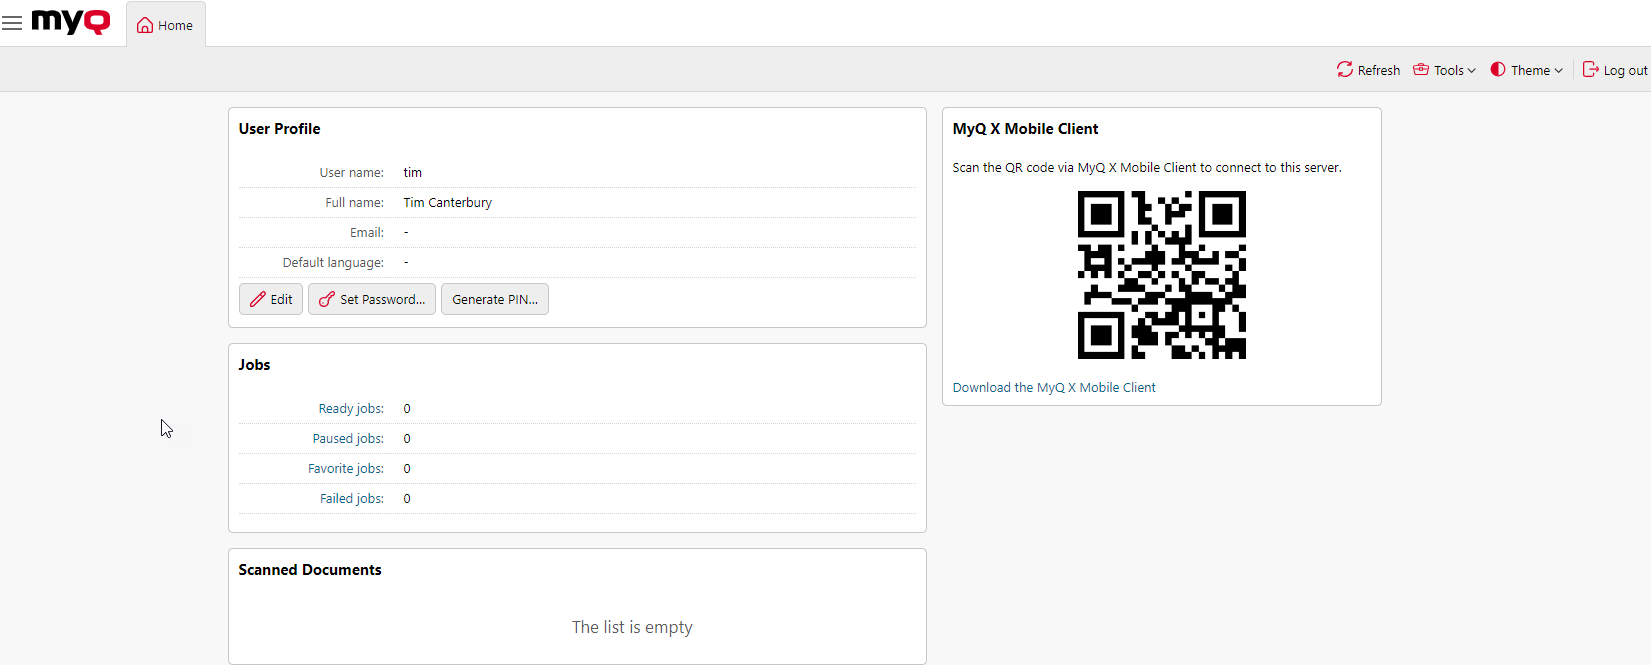
Once you successfully log in to the MyQ Web User Interface, you are on the Home Dashboard of your MyQ account, where you can edit your account, and quickly access the main settings and features.
Additional tabs with settings can be accessed via the MyQ menu on the upper-left corner of the page.
Widgets
The following widgets are available on the Home Dashboard:
-
User Profile: Here you can edit your MyQ profile, set a new password, generate a new PIN, delete all your ID cards, and manage your personal queues.
-
Jobs: This is an overview the number of your ready, paused, favorite, and failed jobs. Clicking on each of the links takes you to the Jobs overview tab.
-
Scanned Documents: Here you can see links to your scanned documents that are stored on the MyQ server. These are scanned documents that were too large to be sent via email.
-
Cloud Storage: This is a list of your available cloud storages. If they are not connected, you can click Connect and follow the connection instructions depending on the cloud storage type.
-
Credit: Here you can check your current amount of credit, recharge your credit, and open the Credit statement tab that contains information about your credit history.
-
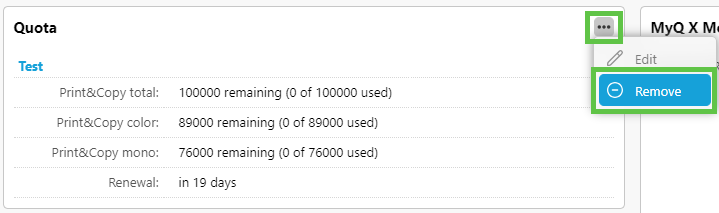
Quota: Here you can check your current quotas and their related information.
-
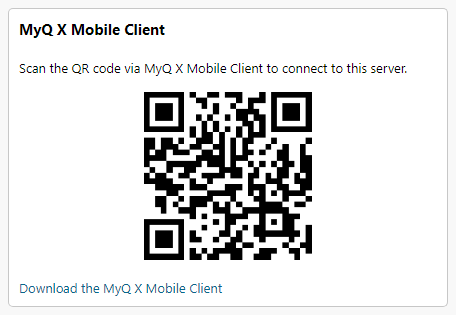
MyQ X Mobile Client: You can scan the displayed QR code via the MyQ X Mobile Client to connect your app to the MyQ server. There is also a link to download the MyQ X Mobile Client app if you don’t have it.
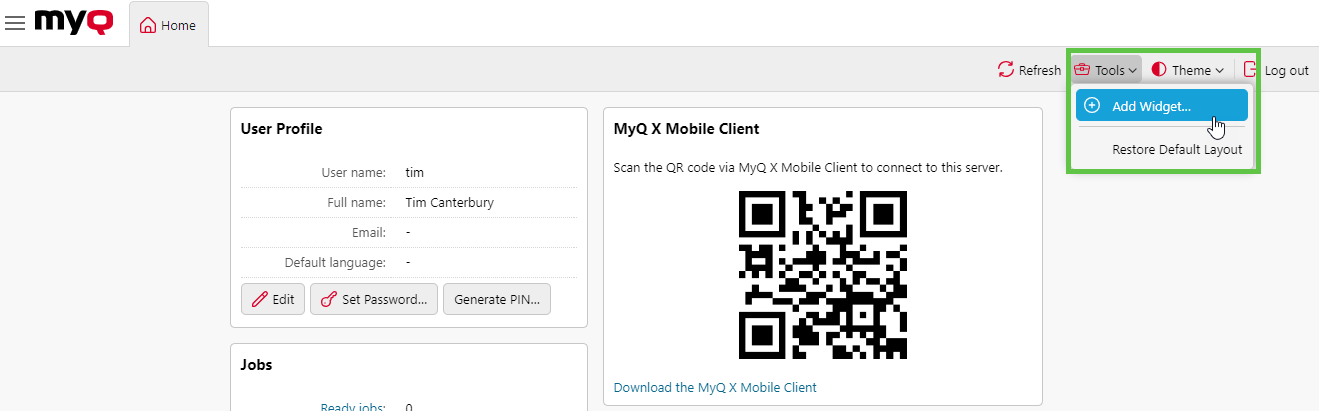
Add a Widget
-
To add a new widget, click Tools then Add Widget...
-
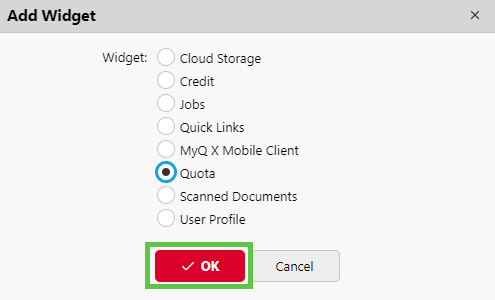
Select the widget you want to add and click OK.
Delete a Widget
To delete a widget, click the Action (three dots) button and then click Remove.
Delete Cards
If you have the Delete Cards… access, you can delete other user’s cards. This is intended, for example, for situations where you collect returned cards in your organization. To delete cards:
-
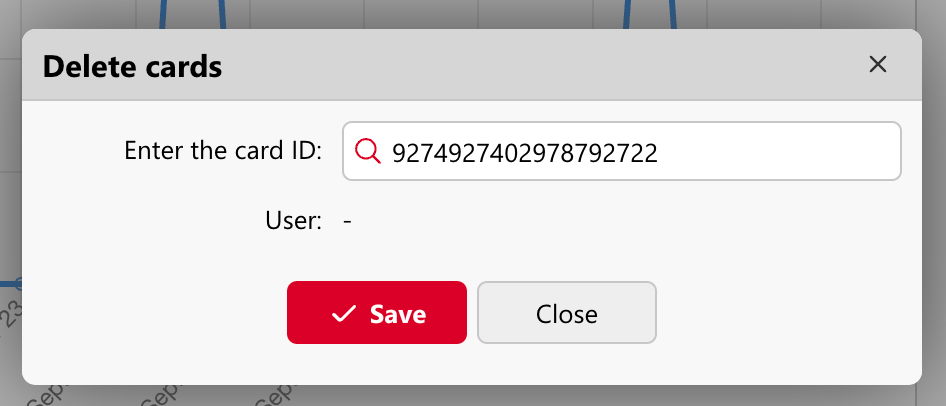
Log in and open the MyQ Dashboard, then click the Delete cards… option.

-
Type in the card ID number (manually or by swiping the card at a reader connected to your computer):
-
Press Enter to search for the card.
-
When that card ID is found, click the X button (Cards Delete) to delete the card and then Save the changes.
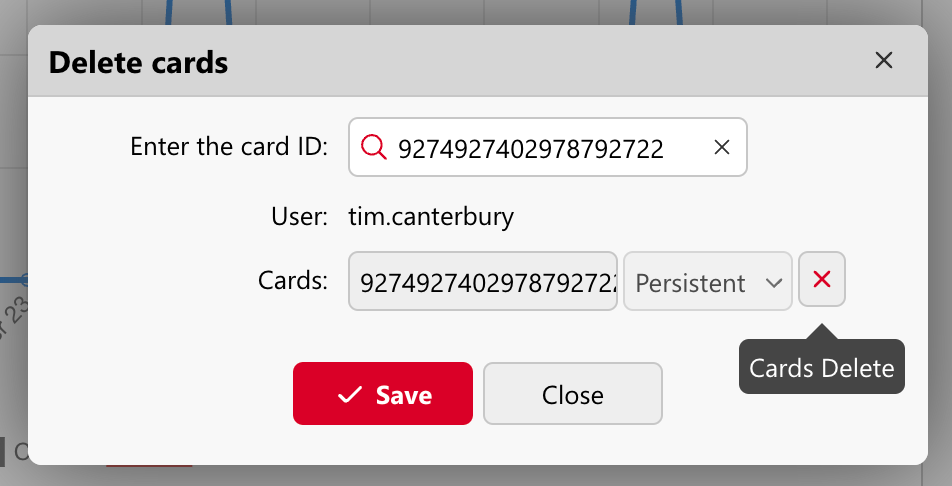
The specified card is deleted.