Testing an upgrade in an isolated environment is the safest way to validate the upgrade process without risking production downtime. This is recommended for all MyQ deployments, and especially for large environments, Central–Site deployments, and HA setups.
The most common upgrade issues occur during database upgrade. The most reliable verification is to run the upgrade on a restored copy of the production database in isolation from your production network.
Use this procedure to:
-
verify that the MyQ upgrade completes successfully.
-
validate that MyQ services start correctly after the upgrade.
-
confirm that core system data and settings remain consistent.
-
collect usable troubleshooting documentation for MyQ Support if an upgrade fails.
This article applies to upgrades of MyQ X Print Server and MyQ X Central server.
Prerequisites
Required Access
-
local admin access to the production server
-
local admin access to the test server
-
access to the MyQ installer for:
-
the production version (current)
-
the target version (upgrade target)
-
Test server requirements
-
separate server or VM (recommended)
-
a network adapter must be present (services may not start otherwise)
Recommended minimum resources
-
CPU: 4 cores
-
RAM: 8 GB
-
storage: SSD recommended
You can use a test server with fewer resources than production, because it does not serve real users.
License
A separate license is not required.
Set Up Test Environment
Important!
Your test environment must be isolated from your organization’s network and the internet.
An isolated test environment ensures that during the test upgrade, your system is blocked from:
-
sending emails and notifications
-
connecting to embedded terminals
-
running directory synchronization
-
interacting with real users or jobs
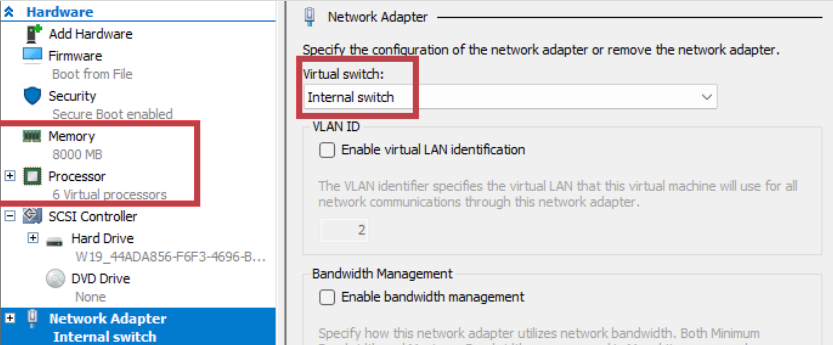
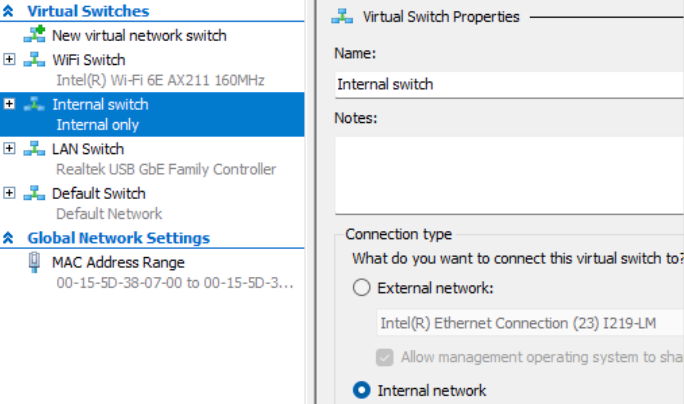
However, the environment still needs a network adapter and an IP address. We recommend that you use an internal-only network, for example, a Hyper-V “Internal Switch”.
Prepare an Isolated Test Environment
Follow these steps to create an isolated virtual server using Windows Hyper-V Manager.
Alternatively, you can run an identical copy of your MyQ system in a network-isolated container. In that case, you must ensure that the container is not able to connect to any external network. With this set up, you do not need to copy job files or perform a data backup and restore – you can simply run the upgrade and check the results.
-
Create a test VM (recommended) or prepare a separate physical server.
-
Configure networking so that:
-
the VM has an IP address
-
the VM has no access outside the isolated network.
-
-
Set the hostname to match the production server hostname.
Example VM configuration with an internal switch:
Install the Production MyQ Version
You need the installer for the MyQ version in your production system. If you do not have the same version, contact MyQ Support.
Then, on the test server:
-
Install the production MyQ version.
-
Use the production installation setup:
-
same installation path
-
same drive letter
-
-
Important! Do not install the target upgrade version yet.
Back Up and Copy Data from Production to the Test Server
Create a full backup of the production server and transfer it to the test server. The backup contains all production data except print job files, which must be copied separately.
Default locations
-
Backup directory:
C:\ProgramData\MyQ\Backup -
Job files directory:
C:\ProgramData\MyQ\Jobs
Steps
-
On the production server, create a full backup.
The backup is saved as a.zipfile in the backup directory. Note that for large deployments, backup creation may take up to an hour. -
Copy the backup
.zipfile to the test server. -
Copy the contents of the job files directory from the production server to the corresponding location on the test server.
Restore the Backup on the Test Server
On the test server:
-
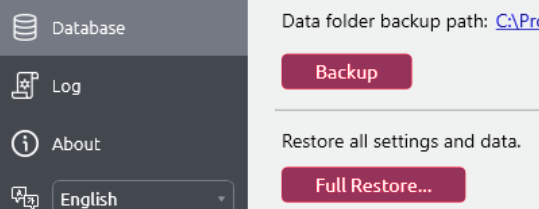
Open Easy Config.
-
Go to the Database tab.
-
Select Full Restore.
-
Select the backup
.zipfile. -
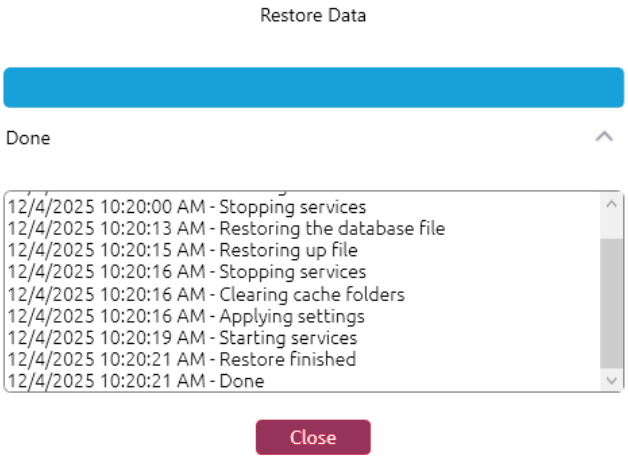
Run the restore.
-
Verify restore completion and service startup.
Run the Upgrade on the Test Server
On the test server:
-
Run the installer for the target MyQ version.
-
Follow the standard upgrade procedure.
See also: Important changes in MyQ X 10.2
Post-Upgrade Verification
After the upgrade completes, verify minimum functionality.
In an isolated environment, warnings related to connectivity may appear (for example, notifications, device connections, or user synchronization). This is expected and you can safely ignore these warnings.
|
Verification |
Expected result |
|---|---|
|
Upgrade completion |
Installer and Easy Config finish without error. |
|
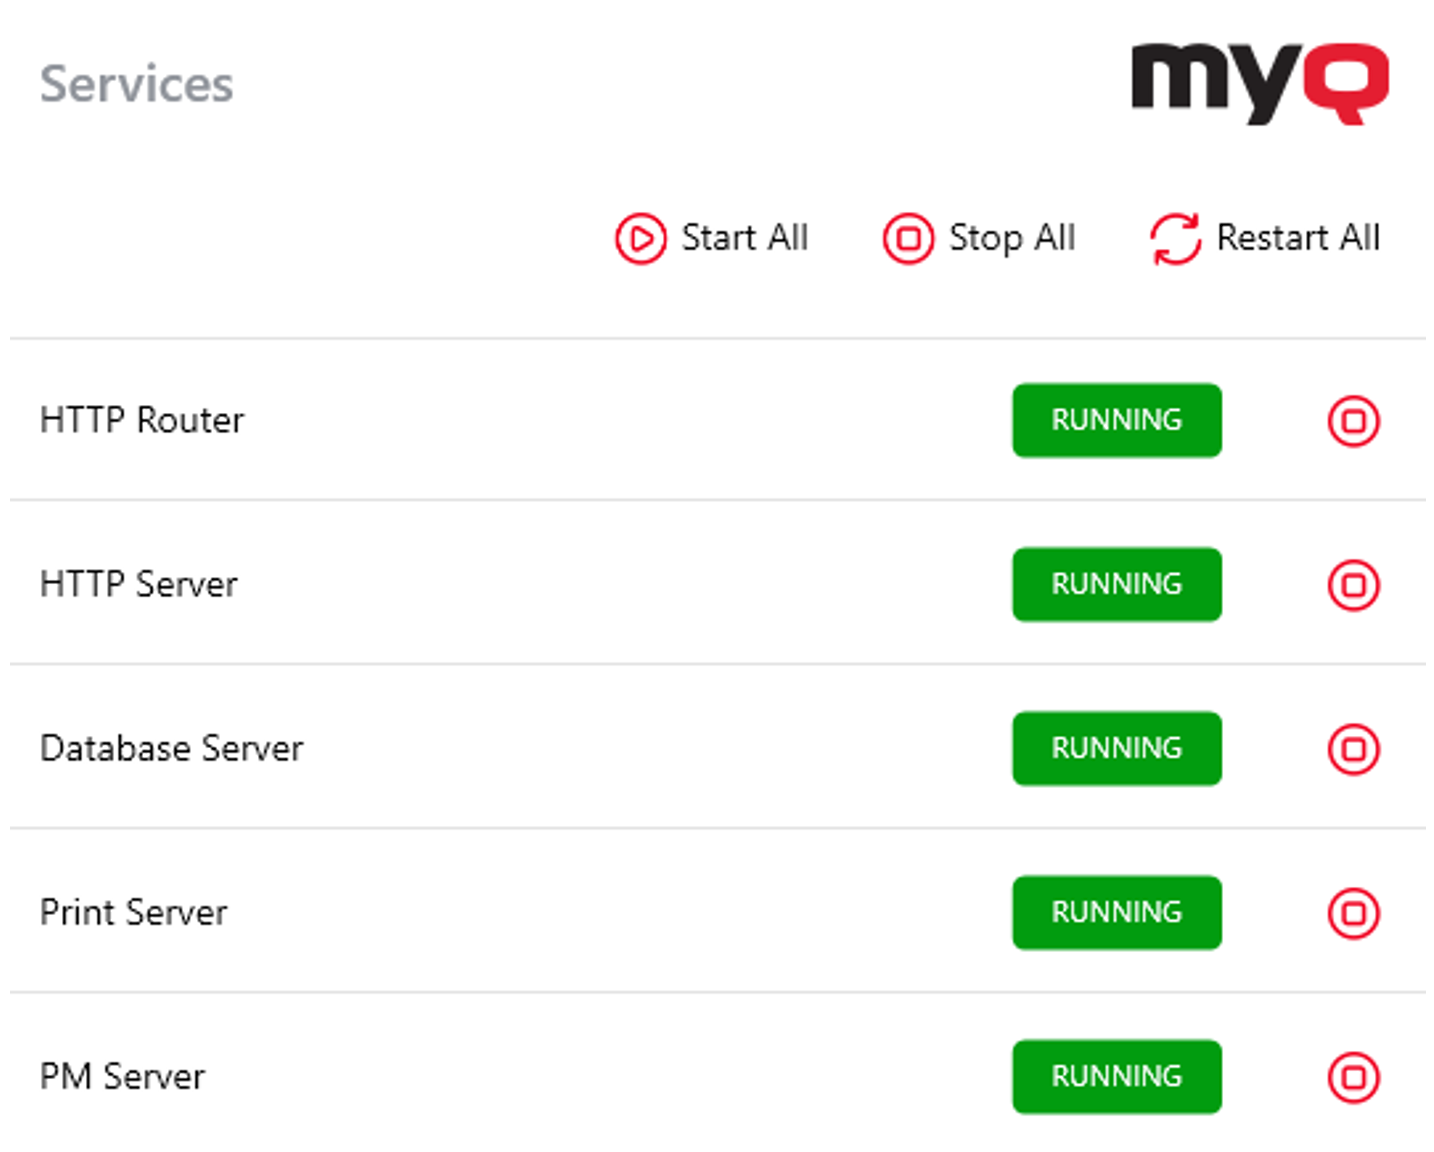
Services |
Required MyQ services are running. |
|
Web UI |
MyQ Web UI opens successfully. |
|
Data sanity |
Key settings and data appear correct. |
Next steps
If the test upgrade succeeds, proceed with the production upgrade.
If the test upgrade fails, stop and do not upgrade production. Contact MyQ Support, and provide:
-
log files from the test server
-
the production backup
.zip
See also: Generate Support Data