Requirements
-
.NET 8 or newer needs to be installed on the MyQ Print server.
-
The latest firmware needs to be installed on the printing device.
-
The Server has to have a fully qualified domain name.
-
The printing device and server must be set to the same time and the correct timezone to avoid issues with the Scan to Me functionality.
-
Devices must have EIP 3.7+
-
MyQ Xerox Embedded terminal 10.2 is supported on MyQ Print server 10.2+.
-
SNMPv3 recommended
For information about communication protocols and ports, check the MyQ Print Server guide.
Prerequisites
Certificate Requirements
-
Download the Xerox terminal installation package from the MyQ Community portal.
-
Open the MyQ web administrator interface, and go to MyQ > Settings > Network.
-
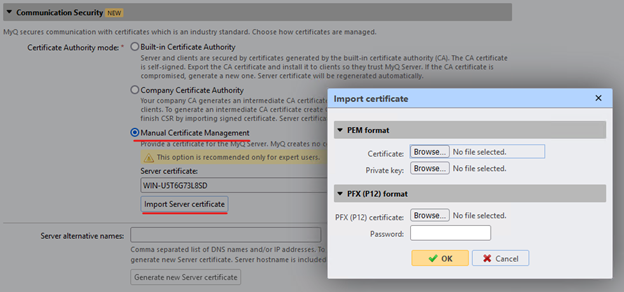
It is possible to use Built-in Certificate Authority in the Communication Security section. In this case no change is required; these are the default settings after the server’s installation.

-
Or it is possible to use custom certificates. In the Communication Security section, set Manual Certificate Management and import your certificates, the same certificate should be uploaded to the printing device.
-
-
Install the MyQ Xerox embedded package to the server in MyQ, Settings > Printers & Terminals.
SNMP Settings
For correct installation, it is required to configure SNMP on the MyQ server and in the device web UI. The same values have to be used on the server and on the device. It is recommended to use SNMP v3, as this setting is more secure and reliable. But it is also possible to use other versions of SNMP.
Go to the MyQ web administrator interface, in MyQ > Settings > Network > SNMP to configure SNMP on your MyQ server.
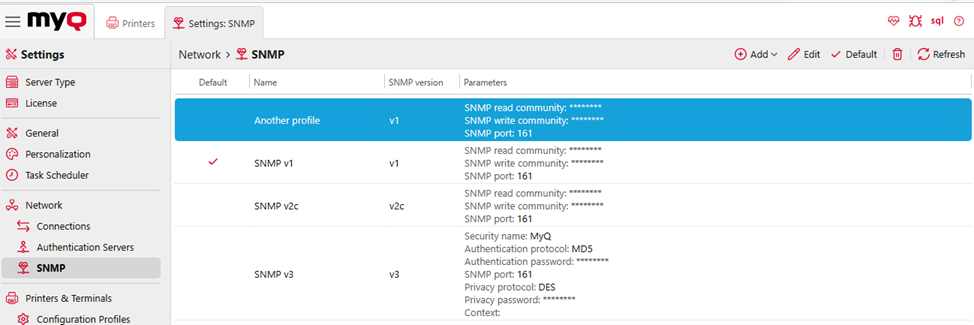
If SNMP v2c is used, SNMP read and write community has to be set to the values which are already used in the machines. The default for Xerox machines is public for read and private for write.
If SNMP v3 is used, the configuration on the server side has to be the same as the configuration on the device.
SNMP on Xerox EIP 3.7
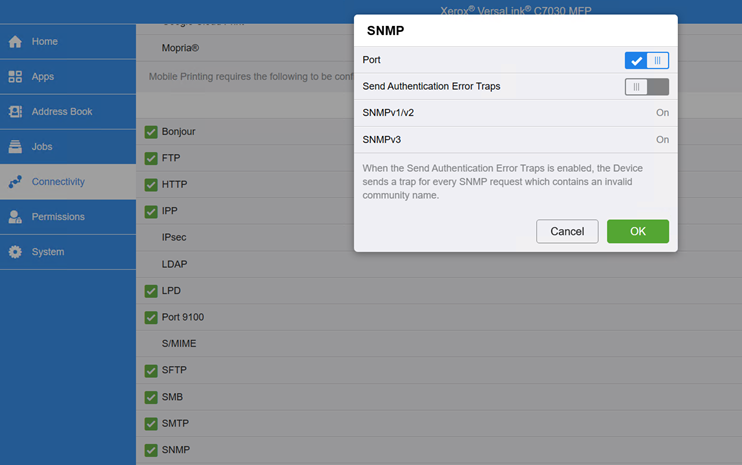
To set up SNMP on EIP 3.7 devices, go to the device web UI > Connectivity > SNMP.
If SNMP v1/v2 is used, Community Name Read Only has to be set to public and Community Name Read/Write has to be set to private.
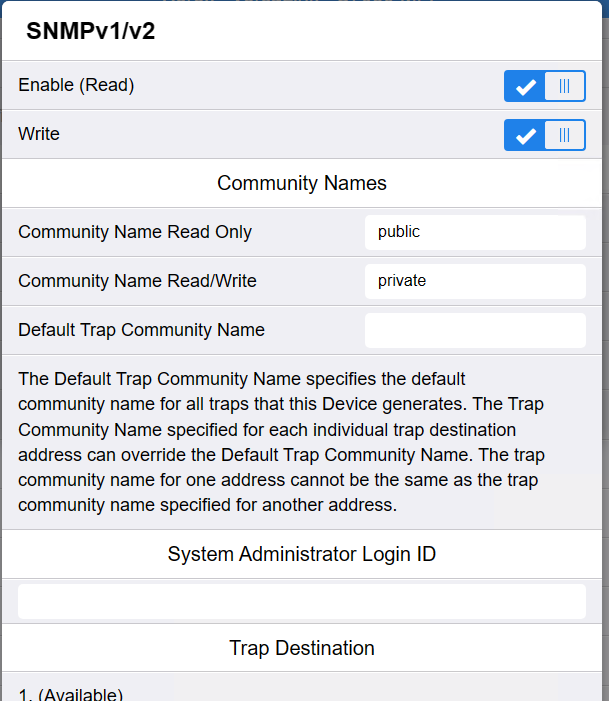
If SNMP v3 is used, the configuration on the server side has to be the same as the configuration on the device.
SNMP on Xerox EIP 4.0/5.1
To set up SNMP on EIP 4.0 or EIP 5.1 devices, go to the device web UI > Properties > Connectivity > Setup > SNMP.
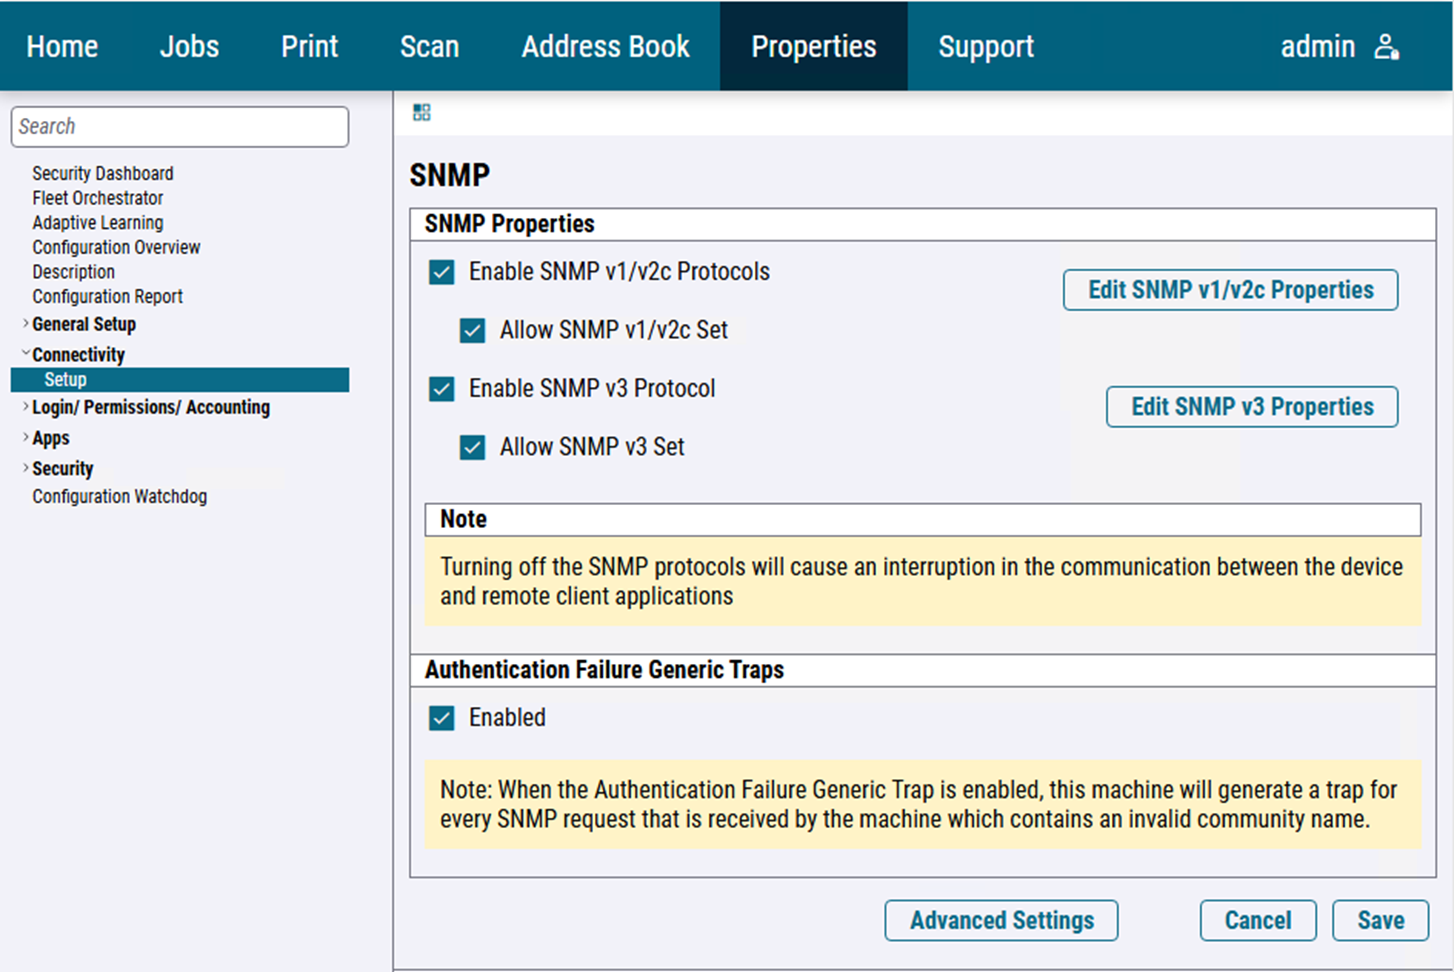
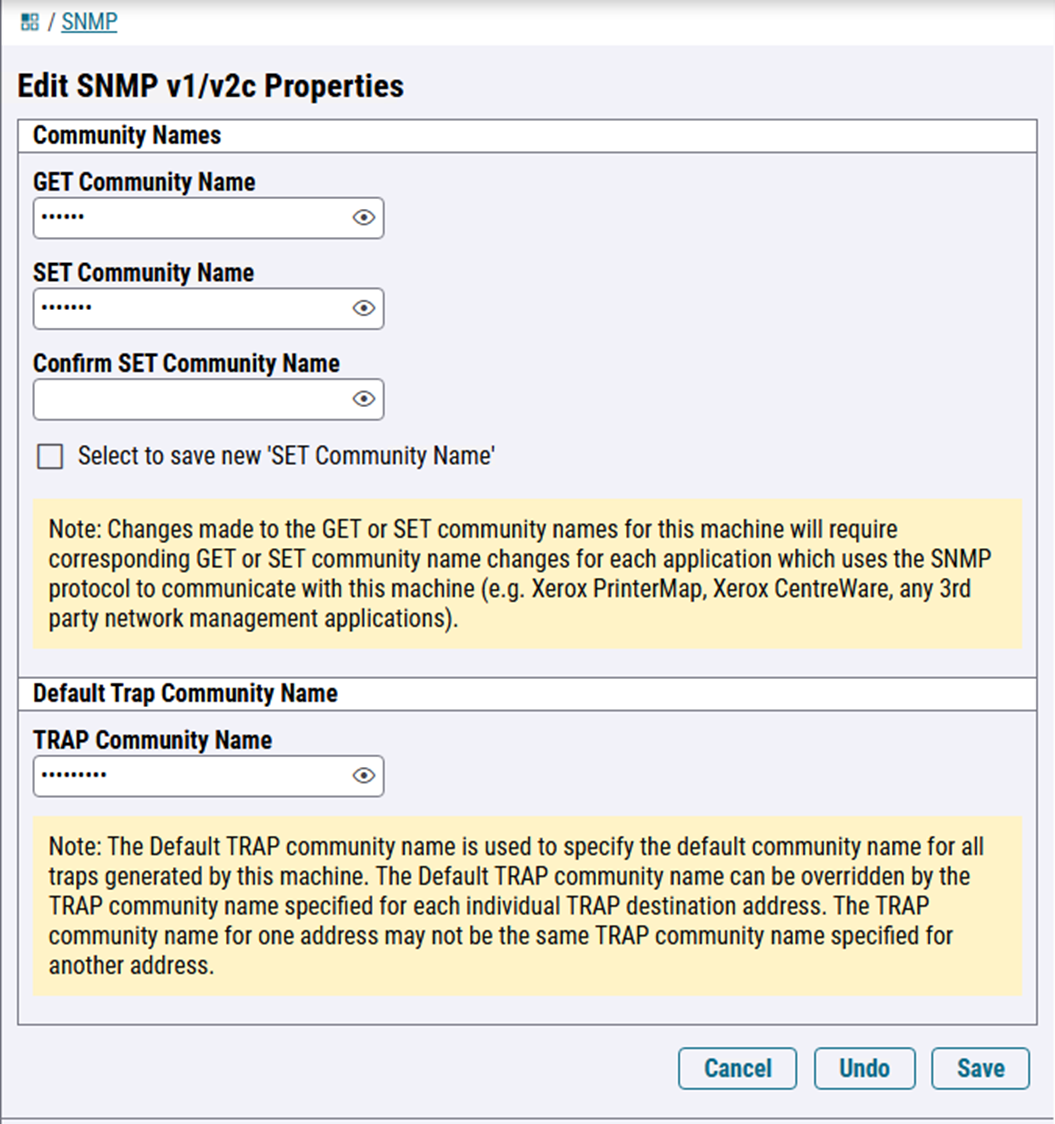
If SNMP v1/v2 is used, GET Community Name has to be set to public and SET Community Name and Confirm SET Community Name has to be set to private.
If SNMP v3 is used, the configuration on the server side has to be the same as the configuration on the device.