In this chapter you will:
-
Check the time zone.
-
Add your license(s).
-
Create an administrator email account.
-
Set the outgoing SMTP server.
The first setup steps
On the Quick Setup Guide widget, you can set the basic and most important features of the MyQ system:
Time zone
Here you can see if the time zone set in MyQ matches the Windows system time set on the server.
By clicking Edit, you open the General settings tab, where you can view and change the time zone. For proper functioning of the MyQ system, make sure that the time zone set here is the same as the time zone set in the Windows operating system. After changing the time zone, you are asked to restart the web server.
License
To add licenses, click Enter License. The License settings tab opens. You are asked to enter the following information about your installation:
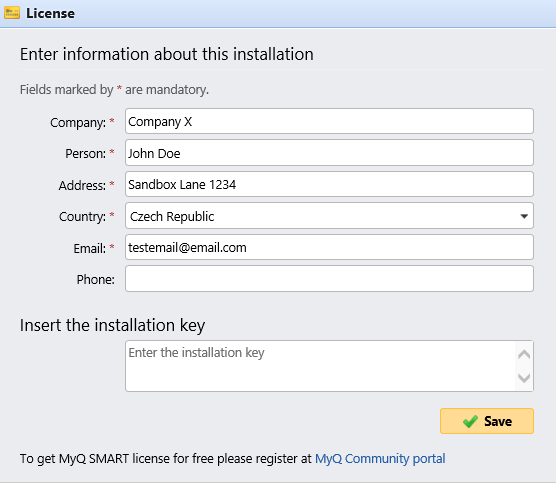
Once you have your license from the MyQ Community portal, Insert the installation key in the field and activate your licenses.
Assurance
With active software assurance licenses, you have access to MyQ technical support and free MyQ products upgrades.
Administrator email
By clicking Enter the administrator's email, you open the General settings tab, where you can set the administrator email. Important system messages (disk space checker warnings, license expiration etc.) are automatically sent to this email.
Outgoing SMTP server
By clicking Configure the outgoing SMTP server, you open the Network settings tab, where you can set the outgoing SMTP server.