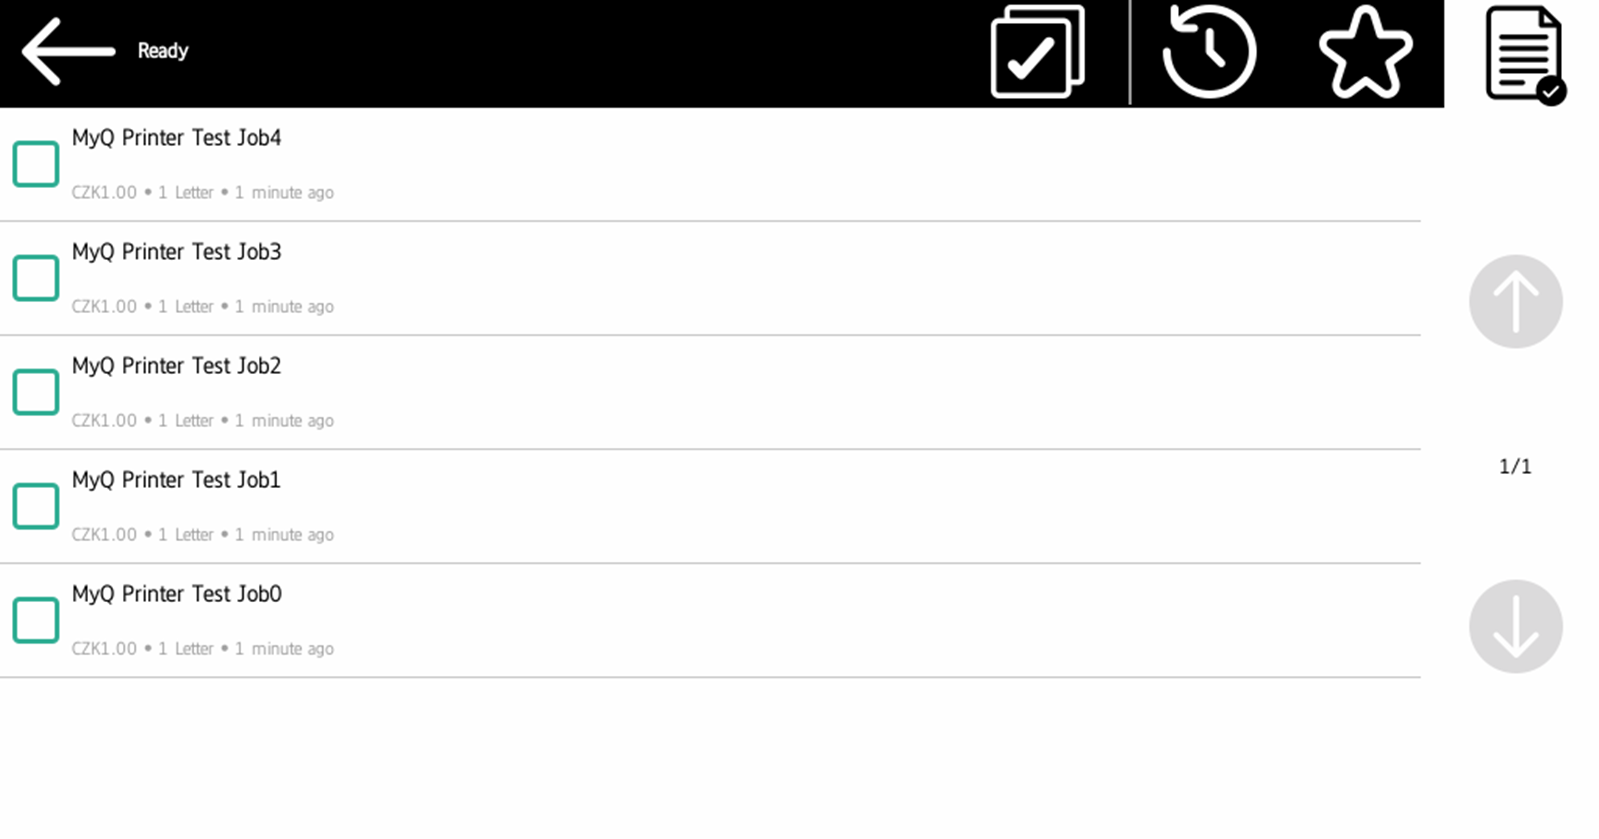
This terminal action shows all the jobs that can be printed on the printing device. Users can manage their ready, favorite, and printed jobs here.
-
Ready jobs: This is the initial tab of the My Jobs screen. It can be reopened by tapping the page icon at the upper-right corner of the screen. It contains jobs waiting in queue, ready to be printed.
-
Favorite jobs: Favorite jobs can be displayed by tapping the star icon at the upper-right corner of the screen. It contains a list of jobs you have marked as favorites.
-
Printed jobs: Printed jobs can be displayed by tapping the clock icon at the upper-right corner of the screen. It contains a history of your printed jobs.
Managing jobs on the My Jobs screen
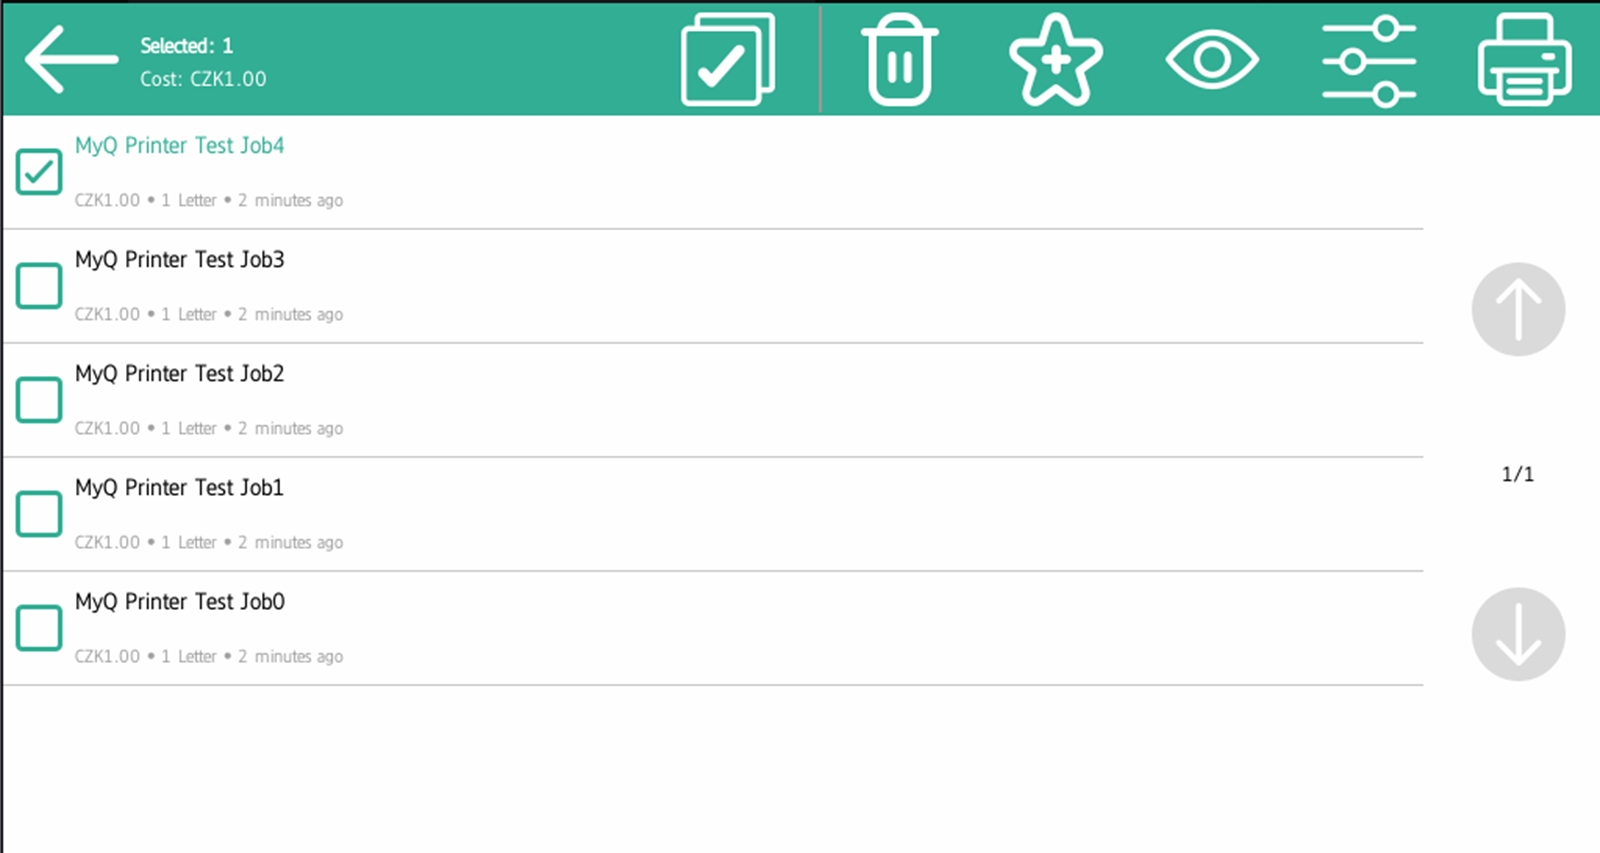
To display the available job management options, select the job from the list. The selected print jobs management bar opens at the top of the screen.

On the bar, you can select from the following options:
-
Print: Tap the printer icon to print the selected jobs.
-
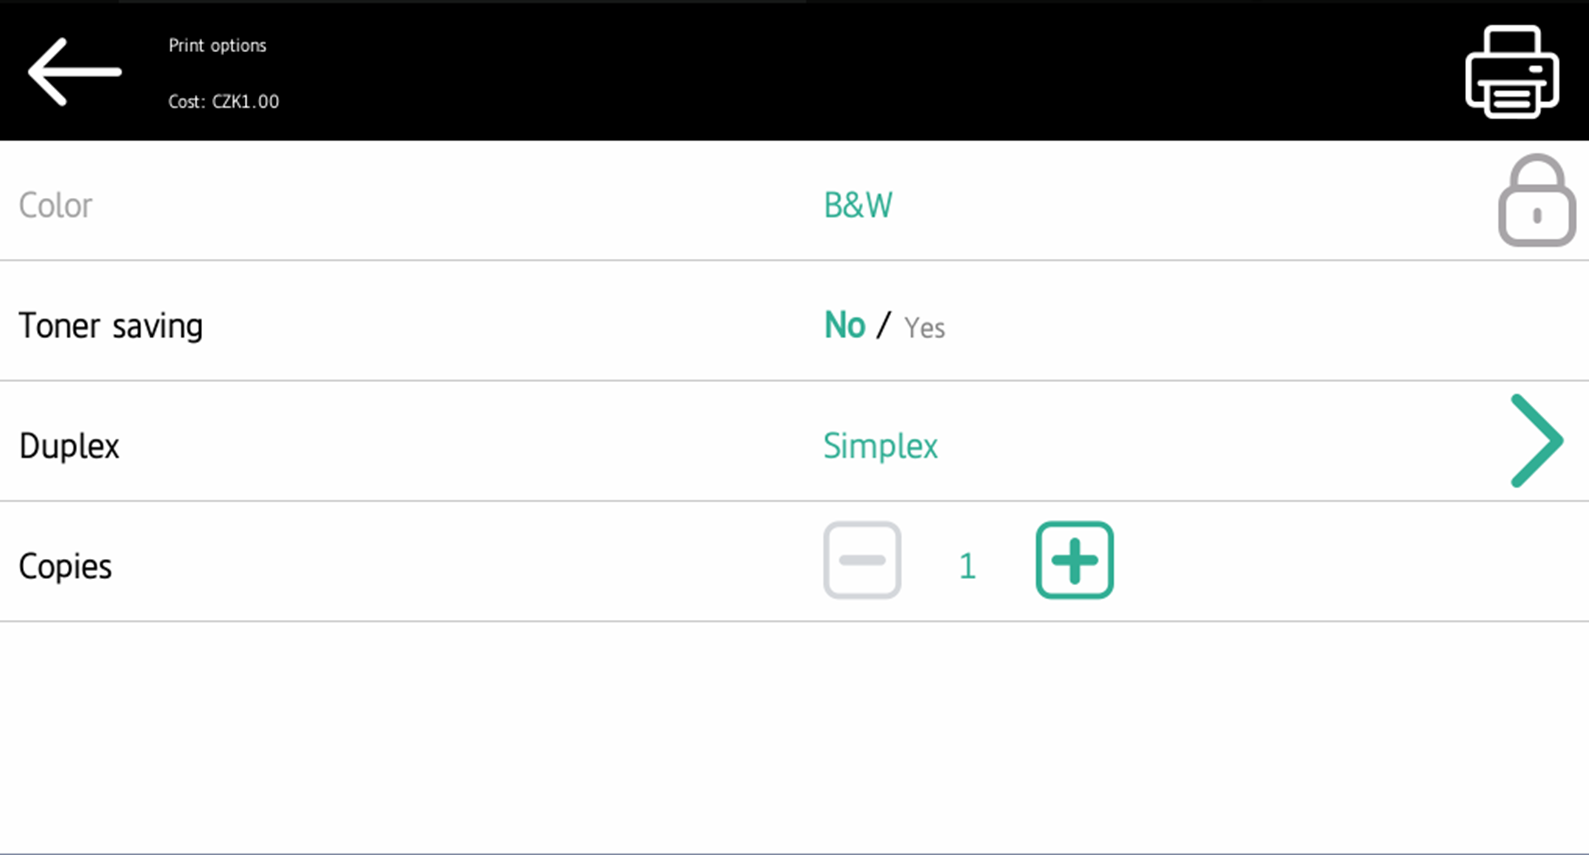
Edit: Tap the edit icon to edit the print options of the selected jobs. In the Print options dialog box, depending on the permissions given by the administrator, the user can select between color or B/W, simplex/duplex options, set stapling and punching, and change the number of copies. After changing the print options, the user can tap the printer icon to print the jobs.
In certain cases, you may see listed some print options that are not applicable due to the queue or printer being used. For example, you may see Staple options despite printing on a terminal with no stapling feature. In cases such as these, this command will be ignored.
-
Job Preview: Tap the eye icon to preview the selected jobs.
-
Add to favorites: Tap the star-plus icon to add the selected jobs to your favorites (Visible on the Ready jobs tab and on the Printed jobs tab).
-
Delete from favorites: Tap the star-minus icon to delete the selected jobs from your favorites (Visible on the Favorite jobs tab).
-
Delete: Tap the bin icon to delete the selected jobs.
Job Preview
The Job Preview feature is used to generate previews of jobs. To enable it, go to MyQ, Settings, Jobs, Job Preview. It is possible to limit the Number of pages to be generated (1 by default) in the preview. To include all the pages, set the value to 0.
Once enabled, the Job Preview (eye) button is visible on the terminal.
Tapping on it redirects to the Job Preview screen. The first page of the document is displayed by default in a thumbnail view, as the first page of the job preview. Besides the document’s preview, you can also see the document’s name in the lower-left corner, the number of pages in the lower-right corner, and the navigation menu to the right side.
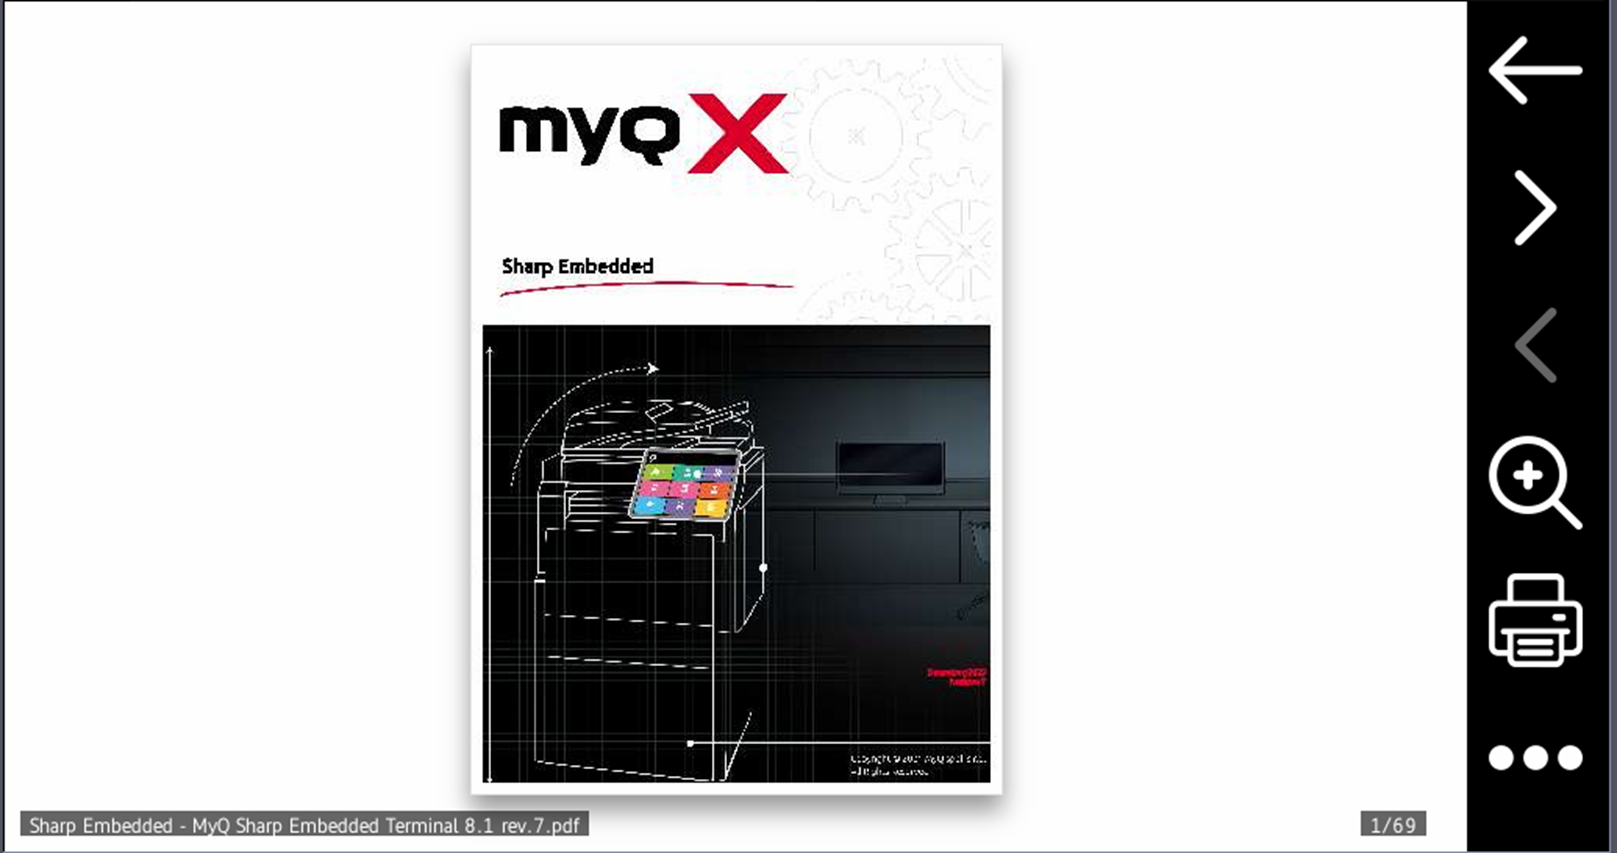
In the navigation menu, you can use the back button to return to My Jobs, the forward and backwards buttons to preview more pages, the magnifying glass button to zoom in and out of the previewed page, the printer button to print the job or open the job’s print options, and the three-dots button to expand the navigation menu. In the expanded menu, you can delete the job, add the job to your favorites, and print the job.