.png)
Scan to Contact from Address Book
To enable the Address Book parameter, the administrator has to set it up as a custom parameter for the Easy Scan action.
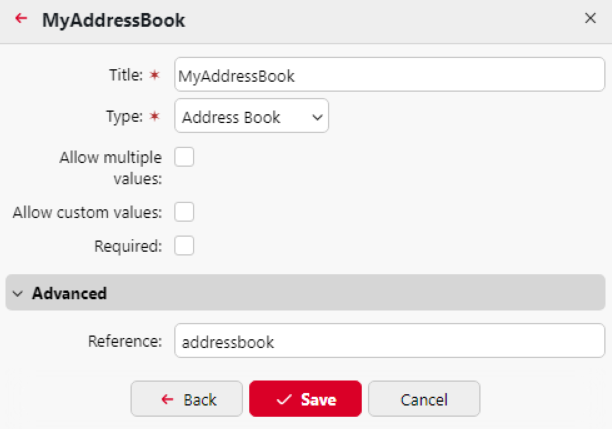
If the Address Book is the only destination for the Easy Scan action, it is recommended to enable Required. Otherwise, the field would not be marked as mandatory with * (asterisk) on the Embedded Terminal.
Once done, users can manage their Address Book on the MyQ Web UI and scans are sent to the contact from the users Address Book.
Accessing and Using Address Book
Log in to MyQ.
In the main menu, select Address Book.
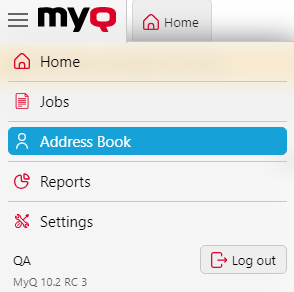
Address Book is not available to built-in accounts such as *admin.
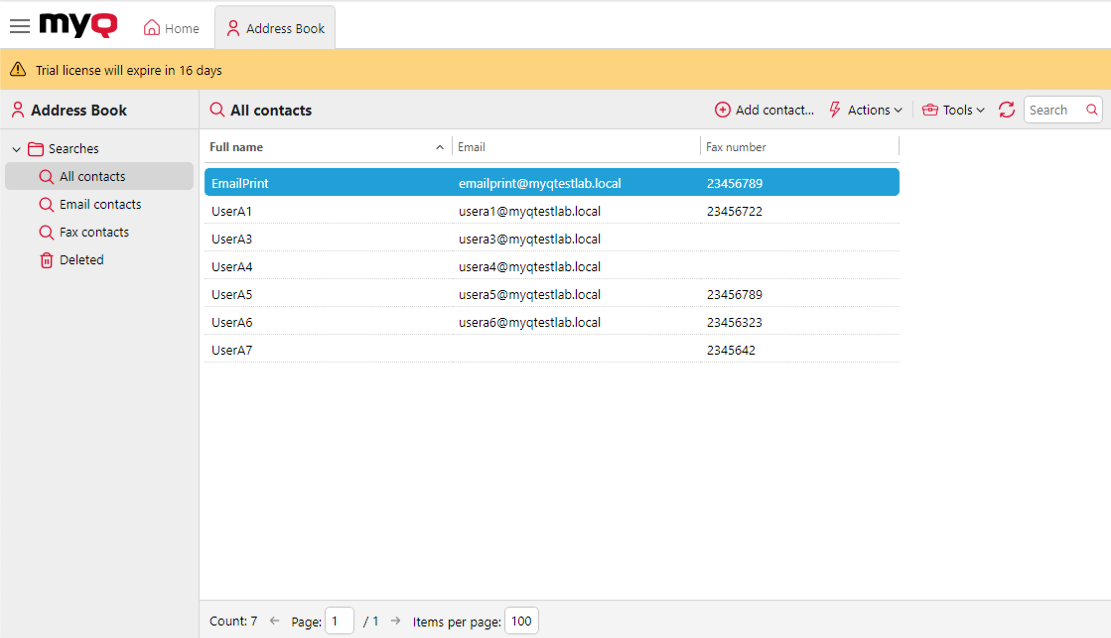
Here, you'll see your contact list with available columns: Full name, Email, and Fax number.
Managing Contacts
To add a contact, click on Add contact. A pop-up appears where you can enter the contact's Full Name, Email, and Fax Number.
To edit or remove a contact, locate the contact from the list and choose the respective option.
For searches, use the left pane. Options available: All Contacts, Email Contacts, Fax Contacts, and Deleted.
In the Deleted section, you can either Undelete or Permanently Remove a contact.
All email inputs undergo validation checks to ensure they are of a valid email format.
Fax numbers are saved without validation. Make sure your users understand what number formats are supported by Fax devices.
Using Address Book in Easy Scan
Log in to the terminal.
Choose Easy Scan.
In the parameters, select the Address Book option.
Browse and select a contact from your list as the destination.
A user can only access contacts from their own Address Book. Accessing the contacts of another user, even by administrators, is prohibited.