.png)
Printers and Terminals Settings
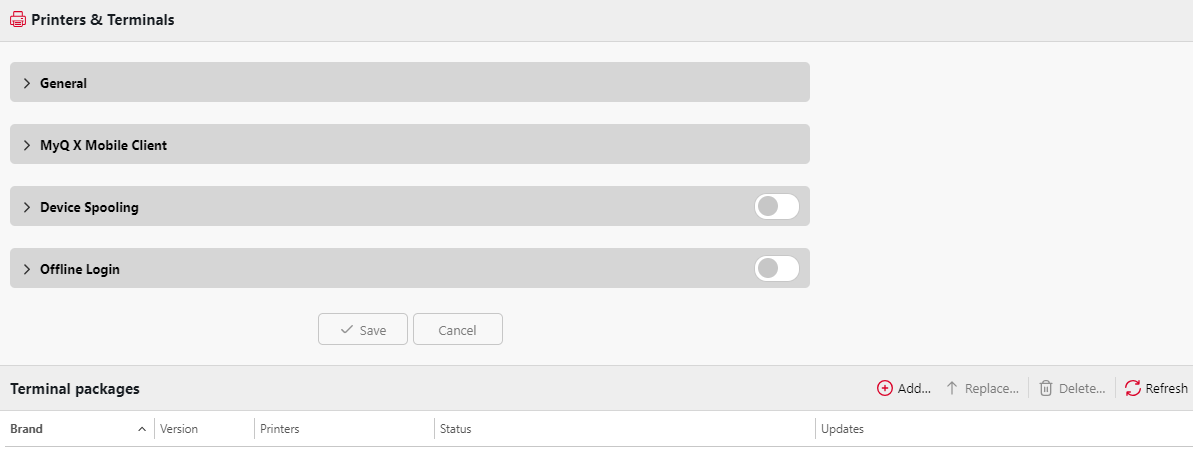
On the Printers & Terminals settings tab, you can manage your terminal packages, and configure multiple settings. The settings are divided in the General, MyQ X Mobile Client, Device Spooling, Offline Login, and Terminal packages sections.
General
In this section, the following settings are available:
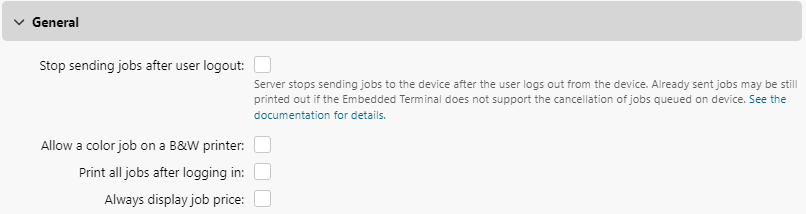
Stop sending jobs after user logout: If enabled, jobs requested for release by the user by clicking Print on the Embedded Terminal are stopped when the user logs out of the device. This effectively means that when a user starts printing a list of jobs and logs out, some pages/jobs already saved in the device’s memory may be still printed. However, the print should eventually stop. Not yet released jobs will be returned to Ready status and available to the user again in My jobs.
Kyocera terminal installations create an additional option to Discard pending jobs on logout which can be enabled in Settings – Configuration profiles – profile detail – Terminals tab, in the vendor-specific settings section (under the vendor’s name available only when the terminal is installed on the Server).
Allow a color job on a B&W printer: If enabled, color jobs can be printed on B&W printers.
Print all jobs after logging in: If enabled, a Print all jobs after logging in checkbox is displayed on the terminal’s Log in screen, and it is selected by default. If the user keeps it selected, all their jobs from the Ready tab are automatically printed as soon as they successfully log in. If the user disables the option, no jobs are printed automatically upon login.
Always display job price: If enabled, a job’s price on an Embedded terminal is displayed even when Credit or Quota are disabled. If disabled, a job’s price on an Embedded terminal is not displayed unless Credit or Quota are enabled.
To enable any of the settings, select the checkbox next to them, and click Save at the bottom of the tab.
MyQ X Mobile Client
In this section, you have the following options:

Enable login by QR code on terminal login screen: If enabled, a QR code is displayed on the terminal login screen and can be used to log in (enabled by default).
Set QR code as default login method: If enabled, a QR code is displayed on the terminal login screen and is the default method for logging in.
Device Spooling
In this section, you can enable the Device Spooling feature for your embedded terminals and set it up.
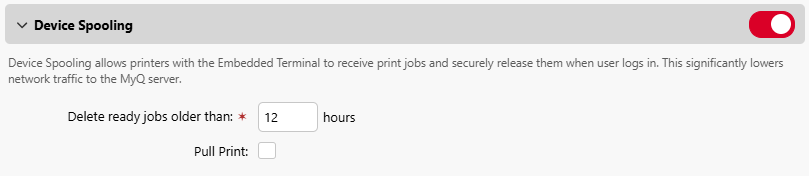
Enabled: Enable/disable the Device Spooling feature (disabled by default).
Delete ready jobs older than __ hours: Period of time after which the device spooled jobs are deleted. The default is 12 hours, and the allowed range is 1 to 72.
Pull Print: If enabled, you can use Pull-Print printing.
Offline Login
Offline Login allows to use printers with Embedded terminals even if the network connection to the MyQ server is unavailable. In this section, you have the following settings:
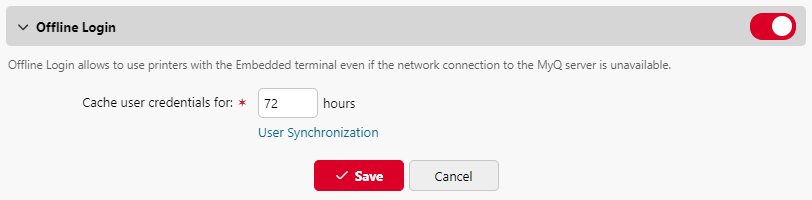
Enable/Disable: Use the enable/disable switch in the section header to enable or disable the Offline Login feature (disabled by default).
Cache user credentials for __ hours: The terminal caches user credentials for the given time, allowing them to log in while offline. The default is 72 hours, and the allowed range is 1 to 168.
User Synchronization: If enabled, the user's information can be synchronized to printers without the need for the user to log in to the printer first.
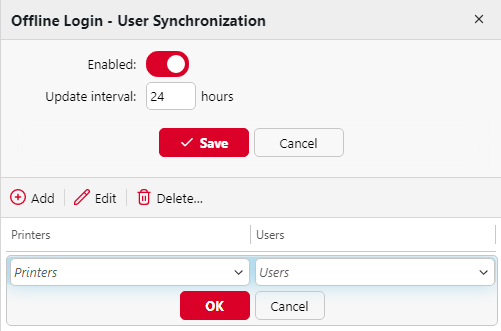
Enabled: Enable/disable offline login user synchronization.
Update interval: Set the interval of user synchronization between 1 and 168 hours.
Add, edit, delete printers and users: Configure the printers and users for the offline login user synchronization.
Terminal packages
In this section, you can manage your terminal packages.
Click Add… to upload a terminal package to the server. In the pop-up window, browse and open the terminal package, and click OK. The terminal package is uploaded and installed. (Note that the terminal package service will automatically run under the Local System Windows account. To change it, go to MyQ Easy Config in the Settings tab.)
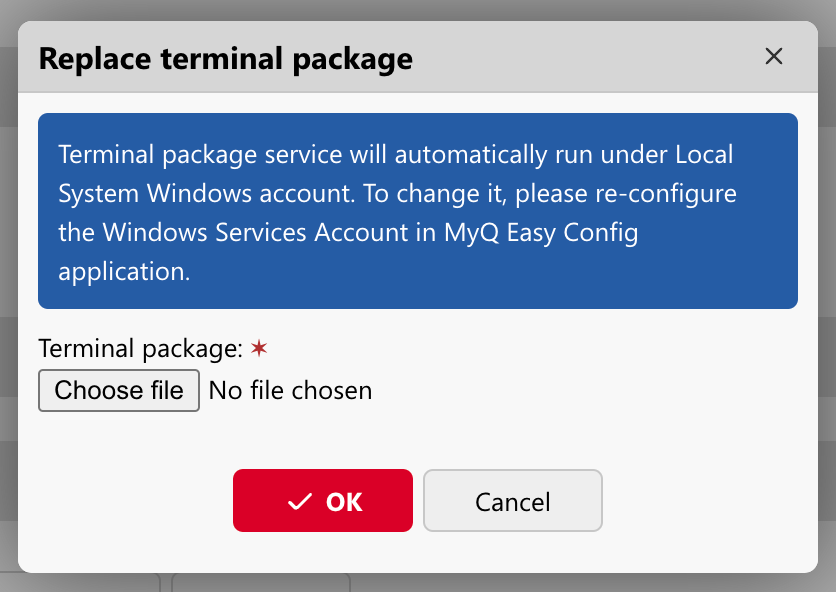
If you are trying to update a terminal package by adding a later version of the same terminal package, a pop-up informs you that a previous version of the package is already installed, and to update it you must select that package and click Replace…

Select an installed terminal package and click Replace… to upgrade it to the latest version. In the pop-up window, browse and open the terminal package, and click OK. The terminal package is uploaded and installed, and the device is automatically reactivated.

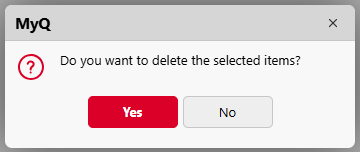
Select an installed terminal package and click Delete… then click Yes to uninstall it from the server.
For specific terminal packages information and limitations, check the embedded terminal manuals:
In the Configuration profile options, these are represented as the type “Embedded”. On top of that, the Configuration profile also contains built-in types (for hardware terminals, network authentication, and more). See details in Configuration Profiles.