Configure OCR in MyQ to define where scanned documents are processed and how output formats are handled.
Enable OCR
-
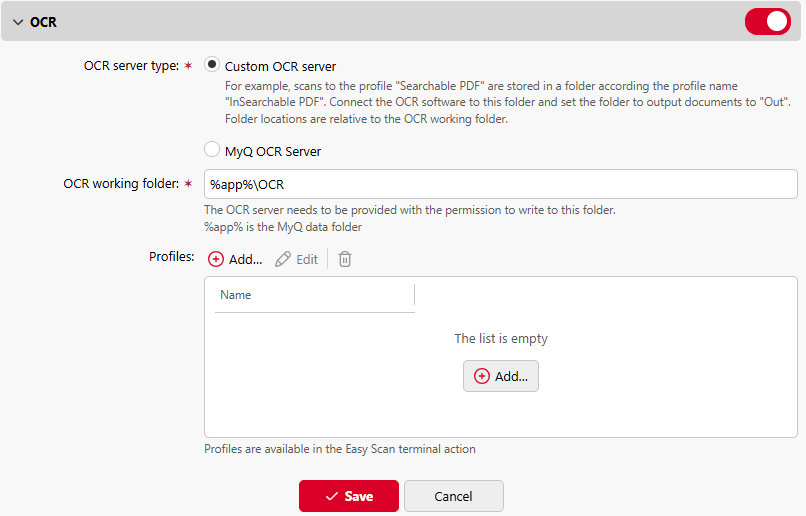
In the MyQ web UI, go to MyQ > Settings > Scanning & OCR > OCR, and ensure that OCR is Enabled.
-
In OCR server type, select MyQ OCR Server.
-
In OCR working folder, you can specify the data folder used by the OCR service. We recommended to use the default location (
C:\ProgramData\MyQ\OCR).
Note that the working folder must also be set in the OCR Server configuration. For more information, see Configuring OCR Server.
Both the MyQ server and the OCR server must have read and write access to the OCR working folder.
OCR Folder Structure
The OCR folder (default is C:\ProgramData\MyQ\OCR) contains the following sub-folders:
-
/in – stores scanned documents before processing.
-
/out – stores scanned documents after processing. These files are ready to be sent.
-
/profiles – stores your OCR profiles.
Manage OCR Profiles
Profiles define the output format of scanned document, and are used by Easy Scan and email commands.
Create a profile
-
Click +Add next to Profiles.
A new item with the settings of the new profile appears in the list below. -
Type the Name of the profile, select the Output format from the list, and click OK. The
profile is saved.
Edit a profile
-
Select the profile on the list and click Edit (or right-click and select Edit in the shortcut menu).
-
In the profile editing options, you can change the name and the output format of the profile.
Delete a profile
To delete a profile, select it and click the delete icon on the ribbon (or right-click and select Delete in the context menu).
Click Save at the bottom of the screen to save your changes.