This topic describes the MyQ Web Interface where you manage most features of MyQ. It shows you how to access the web interface and the two menus where you can access all settings and functions on the web interface: the Main menu, and the Settings menu. Furthermore, it describes the web interface's Home dashboard and shows you how to perform the initial MyQ setup. The last two sections introduce two MyQ logs: the MyQ Log and the MyQ Audit Log.
Accessing the MyQ Web Interface
To access the MyQ Web Interface, open it in your web browser and log in as an administrator:
You can open the MyQ Web Interface in these ways:
-
Open your web browser, and then enter the web address:
https://*MyQCentralserver*:8093
where MyQCentralserver represents the IP address or the host name of your MyQ Central server and 8093 is the default port for access to the server. -
From the MyQ Central Easy Config Home tab, click the MyQ Web Administrator link in the MyQ Web Administrator section.
-
Open the MyQ Central Web Administrator application. You can find this application on the Apps screen in these and later versions: Windows 10, Windows Server 2019.
Log In as an Administrator
Enter the MyQ administrator name (*admin) and the password that you have set in the MyQ Easy Config application, and then click Log In. If you have not changed the default password yet (not recommended), enter the default one: 1234.
In the drop-down at the top of the login window, you can select your preferred language.
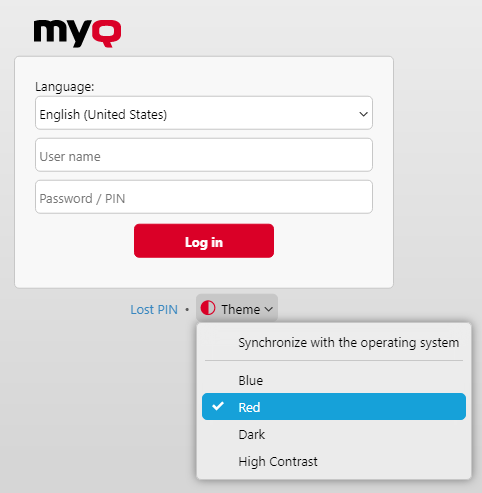
Before logging in, you can click Theme to choose the theme for the interface. The options are: Synchronize with the operating system, Blue, Red (default), Dark, High Contrast.