Central Server database setup
Once the MyQ Central server is installed, the MyQ Central Server Easy Config application opens and you are asked to select and set the MyQ database. The two following sections describe the setup of the database after the installation.
If you have deselected the Embedded Database option during the installation, the MyQ Embedded database option is no longer available on the MyQ server.
Setting up the Embedded Database
To set up the Embedded database:
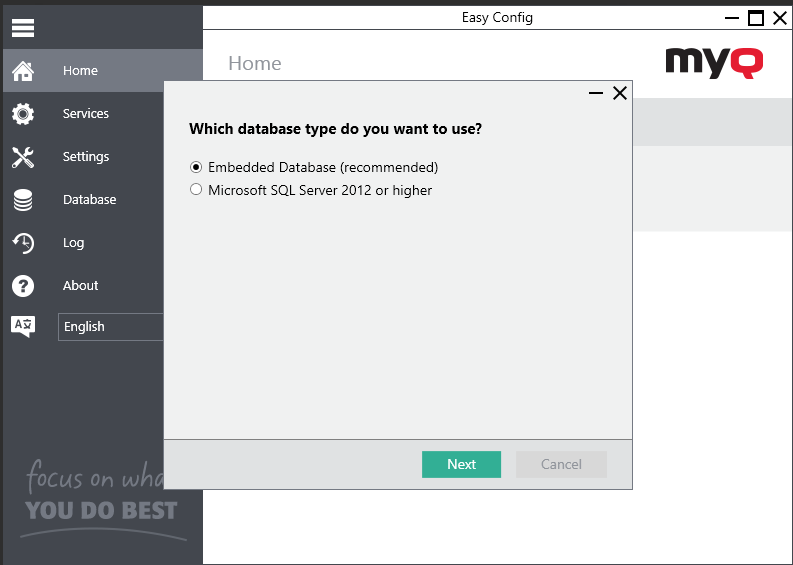
Select the Embedded Database (recommended) option, and click Next. The database is installed and upgraded if needed.

Click Finish to leave the MyQ Database Wizard.

Setting up an MS SQL Database
To set up an MS SQL database:
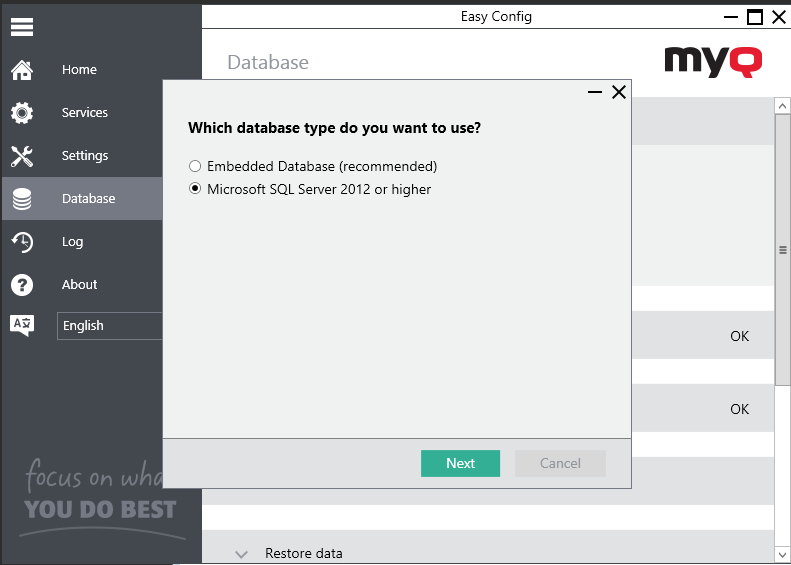
Select the Microsoft SQL Server 2012 or higher option and click Next.

Fill in the setup fields with the following information:
Database name: name of the new MyQ MS SQL database (for example MyQDatabase)
Log database name: this automatically filled according to the Database name
Database server address: the IP address or the hostname of the MS SQL server
Server port: TCP port used for communication with the MS SQL server; by default it is 1433. In case of a Local database, the Server port field must be left empty.
Username/Password: Login credentials for accessing the MS SQL database management. The login account has to have the public fixed server role for access to the MS SQL database. You can alternatively use Windows Authentication.
Before you can continue, it is necessary to manually create the main and log databases MyQ will be using. You can use the creation scripts that are available to you under the 'Database name' and 'Log database name' fields. Run the scripts on your MS SQL server and they will create databases using the names you have provided in Step 2.
Once the databases are successfully created, click Next to continue. MyQ Central Server Easy Config will run the Database Prerequisites Check.
Click Finish to leave the MyQ Database Wizard.
.png)