.png)
Installation
This topic shows you how to install the MyQ Central server and how to connect it to a database.
Before you start the installation, make sure your system is up to date and meets the requirements as described in System Requirements.
MyQ Central server is installed simply by running the executable file and following the instructions of the installation wizard.
Download the latest available MyQ Central Server version from the MyQ Community portal (MyQ Central Server X.X.X.X).
Run the executable file. The Select Setup Language dialog box appears.
Select your language, and then click OK. The License Agreement dialog box appears. Select I accept the agreement and click Next. The Accessibility mode dialog box appears.
Select between the Standard or Enhanced accessibility mode, and click Next. The Select Destination Location dialog box appears.
Select the folder where you wish to install MyQ Central server. The default path is:
C:\Program Files\MyQ Central Server.Click Next. The Select Components dialog box opens.
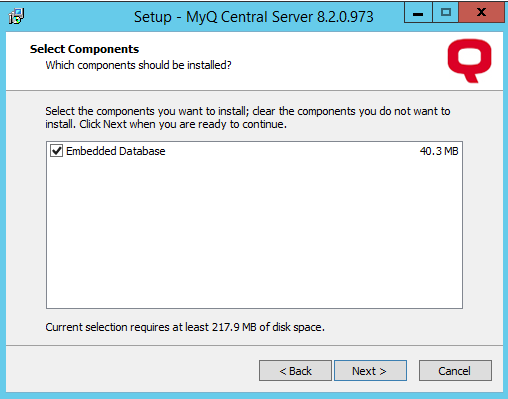
If you want to use the MyQ Embedded database server, keep the Embedded Database option selected (default setting). If you want to use an MS SQL database server, you should clear the selection. Click Next. The Ready to Install window opens, with an overview of your selections.
Click Install. MyQ Central server is installed on your computer. Depending on the OS settings on the server, you might be asked to restart the computer. If you are asked to restart the computer, you need to do so in order to finish the installation. After the restart, the MyQ Central Server Easy Config application opens and you can continue with the setup there.