Once the embedded terminal is installed, you must disable certain settings on the device's Web UI. These settings are Print banner sheet and Allow the print driver to override. Disabling these settings prevents the terminal from printing an extra page after every job.
Adding the server's SMTP address must also be done manually.
Xerox EIP 3.7
Disable Settings
-
Log in as an admin to the device’s Web UI.
-
Click System in the left panel.
-
Click the Defaults and Policies icon in the right panel. A pop-up with the same name opens.
-
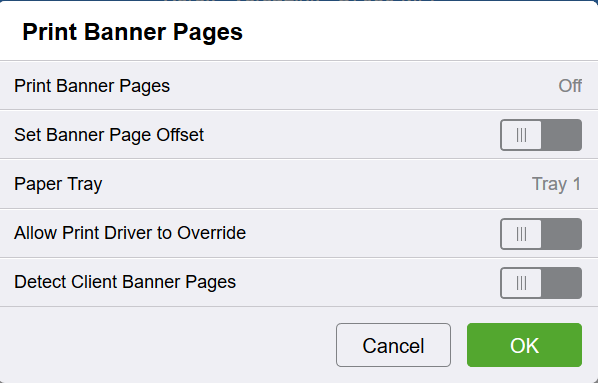
In the Printer section, click Print Banner Pages. A pop-up with the same name opens.
-
Click Print Banner Pages and select Off.
-
Set Allow Print Driver to Override as deactivated.
-
Click OK, and then Close in the previous window.
Add SMTP Settings
-
Log in as an admin to the device’s Web UI.
-
Click Connectivity in the left panel. The connectivity options become visible in the right panel.
-
Find and click SMTP. A pop-up with this name opens.

-
Set a Device Email, a Server Address, and an Outgoing SMTP Port Number. The last one is standard 25.
-
If needed, set Connection Security and/or the Outgoing SMTP authentication for more security.
-
Click OK.
Xerox EIP 4.0/5.1
Disable Settings
-
Login to the Web UI of the terminal as an admin.
-
Click Properties.
-
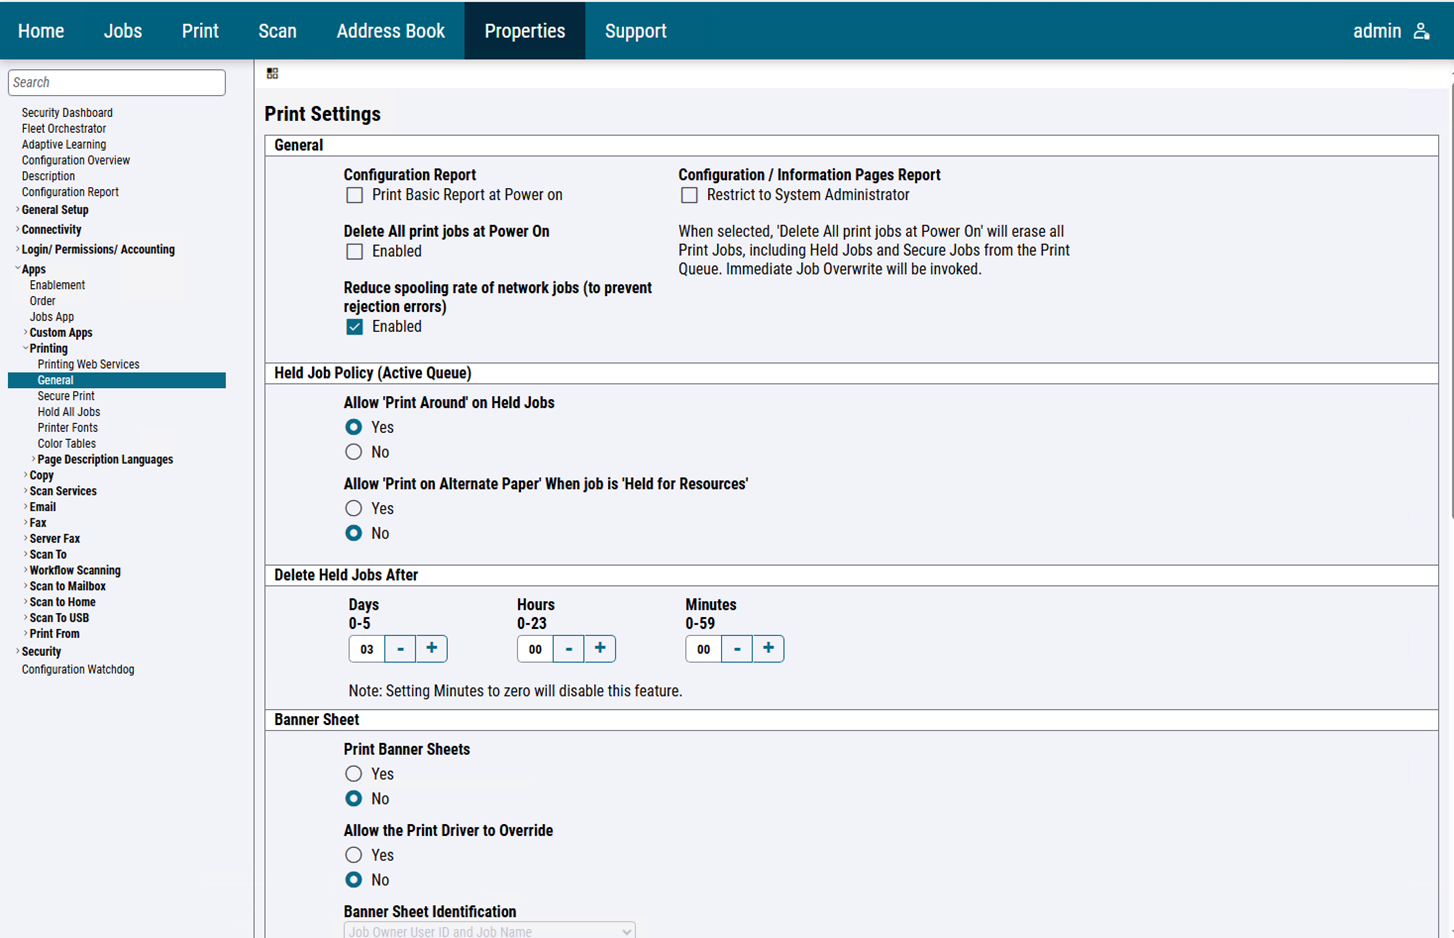
In the left panel click Apps - Printing - General.
-
In the right panel, in the Banner Sheet section, set both Print Banner Sheets and Allow the Print Driver to Override to No.
Add SMTP Settings
In order to make Panel Scan work, you need to set an SMTP address for proper communication.
-
Log in as an admin
-
Click Properties.
-
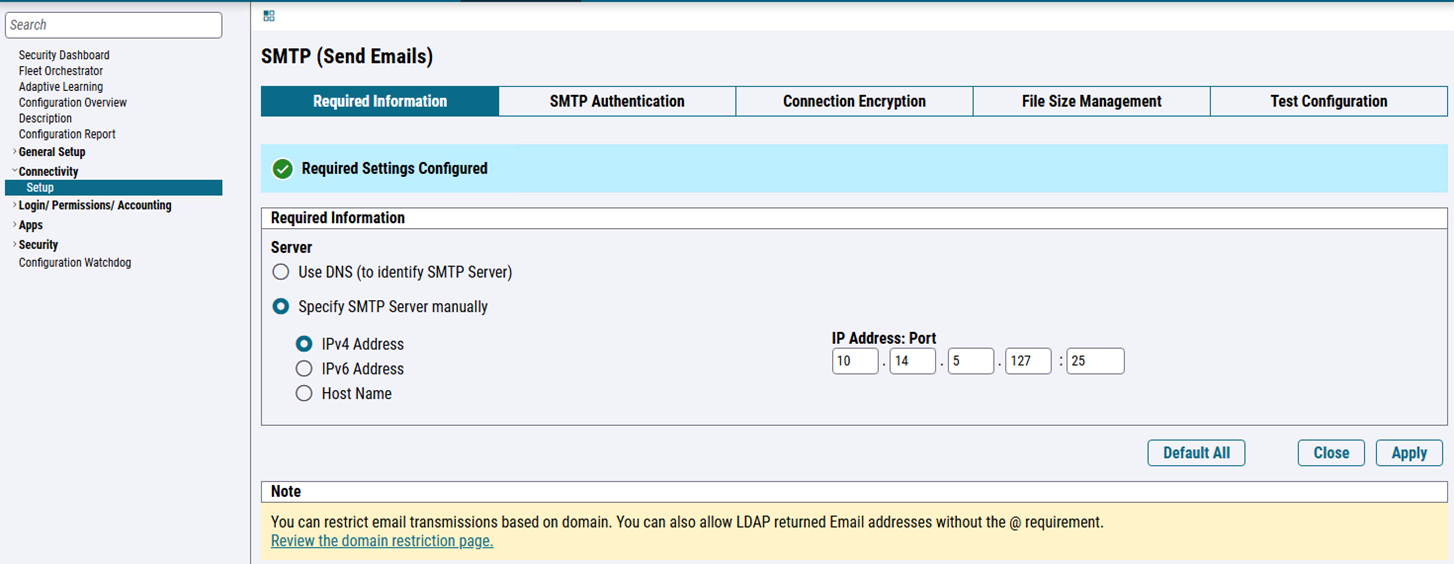
In the left panel click Connectivity - Setup.
-
In the right panel, find SMTP (Email) in the Protocol section and click Edit at the end of the line. The settings panel opens.
-
Fill out the information under the Required information and SMTP Authentication tab.
-
Click Test Configuration.
-
Type an email address, then click Send email to test your settings.
-
Click Apply to save the settings.