Depending on your setup, you may see some of these options, while others are not accessible. If you are uncertain about which features you have access to, contact your administrator.
Usually, only registered users can access the MyQ system and use the services there. However, if your organization has automatic registrations enabled, you can add yourself to the MyQ system in two ways:
-
Register yourself on the MyQ Web User Interface or on an embedded terminal,
-
Automatically be registered after sending a job to MyQ from your computer or via email as an attachment.
Register on the MyQ Web User Interface
With this option selected, you can create an account on the MyQ Web User Interface. You should receive the link to MyQ User Interface from your administrator.
-
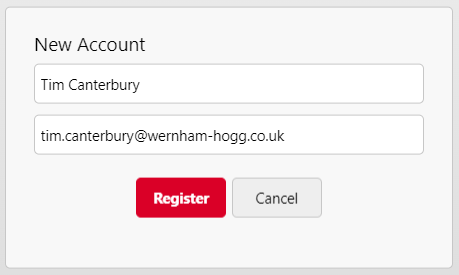
Click New Account at the bottom-left corner of the MyQ login window. The New Account registration widget opens.
-
Enter a name and email address and click Register. The newly created account is given the same name as the email address entered.
After creating the account, the New Account created message box appears. After clicking Show PIN there, the user can see their username and password. You will receive an email with information about the new account. The default message contains your username and PIN.
Alternative Methods
You can use the following options if they were previously configured by your admin. They should let you know if they are available to you.
Register by Receiving a Job via Email
With this option selected, you can register yourself by sending an email with an attached printable document. The name of the newly created account is the email address that the email was sent from. You will receive an email reply with information about the new account. The default username will be the email you used. You will receive an email to that address containing your PIN or password.
Register by Swiping an Unknown ID Card
With this option selected, you can register yourself at a printing device with an embedded terminal by swiping an unknown ID card at the card reader. After you swipe the card, a new account called anonymX (anonym1, anonym2, etc.) is created and you are automatically logged in to the terminal. There, you can edit the account using the Edit Account embedded action.