Once you successfully log in to the MyQ Web User Interface, you are on the Home dashboard of your MyQ account, where you can edit your account, and quickly access the main settings and features.
Additional tabs with settings can be accessed via the MyQ menu at the upper-left corner of the page.

Depending on the actual setup of the MyQ printing environment, you can view the following widgets:
-
Quick Links: These are links to tabs where you can manage MyQ features, such as print jobs or reports.
-
User Profile: Here you can edit your MyQ profile, set a new password, generate a new PIN, delete all your ID cards, and manage your personal queues.
-
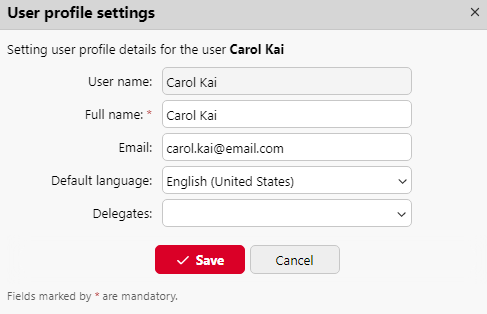
Edit - In the User profile settings pop-up, you can edit your User name, Full name, Email, Default language, and Delegates, and click Save. The editable fields depend on your administrator’s setup.
-
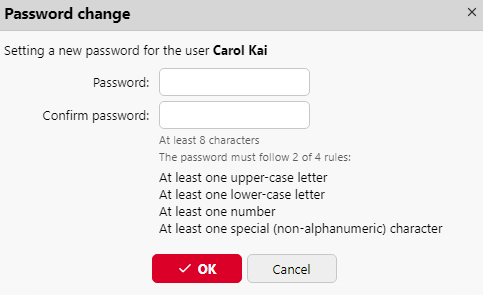
Set password - In the Password change pop-up, type your new MyQ password in the Password and Confirm password fields, and click OK. The new password must adhere to the listed rules.
-
Generate PIN - Upon clicking the Generate PIN button, a confirmation dialog pops up, asking if you want MyQ to generate a new PIN. When you click OK, a pop-up displays your new PIN.
-
Delete all ID cards - Once clicked, a confirmation dialog pops up, asking if you really want to delete all your ID cards. If you click OK, your ID cards are deleted.
-
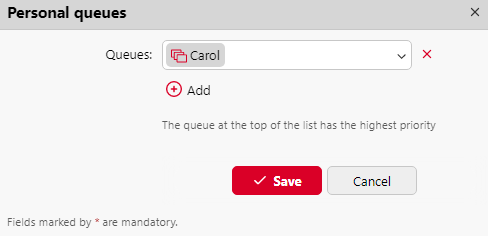
Personal queues - In the Personal queues pop-up you can add/delete your personal queues.
-
-
Jobs: This is an overview the number of your ready, paused, favorite, and failed jobs. Clicking on each of the links takes you to the Jobs overview tab.
-
Scanned Documents: Here you can see links to your scanned documents that are stored on the MyQ server. These are scanned documents that were too large to be sent via email.
-
Cloud Storage: This is a list of your available cloud storages. If they are not connected, you can click Connect and follow the connection instructions depending on the cloud storage type.

-
Credit: Here you can check your current amount of credit, recharge your credit, and open the Credit statement tab that contains information about your credit history.
-
Recharge Credit - In the Recharge Credit pop-up you can view your Account balance and select the Payment provider you want to use to recharge your credit. The available payment providers depend on your administrator’s setup. Choose one from the drop-down, fill any other mandatory fields, and click Recharge credit.

-
-
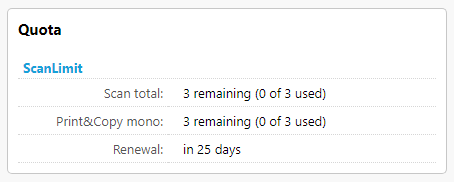
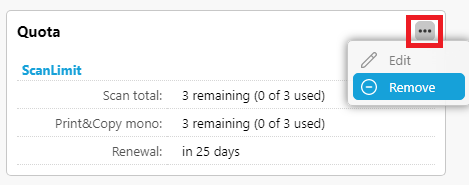
Quota: Here you can check your current quotas and their related information.
-
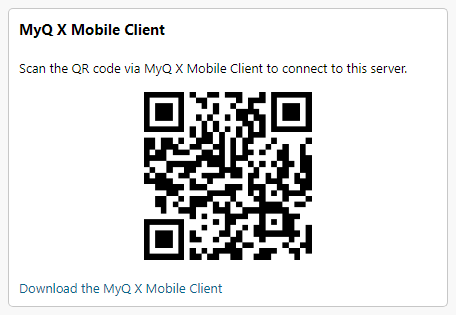
MyQ X Mobile Client: You can scan the displayed QR code via MyQ X Mobile Client to connect your app to the MyQ server. There is also a link to download the actual app if you don’t have it.
You can also add and remove any of those widgets from your dashboard.
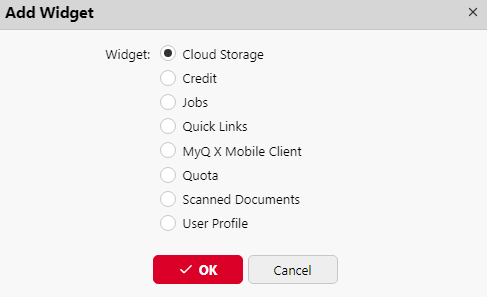
To add a widget, click on Tools on the upper-right side and then click Add Widget. In the pop-up window, select the widget you want to add, and click OK.
To remove a widget, click on the arrow on the upper-right side of the widget, and select Remove.
If you want to reset your Home dashboard to its default state, click on Tools and select Default layout.
Lastly, in the upper-left corner of the screen, you can find the Refresh and Log out buttons, as well as the Theme button where you can change your web UI’s theme.