The setup of the Scan to Me feature consists of the following consecutive steps:
-
Enable and set up scanning on the MyQ server.
-
Configuration on the printing device.
-
Set the destinations for the MyQ users on the MyQ server.
Set up scanning on the MyQ server
For details, see Scan to Me in the MyQ Print Server guide.
Configuration on the printing device
Timestamp matching is used in order to ensure correct scan delivery. Therefore, Scan to Me is dependent on the correctly set time.
-
Log on the printing device's Web User Interface as an administrator (http://*IP Address of the device*).
-
Click System Settings on the top menu, and then click Common Settings on the tab.
-
Click Device Control, and then click Clock Adjust on the submenu to the left.
-
Set the correct date, time, time zone and daylight saving options for the device. Uncheck the Synchronize with Internet Time Server option, if time is being synchronized incorrectly.

-
Submit the changes by clicking the Submit(U) button and Submit(C) button, and then click the Update(R) button.
-
Click System Settings on the top menu, and then click Image Send Settings.
-
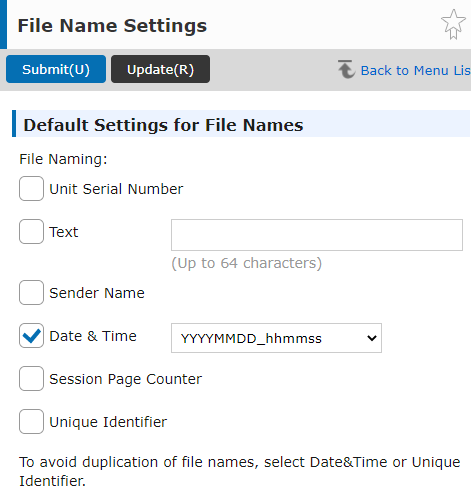
Click Scan Settings on the tab, and then click File Name Settings on the sub-menu to the left.
-
Enable the Date & Time option, and select the YYYYMMDD_hhmmss pattern from the drop-down. Uncheck all the other options.
-
Submit the changes by clicking the Submit(U) button, and update the File Name Settings by clicking the Update(R) button.
Set the destinations for the MyQ users on the MyQ server
For details, check Set the destinations for the MyQ users on the MyQ Server on the MyQ Print Server guide.