By default, device configuration is done automatically during remote installation. If you disable the Enable Remote Configuration option in your configuration profile, use this page to configure your device manually.
Notes:
-
The procedures below are for OSA 5.0+. The interface may differ slightly for 6.0 or 6.5, but the configuration is almost identical.
-
For devices without MX-AMX3 only, there are no Standard Application settings, and there is a different setting for card swipe login.
Overview
To configure a device manually, perform the following tasks:
-
Set up MyQ as an external accounting application.
-
Register MyQ as a standard application (only for devices with the MX-AMX2 module).
-
Update your default authentication settings with user authentication and Sharp OSA as the authentication server.
To register a standard application and external accounting application, you must provide the following information:
-
Application name: MyQ
-
Hostname: the IP address or hostname of your MyQ server
-
Port: the port used by your MyQ Server
-
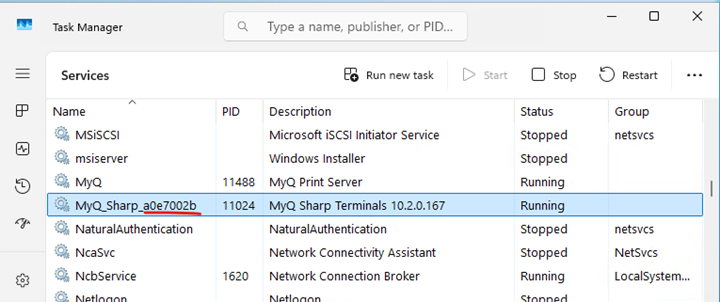
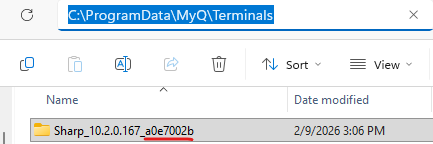
PackageID: a unique ID for the installed Sharp package on the server, the ID changes after reinstallation of the package. You can find the package ID in Microsoft Task Manager or in the folder C:\ProgramData\MyQ\Terminals.
-
Protocol: https or http
-
Browser: HTML Browser n2.0
-
Extended Platform: Enabled
-
Data Size: Wide-SVGA
Configure Device Manually (OSA 5.0+)
-
Log into the Web UI for your Sharp device as an administrator (http://*deviceIPaddress*).
-
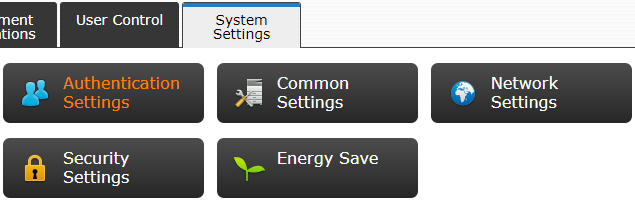
Click the System Settings tab and click Sharp OSA Settings.

-
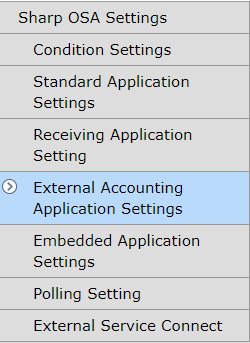
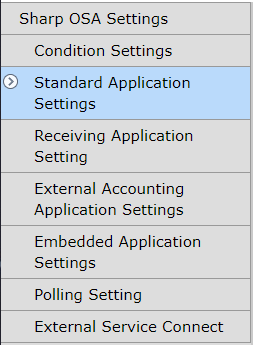
On the left side menu, click External Accounting Application Settings.
-
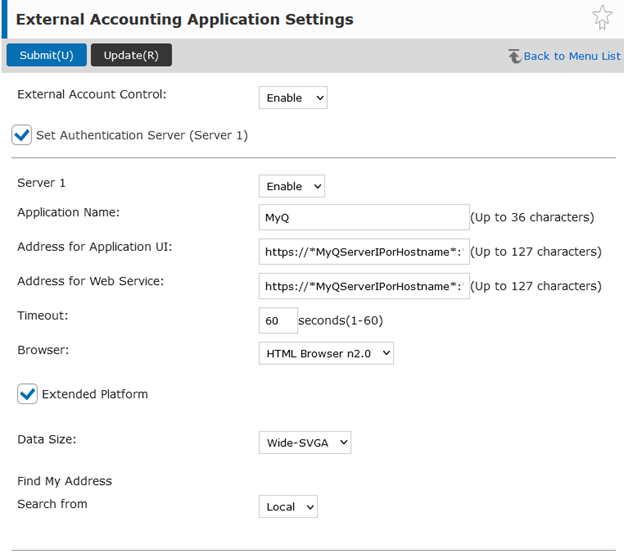
Set External Account Control to Enable, and select Set Authentication Server (Server1). Additional settings become available.
-
Set Server 1 to Enable, and enter the following values for your site:
-
Application Name: MyQ
-
Address for Application UI: <protocol>://<hostname>:<port>/package/sharp_<packageID>/app/home/dispatch
-
Address for Web Service: <protocol>://<hostname>:<port>/package/sharp_<packageID>/soap/MFPSoapWS
Browser: HTML Browser n2.0
If the Browser setting is not visible, follow the steps in Enable the Browser Setting. -
Select the Extended Platform option.
-
Data Size: Wide-SVGA.
-
-
Click Submit(U), and select to Reboot Later(O).
-
On the left side menu, click Standard Application Settings.
-
Check if the MyQ application is displayed on the tab.
-
If it is not, click Add(Y) to create it.
-
If it is, click MyQ to open the application settings.
-
-
On the tab, set the following options:

-
Application Name: MyQ
-
Address for Application UI: <protocol>://<hostname>:<port>/package/sharp_<packageID>/app/acm
-
Browser: HTML Browser n2.0
If the Browser setting is not visible, follow the steps below in Enable the Browser Setting. -
Select the Extended Platform option.
-
Data Size: Wide-SVGA.
-
-
Click Submit(U).
-
On the main menu, open the System Settings, and select Authentication Settings.
-
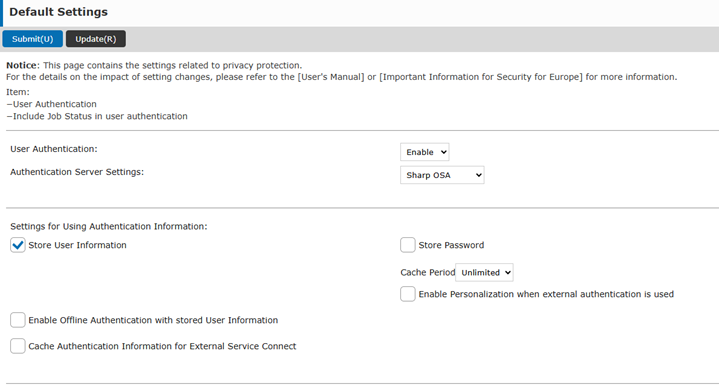
In the Default Settings, make sure that User Authentication is set to Enable, and Authentication Server Settings is set to Sharp OSA. If not, set the settings to these values, and click Submit(U).
-
In the Default Settings, make sure that Store User Information is selected, and Enable Offline Authentication with stored User Information is unselected. If not, set these values and click Submit(U).
-
Click Reboot Now(C) for the changes to take effect.
Enable the Browser Setting
If the Browser setting is not visible, follow these instructions to enable it:
-
Log into the Web UI for your Sharp device as an administrator (http://*deviceIPaddress*).
-
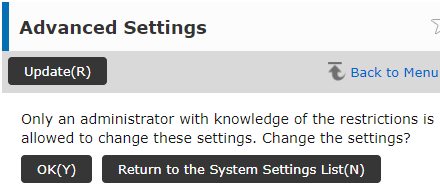
Go to the System Settings tab, click System Control, and select Advanced Settings.
-
Click OK(Y) to proceed.
-
Click List Display(J) to view the available IDs for advanced options.
A similar list should be available as the one below. If the list does not contain Display Setting for Sharp OSA Browser Setting, refer to your device manual.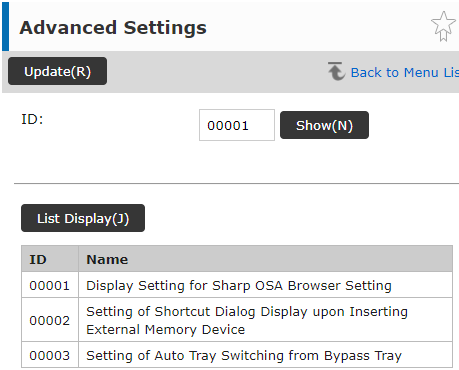
-
In the ID field, enter the ID for Display Setting for Sharp OSA Browser Setting, and click Show(N).
-
In Browser Setting, select Display and click Submit(U).
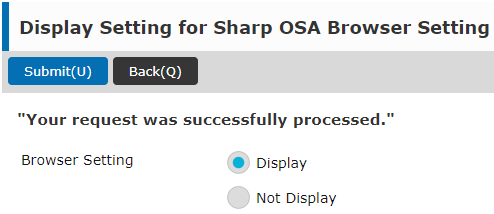
The Browser option is now available in the External Accounting Application Settings and the Standard Application Settings, as applicable.