.png)
Managing project groups
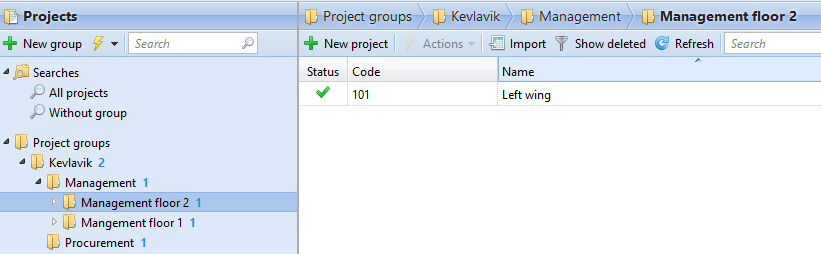
For bigger companies, it is easier to manage projects in groups on e.g. a functional or geographical level. The maximum is five levels deep. Rights set on the group level will automatically be inherited by sub-groups and/or the projects inside these groups. It is then possible to set specific rights to sub-groups or specific projects. After saving these rights they will not be overwritten by the default group rights.
Creating groups
Right-click Project groups and select New group.
Set the Name on the General tab of the project group in the right pane.
Click the Rights tab to add or delete users from the project group.
Click Save. The project group will be visible in the left pane.
Adding a project to a group
Select the group that you want to add a project to.
Click New project on the menu bar.
Enter the project details.
Click Save. The Project group Code will be upped by one.
When you select a project group in the left pane, the path is displayed on the top bar of the window.