After you have configured the general settings of the printer discovery, you can add an action to it, so when you run the printer discovery it will activate the printers and install the package on the terminal. A mandatory requirement for this action is that all the printers in the discovery should have the same administrator username and password for the administrator login.
Click the Actions tab in the printer discovery you have just saved. Click +New action. The name of the pane changes to Actions and it consists of three sections, Filter, Every run actions, and First run actions.
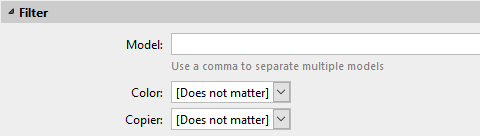
Filter section
-
Model - Type the device's model. You can add multiple models separated by comma (,).
-
Color - Select the color setting from the drop-down: Does not matter, Yes, No.
-
Copier - Select the copier setting from the drop-down: Does not matter, Yes, No.
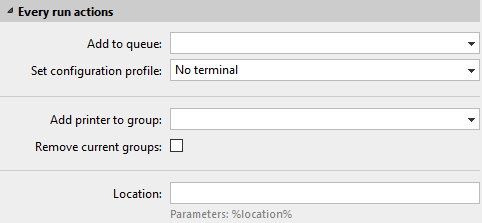
Every run actions
These actions will be executed according to the schedule you have set for this printer discovery.
-
Select a queue from the Add to queue drop-down, if you want to have all the printers stored in one queue.
-
Set configuration profile by selecting one from the drop-down, or click +Add new… to add a new configuration profile (described in detail in Configuration Profiles).
-
Select a group in the Add printer to group drop-down list, if you want to store all your printers in one group.
-
Check the Remove current groups box, if you want to delete all the groups currently set to the printer.
-
Set a Location parameter. The location is read from the SNMP profile.
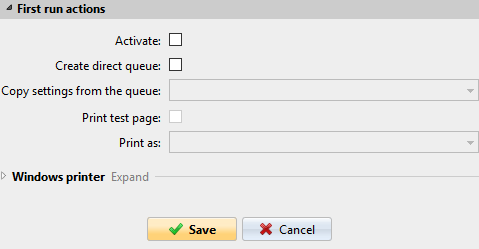
First run actions
This section contains specific printer discovery settings for just one printer, but it also gives you the option to Activate all the discovered printers.
-
Check Activate to activate all the discovered printers during the first run. Even if you don't check this box, you will be able to select the printers manually in the Printers overview and activate them.
-
Check Create direct queue if you want to create a queue for just one printer. Checking this option activates all the options below.
-
Select a queue from the drop-down in the Copy settings from the queue field.
-
Check Print test page and then select a user from the Print as drop-down.
-
-
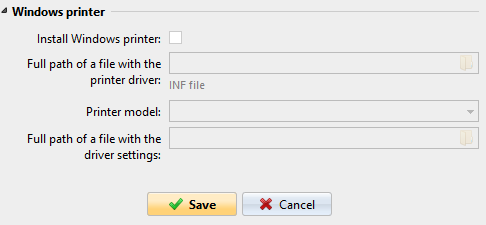
Click the arrow next to Windows printer to expand the section.
-
Check the box next to Install Windows printer. The rest of the parameters become available, where you can browse for the printer driver, the driver settings and the printer model.
-
Click Save.
Click Run to start the printer discovery (and activation if you have set it). You can see the progress in the yellow toolbar.