To set up a guest account, you need to edit your configuration profile.
-
In the MyQ Web administrator interface, go to MyQ, Settings, Configuration Profiles.
-
Select the profile you want to change and click Edit on the main ribbon (or right-click and Edit or double-click).
-
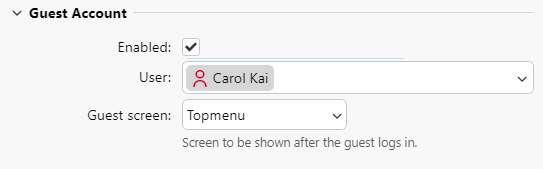
Go to the Terminal tab, in the Guest Account section, and set up the guest account’s options:
-
Check the Enabled checkbox to be able to use a guest account.
-
In the User drop-down, select the user you want to associate with the guest account.
-
Set what the guest user can see in the embedded terminal once they log in, by choosing one of the options from the Guest screen list: [empty], Topmenu, Copy, Scan, USB, Box, Fax.
-
-
Click Save (and reactivate your printers if needed).
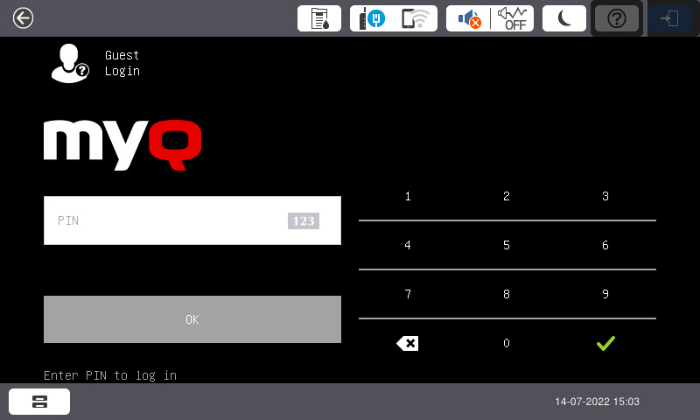
The Guest Login button is now displayed both in 1-factor and 2-factor login methods on the terminal.
Limitations
-
The Guest Login button does not have the “Guest Login” caption in small screens.