The setup of the Scan to Me feature consists of the following consecutive steps:
-
Enable and set up scanning on the MyQ server.
-
Set SMTP on the printing device.
-
Set the destinations for the MyQ users on the MyQ server.
Enable and set up scanning on the MyQ server
For details, check Scan to Me on the MyQ Print Server guide.
Set SMTP on the printing device
The scanning function requires enabling the SMTP protocol, setting the SMTP server address and making sure that the sender email address is empty on the printing device’s web interface.
Take the following steps on the printing device’s web interface:
-
Go to the printer’s web UI by accessing http://*IP address of the printer*/
-
Provide your credentials, and click Log In.
-
Go to Settings/Registration > Send > Network Settings - E-Mail/I-Fax Settings.
-
Enter the MyQ server IP address or host name as SMTP Server address.
-
Make sure that the sender E-Mail Address is empty.
-
Click OK, and then click Apply Setting Changes.
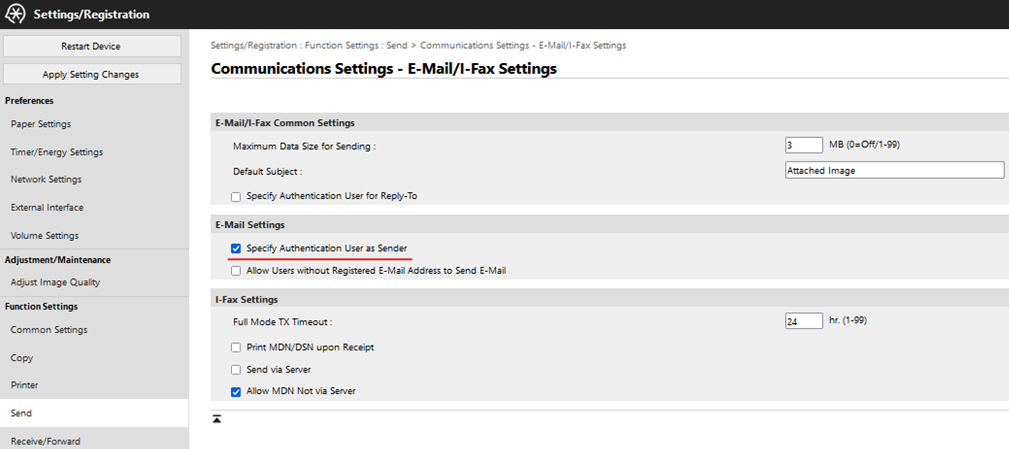
Set the Specify Authentication User as Sender on the printing device
-
Go to the printer’s web UI by accessing http://*IP address of the printer*/
-
Provide your credentials, and click Log In.
-
Go to Settings/Registration > Send > Communications Settings – E-mail/I-Fax Settings
-
Specify Authentication User as Sender has to be checked.
Set the destinations for the MyQ users on the MyQ server
For details, check Set the destinations for the MyQ users on the MyQ Server on the MyQ Print Server guide.