.png)
Setup
In order to use MyQ X Chromebook Client you must already be running a functioning instance of Print Server 10.2 Patch 4+, which is accessible from the end-user's computer.
Download the MyQ X Chromebook Client from the Chrome Web Store.
Using the context menu of your chrome browser navigate to Extensions, Manage Extensions. Click Details on MyQ X Chromebook Client and enable Pin to toolbar.
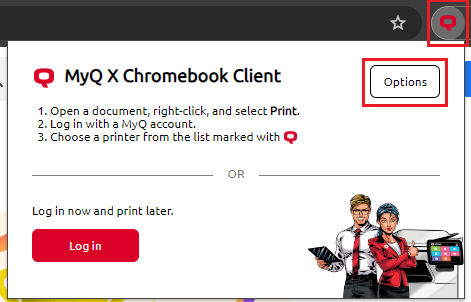
Select the extension from the toolbar and click Options.
A dialogue opens where you must enter the Print server URL and Web Server Port of the server you wish to use, this information should be taken from the MyQ Web User Interface, Settings, Network, This server hostname. By default, the Web Server Port is 8090, although this can be changed in Easy Config. If you do not have access to this address, ask your administrator.
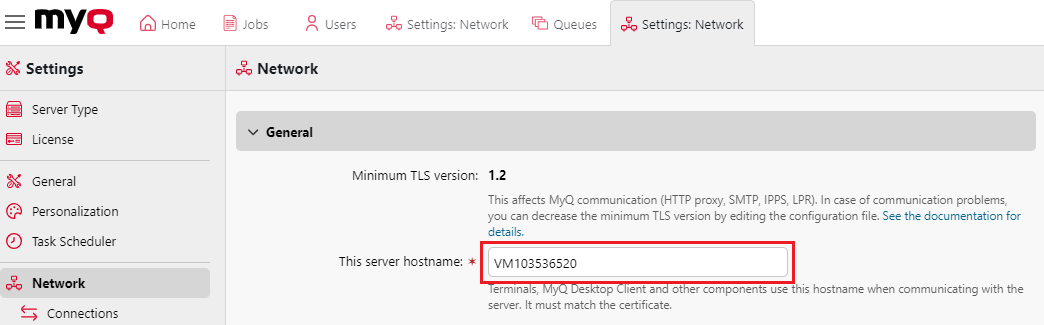
Server Hostname in the Web UI
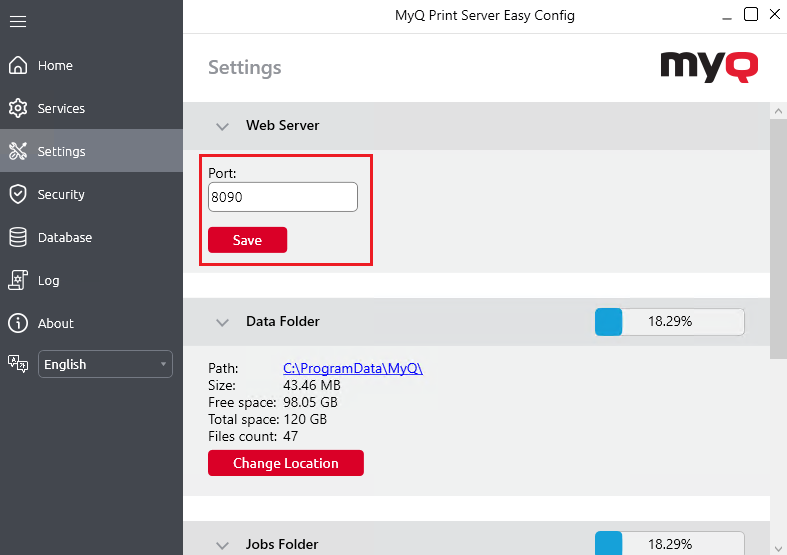
Port in Easy Config
Enter
https://server-hostname:portinto the MyQ X Chromebook Client dialogue box and click save.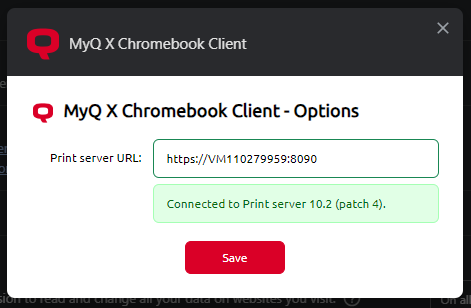
The Chromebook device from which you are attempting to connect must trust the certificate of the MyQ Print Server. If a connection error is displayed, we recommend making sure the computer has installed all necessary certificates in the chain such as the CA to trust the connection with MyQ.
Your MyQ X Chromebook Client is now connected to the relevant Print Server; however, it is still necessary to log in with your MyQ credentials, this can be done in two ways:
Authenticate by clicking Log in
Select the MyQ X Chromebook Client from your toolbar and click Log in.
Log in with your MyQ credentials.
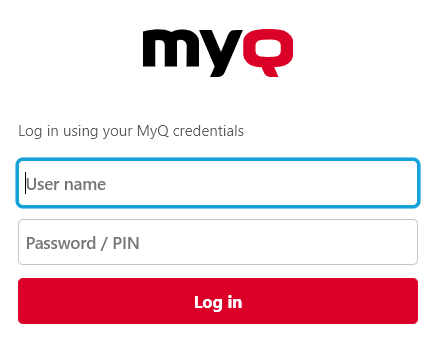
You are logged in and ready to start printing.

Log in by printing something
Start printing something from Google Chrome, either by right-clicking and selecting Print, or pressing CTRL+P.
Log in with your MyQ credentials.
You are now logged in and ready to start printing.
If you begin using this method to log in, but close the log in pop-up before completing authentication, this pop-up will be disabled for some time (to prevent spamming users with pop-ups if they are using another printing method). If the login pop-up was closed, Authenticate by Clicking Log in as detailed above.
Test your MyQ X Chromebook Extension is Connected and Working
The simplest way to ensure that your Chromebook extension is correctly configured and connected to a print server is checking the available queues when you print from Google Chrome. Provided a user has rights to use at least one queue, it should be visible and marked in the printing dialogue.
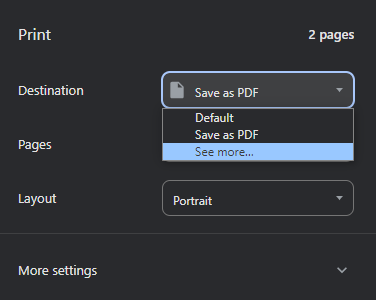
Start printing something from Google Chrome, either by right-clicking and selecting Print, or pressing CTRL+P.
Under Destination select See more…
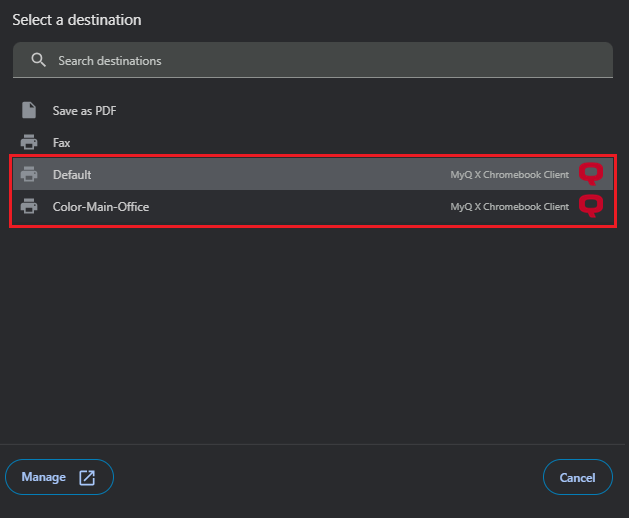
A list opens with the available queues you can use to print, queues that are marked with MyQ X Chromebook Client are MyQ queues, their presence means that your connection is working, and using them to print will be recognized and accounted on the Print Server.
When the Chromebook Client has been correctly connected to the Print Server, it is also listed in the Web Interface in Settings, Rest API Apps. This menu is generally only accessible for administrators.
