.png)
Editing queues
Each individual queue has its own properties panel. To open the panel, double-click the queue on the list of queues on the Queues main tab (or right-click the queue, and then click Edit). The properties panel opens on the right side of the screen.
The basic setup of a queue can be done in four tabs: the General tab, the Job receiving tab, the Printers tab, and the Rights tab.
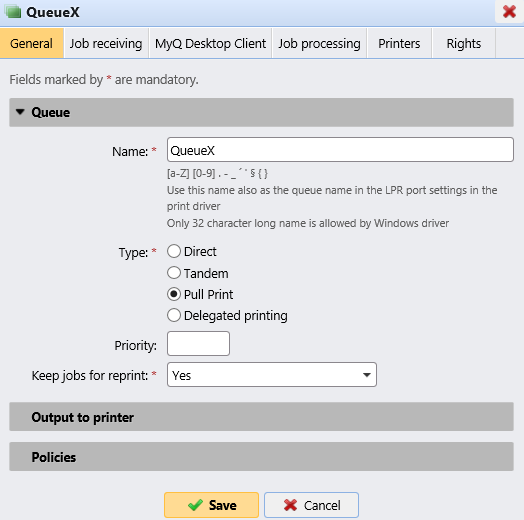
General tab settings
Name - Enter a name for the queue. This is an essential parameter for directing print jobs to MyQ and it is part of the print port setting. It is unique, case sensitive and cannot contain diacritics and spaces. This entry is mandatory.
Type - Select a type for the queue. The available queue types are: Direct, Tandem, Pull Print, and Delegated Printing. For more information, see Queue types.
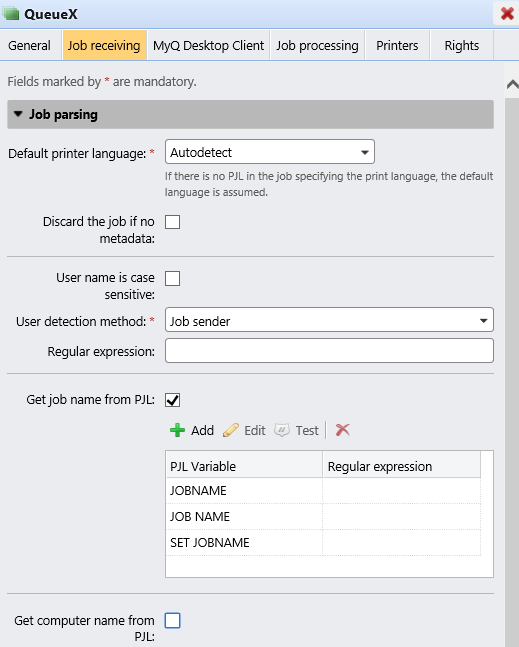
Jobs receiving tab settings
User detection method - Here you can set the user detection method. For more information, see User detection methods.
Get job name from PJL - This gives you the option to discard a job when it comes without metadata.
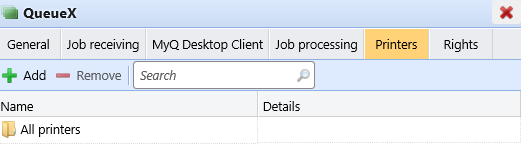
Printers tab settings
By default, the All printers group is automatically assigned to every queue. You can delete this group to restrict the number of assigned printers.
To add a printing device or a group of printing devices to the queue:
On the bar at the top of the Printers tab, click +Add. A search dialog box appears.
In the dialog box, find the printing device (or group of printing devices) that you want to add to the queue, and then click OK.
To remove a printing device or a group of printing devices from the queue:
On the bar at the top of the Printers tab, select the printing device (or group of printing devices), and then click –Remove. The printing device (or group of printing devices) disappears from the Printers tab.
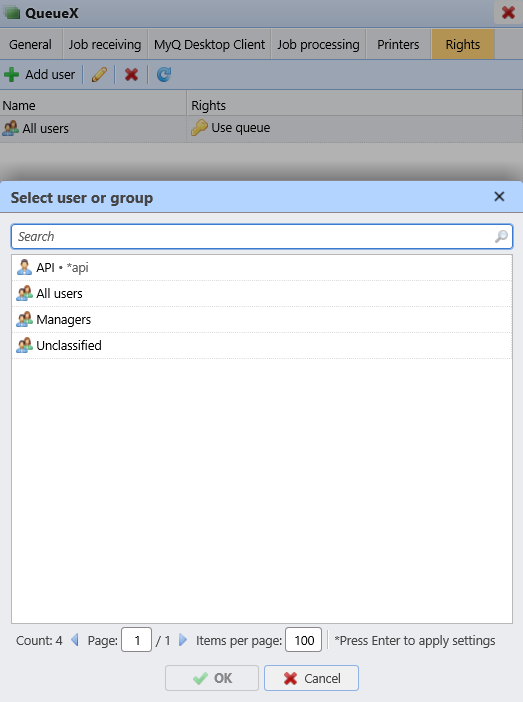
Rights tab settings
By default, the All users group is automatically assigned to every queue. You can delete this group to restrict the number of users with the right to use the queue.
To provide a user or a group of users with rights to the queue:
On the bar at the top of the Rights tab, click +Add User. The Select user or group dialog box appears.
In the Select user or group dialog box, select the user (or group of users) that you want to provide with rights to the queue, and then click OK.
To remove the rights to the queue from a user or a group of users:
On the Rights tab, select the user (or group of users), and then click the remove button (X). The user (or group of users) disappears from the Rights tab.