.png)
Settings
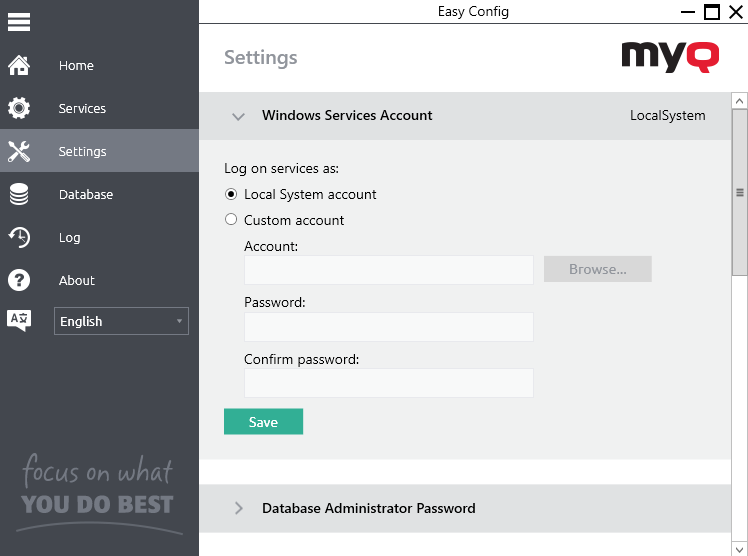
Windows Services Account
MyQ Services run, by default, under the Local System account, meaning the account that was used during the installation.
This can be changed in the Settings tab, in the Windows Services Account section:
Under Log on services as, select Custom account.
Click on Browse, select the user account to be used for MyQ services and click OK. The selected user account should have "Local administrator" rights or be a member of the Local Administrators Group. It should also already have rights to "Log on as service".
Type the account's password and then confirm it in the next field.
Click Save. MyQ Services are automatically stopped and restarted.
To change back to the default account, select Local System account, and click Save. MyQ Services are automatically stopped and restarted.
Changing passwords on the Settings tab
As soon as you replace the default passwords, the passwords sections disappear from the Home tab and they can no longer be changed there.
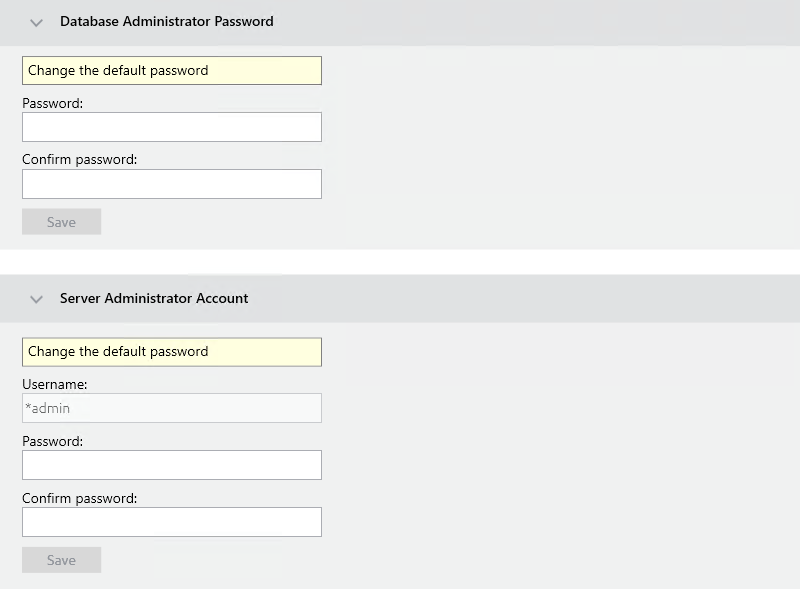
Database Administrator Account
This is the SYSDBA account used for accessing the Firebird database. It is strongly recommended to create a strong and secure password for this account.
Server Administrator Account
This is the *admin account which is used for the initial MyQ configuration. Once you create a password for this account, you can continue to the MyQ Web Interface, use it for logging in as the administrator, and start configuration. It is generally recommended to later disable this account once you have created dedicated administrator accounts.
Unlocking the Server Administrator account
After 5 consecutive failed login attempts to the Server administrator account, the account is locked.
The admin can see a warning that the *admin account is locked, and unlock it, in the Server Administrator Account section on the Settings tab. Once they click Unlock, the account is unlocked.

The administrator can also check their account’s status via the Windows command line, using the following command:
C:\Program Files\MyQ Central Server\PhpApps\MasterServer\src\EasyConfig>"C:\Program Files\MyQ Central Server\PHP\PHP\php.exe" confcli.exe.php cmdConfig adminUnlock check
To Unlock the account via the Windows command line, they can use the following command:
C:\Program Files\MyQ Central Server\PhpApps\MasterServer\src\EasyConfig>"C:\Program Files\MyQ Central Server\PHP\PHP\php.exe" confcli.exe.php cmdConfig adminUnlock SET unlock
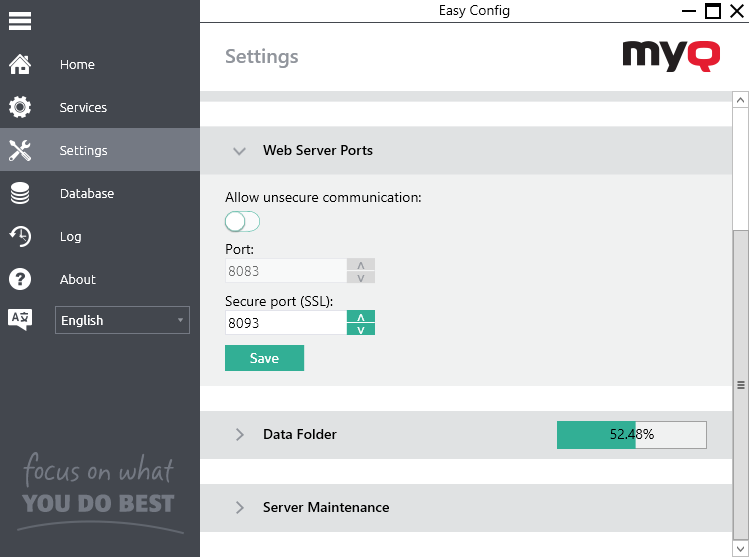
Web Server Ports
On the Settings tab, under Web Server Ports, you can choose between secure/unsecure communication, and change the ports for the connection to the MyQ Web server:
Allow unsecure communication: If enabled, the communication is not secure, and the Port field becomes editable (disabled by default, unless you are upgrading from a version already using unsecure communication).
Port: communication port for the MyQ HTTP server; the default value is 8083.
Secure port (SSL): communication port for the MyQ HTTPS server; the default value is 8093.
Use the up/down arrows to select the new port, and click Save to apply the changes.
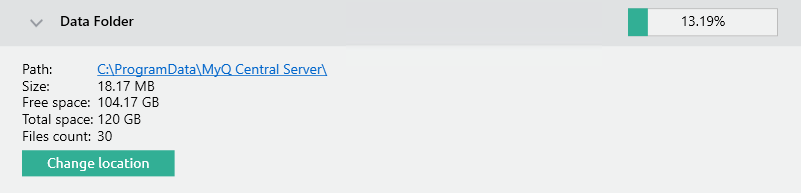
Data Folder
On the Settings tab, you can see the MyQ database folder location.
Depending on the type of the database, the Data folder either does, or does not contain the MyQ database: the MyQ Embedded database is part of the folder, whereas the SQL database is stored on the SQL server. Besides the MyQ database, the folder contains additional files with data used by the MyQ system, such as reports, certificates or the config.ini file.
The default folder path is:
C:\ProgramData\MyQ Central Server\
Under normal circumstances, there is no need to change the location. In case you have to do it, for example when there is not enough space on the system disk, follow the instructions below:
On the Settings tab, in the respective section, click Change Location. The Change folder location
dialog box appears.In the dialog box, under New folder, enter the path to the new folder or click Select to browse and find the new folder location.
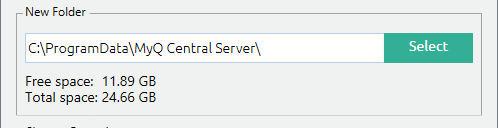
Under Change Operation, select the required method of existing data relocation, and then click Change
Location. The folder is moved to the new location.
If you relocate your Data folder to a network drive, be aware that Apache or Firebird service cannot access network drives created by the Administrator or other users. The network drive needs to be created by the "nt authority\system" user. You can do this using this guide: https://stackoverflow.com/questions/182750/map-a-network-drive-to-be-used-by-a-service/4763324#4763324 or it should work when you mount the drive on Windows startup.
Server Maintenance
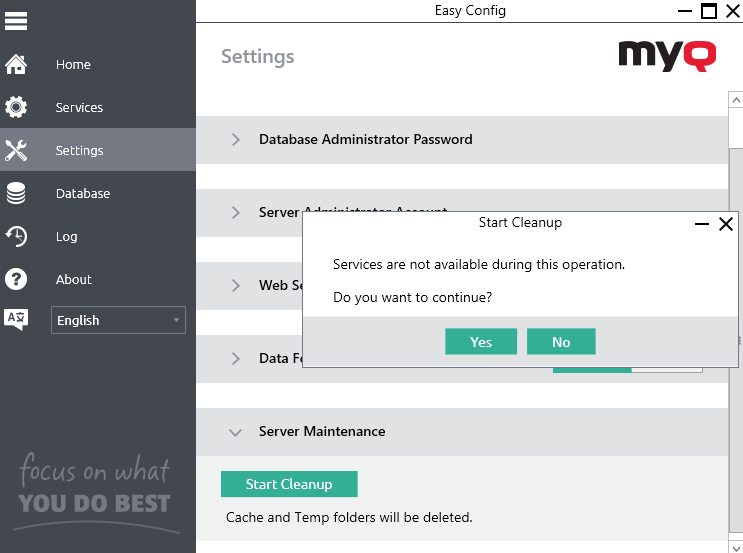
In the Server Maintenance section of the Settings tab, you can clean up your Cache and Temp folders. This might be necessary in cases when problems with the temporary files affect the MyQ system.
To delete the two folders, click Start Cleanup. A pop-up window informs you that services are not available during the cleanup. Click Yes to continue or No to cancel.
A busy indicator window lets you follow the cleanup process, and informs you when it ends.
