Requirements
The proper function of the MyQ Ricoh SmartSDK embedded terminal depends on the below:
-
Java 8 Runtime Environment (JRE) installed on the MyQ Server.
OpenJDK Java is strongly recommended, for example, this distribution from OpenLogic.
We do not recommend Oracle JRE (versions higher than 8u341 are not compatible with the Ricoh embedded installer).
-
MyQ port (8080/8090) has to be allowed in the Firewall by default.
-
The latest firmware should be installed on the device.
-
Every embedded terminal requires a valid license activated on the MyQ server.
-
MyQ Ricoh SmartSDK Embedded terminal 8.2 is supported on MyQ Print server 8.2 and newer.
When restarting the printing device, do not use the software restart option on the device's Web UI. It does not restart all components used by the MyQ Embedded application, which results in problems with the connection to the MyQ Server.
For information about communication protocols and ports, check the MyQ Print Server guide.
Remote installation via Printer Discovery
The easiest way to install the MyQ Ricoh SmartSDK Embedded terminal is via remote installation from the MyQ Web administrator interface. This method is very simple, and it is preferable, especially when you need to install the terminal on a large number of printing devices, since you can install multiple devices in a batch.
You do this by creating separate printer discoveries and adding a configuration profile to any one of them. At the same time, you can assign the discovered printers to a group and/or queue. Another possibility is to create a remote installation for just one printer and place it in a direct queue.
Before the installation, make sure that the server hostname/IP address in MyQ, Settings, Network is correct. If it’s not, which could happen after a license update or upgrade, the remote setup will fail.

If the remote setup fails, make sure that the latest firmware and the correct Java version are installed on your device. If not, update them and run the remote setup again. If you don’t know how to do that, contact Ricoh support.
To remotely install the MyQ Ricoh SmartSDK Embedded terminal:
-
Follow the instructions in the MyQ Print Server guide to create and configure a Printer Discovery.
-
Then, you should create a configuration profile to attach to your Printer Discovery.
-
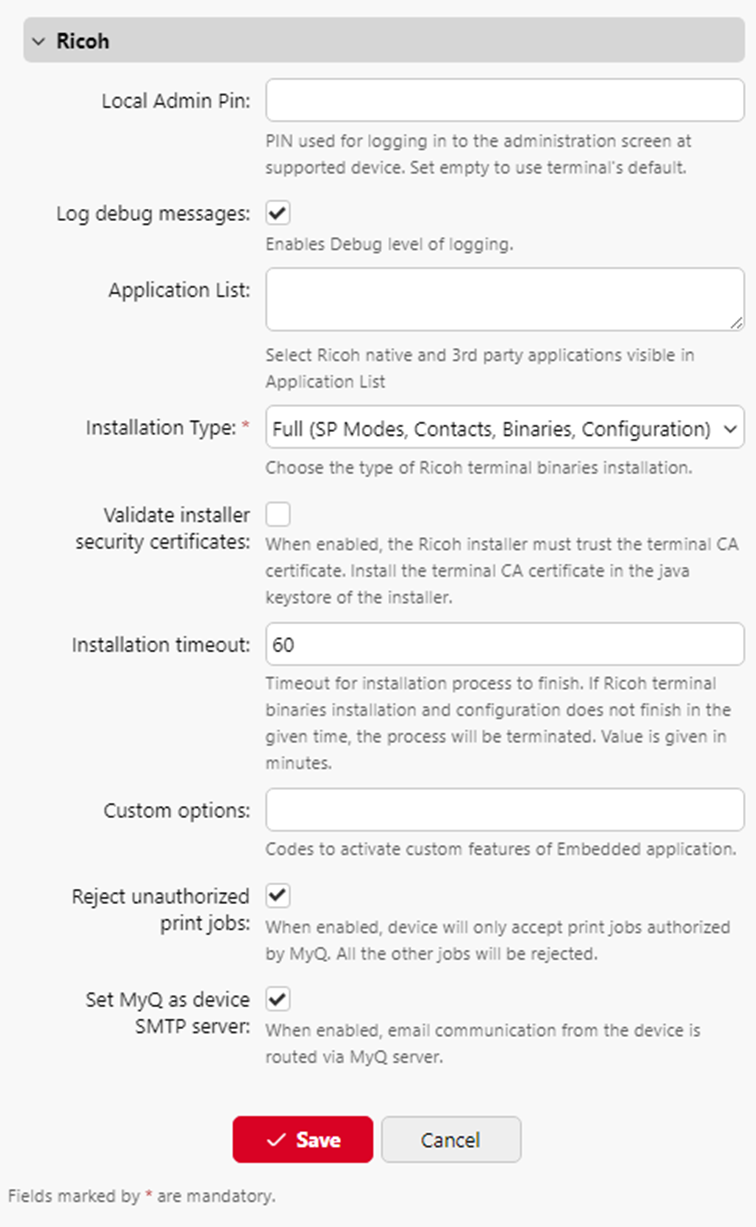
The Ricoh section is displayed when the Ricoh terminal package is installed on the MyQ server. Applying the changes in the Ricoh section on the terminal require a force remote configuration of the device.
-
It is possible to change the Local Admin Pin. When the field is empty, the default value 1087 is used.
-
Log debug messages allows to enable/disable the Debug level of logging. If the setting is enabled, the terminal will generate additional log information for auditing and troubleshooting purposes.
-
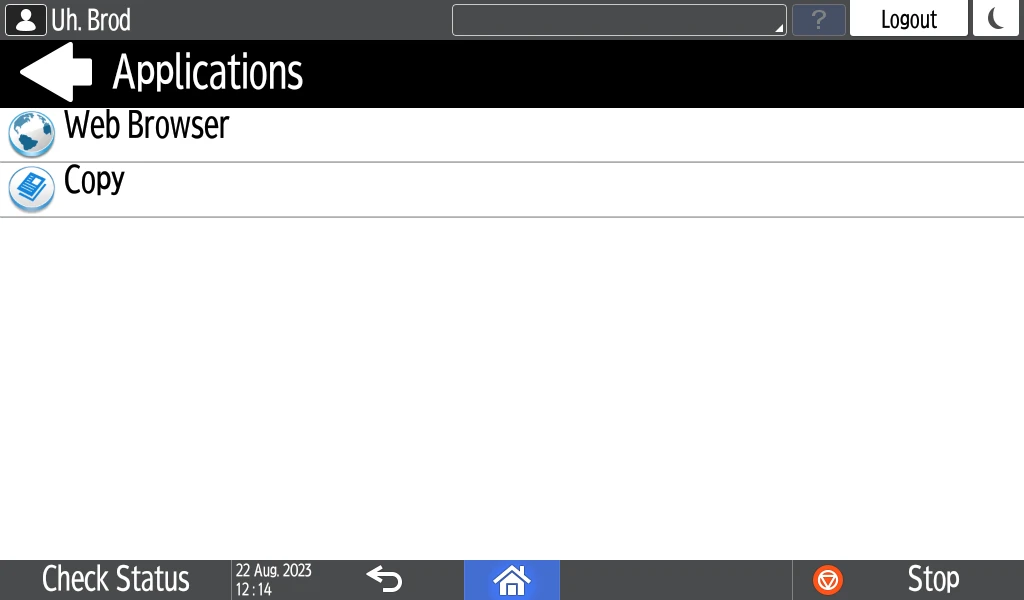
It is possible to specify the Application List, this allows you to edit the list of native application IDs that can be started from the Top Menu (Application List / Application Redirection) and Terminal Actions. Applications not added to this list will not be available on the terminal. In MyQ server 8.2, the list is delimited by commas, from MyQ server 10.0, each application should be listed on a single line. This list might be further filtered based on the logged-in user policies.
-
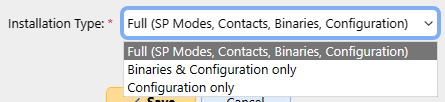
It is possible to specify the Installation type - forces the type of the installation which is executed when activating the printer or forcing its configuration. For the proper terminal installation or terminal upgrade, the Full type of the installation is required. The other two types of installation should be used for debugging of issues. There are these options:
-
Full (SP Modes, Contacts, Binaries, Configuration) - (default); performs a full installation including uninstallation of previous versions of the app (it also uninstalls the MyQ Roger app if present), settings SP modes, creating contacts, installing MyQ app binaries, and finally pushing the fresh configuration. May take around 5 mins; on certain very slow models (IM 2701), up to 20 mins.
-
Binaries & Configuration only - it only uninstalls the previous version of the app (including MyQ Roger), installs new binaries, and pushes the fresh configuration. Useful for debugging purposes when MyQ has been already installed (SP modes are already set) and only the binaries are to be exchanged. May take around 3 mins. Slow models up to 10 mins.
-
Configuration only - it only pushes the new configuration. Useful for debugging purposes when only configuration is to be refreshed. Takes only 5 seconds.
-
-
Validate installer security certificates When enabled, the Ricoh installer must trust the terminal CA certificate. Install the terminal CA certificate in the java keystore of the installer.
-
Installation timeout - Timeout for installation process to finish. If Ricoh terminal binaries installation and configuration does not finish in the given time, the process will be terminated. Value is given in minutes. Default value is 60 (minutes).
If the installation process times out and the printer configuration does not finish properly, before re-trying the installation, please, restart the device.
-
Custom options It is possible to specify Custom options. With this parameter, the administrator can unlock some hidden features of the terminal which are available only to specific customers and might require specific device/firmware.
-
Reject unauthorized print jobs allows to enable/disable rejecting of unauthorized jobs. This option is enabled by default. If the option is enabled, the device will only accept print jobs authorized by MyQ, and all other jobs will be rejected. If the option is disabled, it is possible to print jobs for users who are not registered in MyQ. The printer driver has to be configured like direct print for local spool jobs.
-
Set MyQ as device SMTP server allows to configure the MyQ IP address/hostname as the device’s SMTP server for Panel scan operation during the remote configuration. This option is enabled by default. If the option is disabled, the device’s SMTP server is not configured during the remote configuration.