
Installation
You can install the application either via the setup wizard or silently via a command line with parameters.
Before Installation
Preferences for Server Connection
There are three methods to pass mandatory connection details to MDC. These can be completed before the installation. They define to what server the Desktop Client connects on startup after the installation is completed.
Parameters in the Installer Name
The Server Address, Server Port, and Security Mode can be set by editing the Installer file name.
The installer can be named following the structure:
(MyQ-)DesktopClient ServerAddress-ServerPort(-Normal|Strict).msi
A space between MyQ Desktop Client (or any other name you choose to use for the installation), and the server address is required. If a hyphen is used the entire string (for example MyQ-contoso.myq.com-8090) will be interpreted as a valid hostname and an error will prevent installation.
ServerAddress, ServerPort and Normal|Strict are properties that need to be set; content shown in rounded brackets is optional. If the security mode is omitted, Normal is used as default. Examples:
MyQ Desktop Client 10.2 contoso.myq.com-8090.msi
ServerAddress: contoso.myq.com
ServerPort: 8090
SecurityMode: Normal
Desktop Client 10.2 (Patch 2) acme.com-443-Strict.msi
ServerAddress: http://acme.com
ServerPort: 443
SecurityMode: Strict
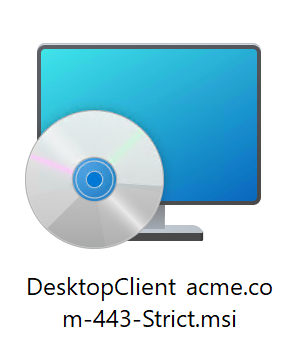
Example of the installer file with parameters
Editing the config.ini File
The config.ini should be placed next to the installer .msi file before the installer is run; MyQ Desktop Client will use it to configure itself on the client startup.
The Server Address, Server Port, and Security Mode can be set by editing the config file which is included in the installation package. The available security modes are Strict and Normal.
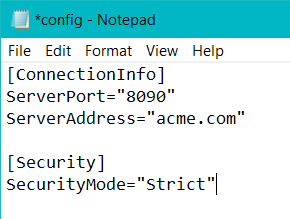
Edited config file
Silent Installation Parameters
Connection details can also be defined when the installer is run. See Silent Installation for a description.
Desktop Client Configuration
Creating and Editing Configuration Profiles
Administrators now have the option to save multiple different configurations for MyQ Desktop Client (MDC) in MyQ, so that they can deploy different configurations based on locations; for example, define different fallback printers in each of their offices or enable client spooling only for selected workstations.
It is possible to configure profiles before deploying MyQ Desktop Client 10.2+. Once MyQ Desktop Client connects to the server, it starts automatically using settings from applicable profiles if this feature is enabled.
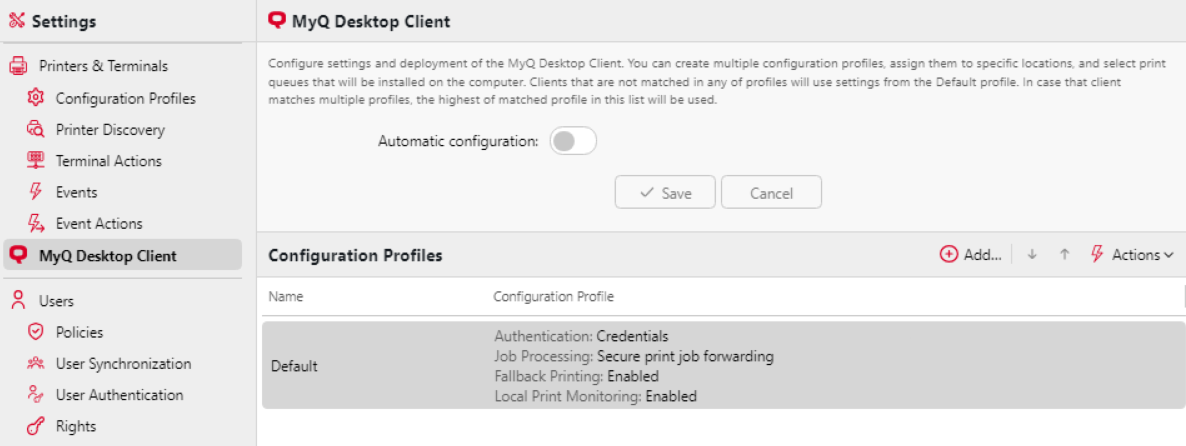
On the MyQ Desktop Client Settings tab (MyQ, Settings, MyQ Desktop Client), you can configure the MDC settings and deployment.
You can create multiple configuration profiles, assign them to specific locations, and configure the Desktop Client’s features for that particular location.
Clients that are not matched in any of the profiles will use settings from the Default profile. In case that the client matches multiple profiles, the highest matched profile in this list will be used.
Switch Automatic configuration on and click Save to use the feature.
To create a new configuration profile for MDC:
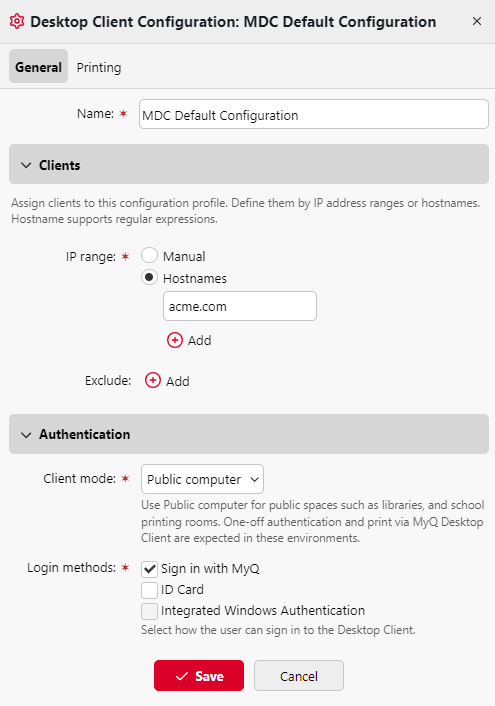
General tab
Printing Tab
On the MyQ Desktop Client Settings tab, click Add in the top-right corner.
On the General tab enter a Name for your configuration profile.
In the Clients section specify which clients this configuration profile should apply to, either using an IP range or Hostnames regex. You can also add exclusions.
In the Authentication section select a Client mode. In Private mode, the MDC offers a more lenient authentication and session management approach, acknowledging the trust level of a personal or assigned device. Public mode is designed with communal device security in mind, ensuring that print jobs and user sessions are managed to prevent unauthorized access. Read more about Private and Public mode here.
In the Authentication choose the appropriate Login methods, from Sign in with MyQ, ID Card (requires a card reader on the user's device), and Integrated Windows Authentication (read more about Integrated Windows Authentication here).
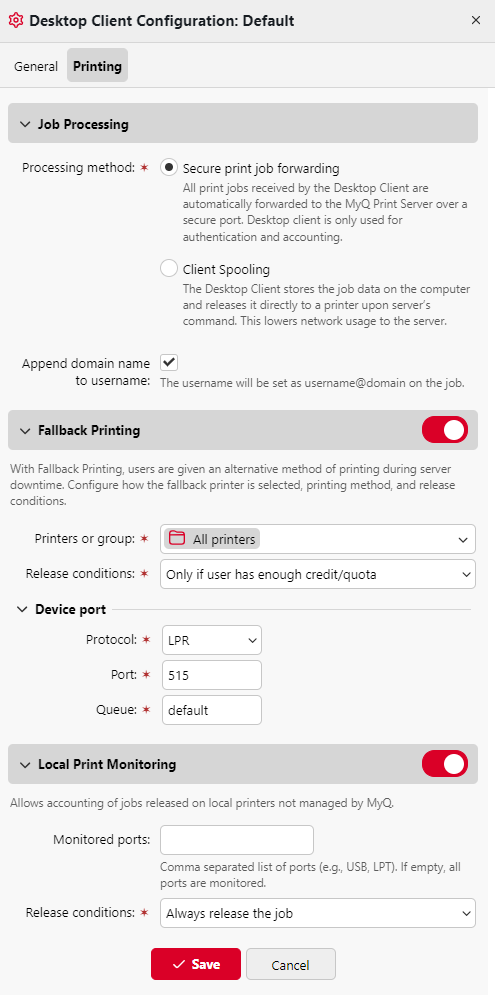
On the Printing tab in the Job Processing section select a Processing method from:
Secure print job forwarding: All print jobs received by the Desktop Client are automatically forwarded to the MyQ Print Server over a secure port. Desktop client is only used for authentication and accounting.
Client spooling: The Desktop Client stores the job data on the computer and releases it directly to a printer upon server’s command. This lowers network usage to the server.
Choose if you want to Append domain name to username, if enabled the username will be set as username@domain on the job.
Enable or disable Fallback Printing, which allows users to be given an alternative method of printing during server downtime. Configure how the fallback printer is selected, printing method, and release conditions.
Enable or disable Local Print Monitoring, which allows accounting of jobs released on local printers not managed by MyQ. It is necessary to specify the Monitored ports and Release conditions when using this feature.
Local Print Monitoring is not currently supported in MyQ Desktop Client 10.2, but it will be included in a future release.
Click Save, your configuration profile is created and automatically applied to the MDCs of the specified clients.
Installation Process
Manually Running the Setup Wizard
This option allows users to manually install MDC.
To successfully run the installer, one of the methods to define the server to which MDC should connect must be used. See above in Preferences for Server Connection. Potentially, you can perform Silent Installation instead (read below).
Download the latest available version of the installation (.msi) file from the MyQ Community portal.
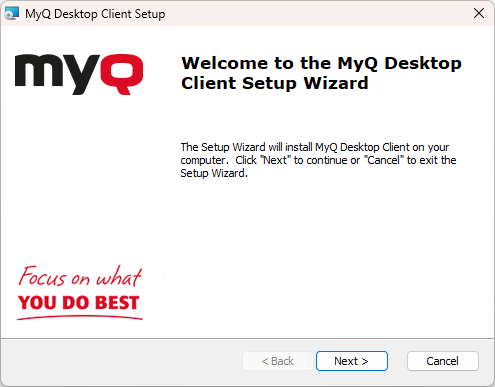
Double-click on the installation file. The installation wizard opens; click Next.
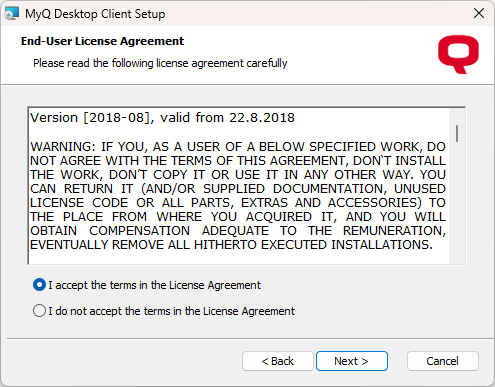
The End-User License Agreement window opens.
Select I accept the terms in the License Agreement; click Next.
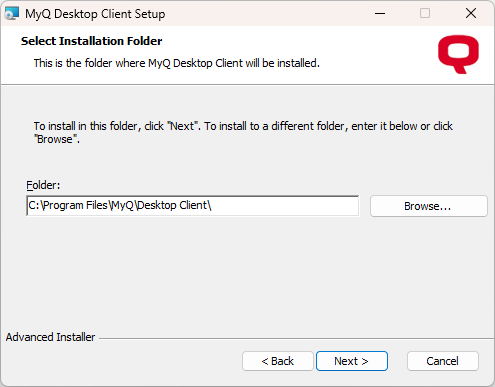
The Select Installation Folder dialogue opens, select in installation location and click Next.
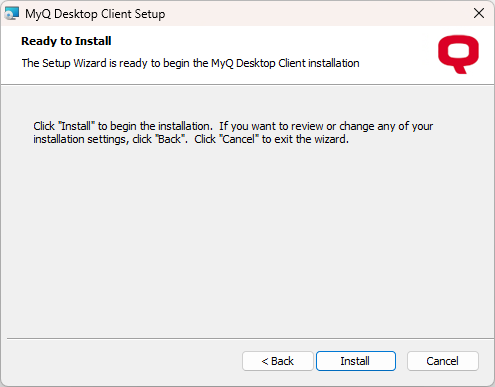
The Ready to Install window opens; click Install.
The Completing the MyQ Desktop Client Setup Wizard window opens; Click Finish.
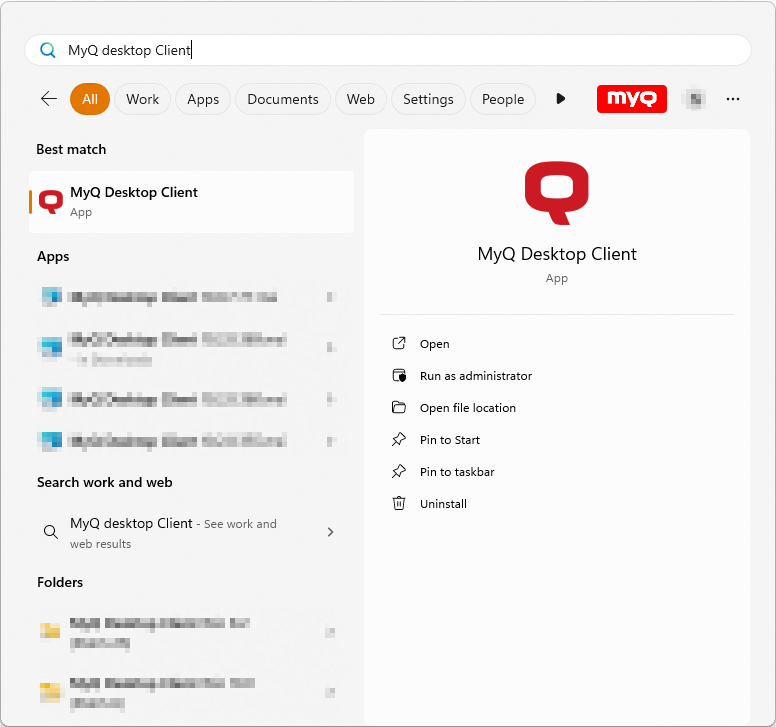
Once the installation is finished, MyQ Desktop Client (MDC) starts running in the background. The application can be found in the Windows Apps menu.
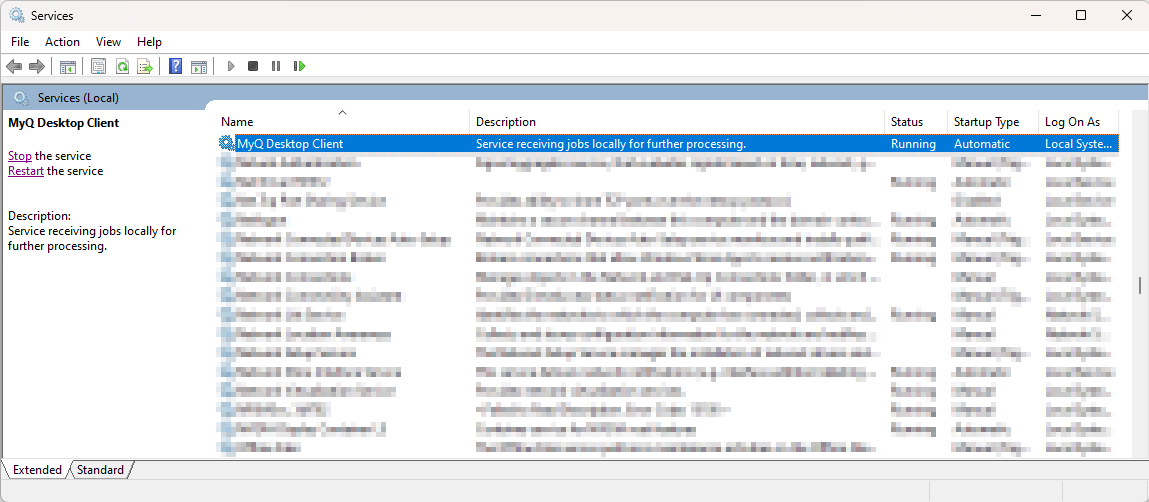
The MyQ Desktop Client Windows service also starts running in the background and can be found in Windows Services.
Silent Installation
To silently install the application, download the latest available version of the installation file from the MyQ Community portal, open the Windows command line, and use the following command with Address stating the server address, Port specifying the port, and Normal|Strict specifying the security mode:
msiexec /i "ClientInstaller.msi" /qn SERVERADDRESS=Address SERVERPORT=Port SECURITYMODE=Normal|Strict
Preferences after silent installation can be set using Configuration Profiles, as described above.