To activate a USB card reader:
-
Register it on the printing device’s touch panel
-
Add the card reader's Vendor ID and Product ID to the USB device list on the printing device’s Web UI.
Registering the card reader on the printing device’s touch panel
-
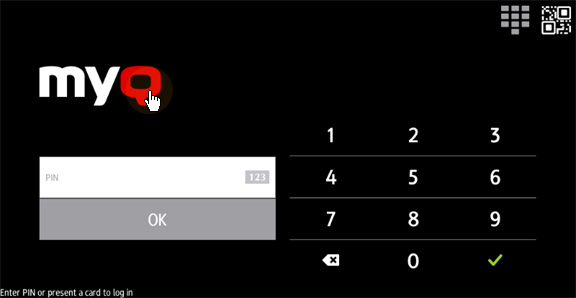
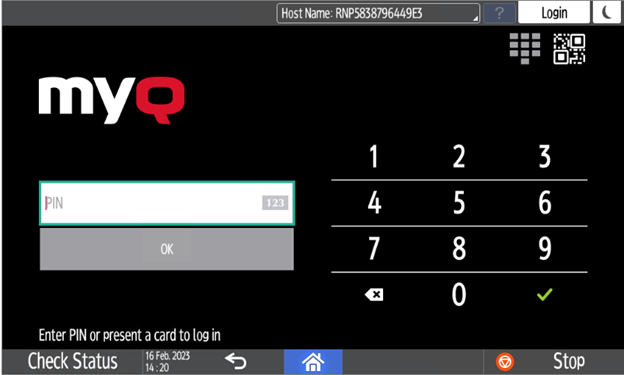
On the initial screen of the MyQ Embedded application, tap MyQ to open the admin login screen.
-
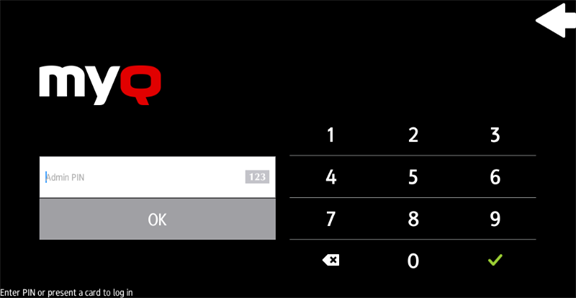
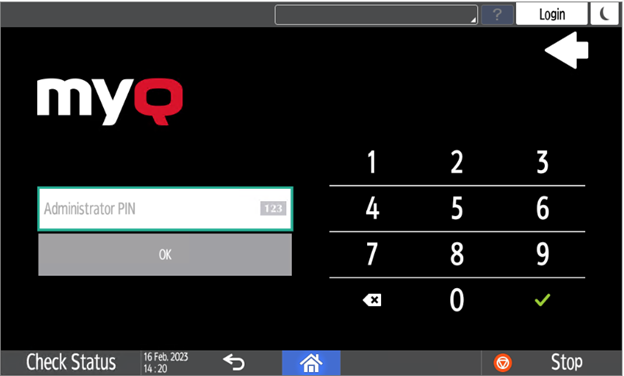
On the admin login screen, enter the admin password (the default password is 1087), and then tap OK. The Admin menu opens.
-
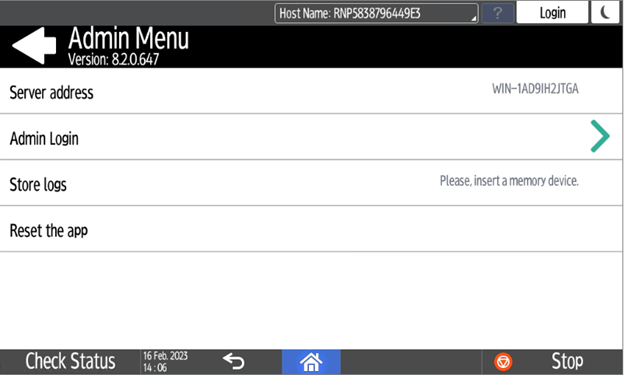
Tap Admin Login for opening the device’s panel screen.
-
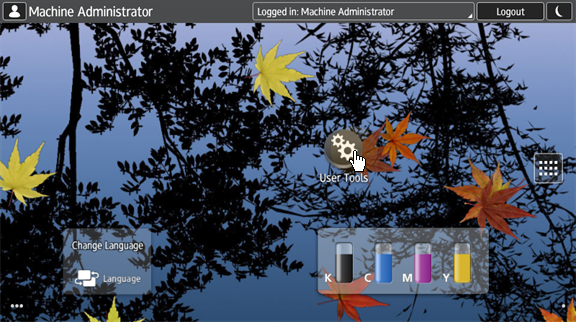
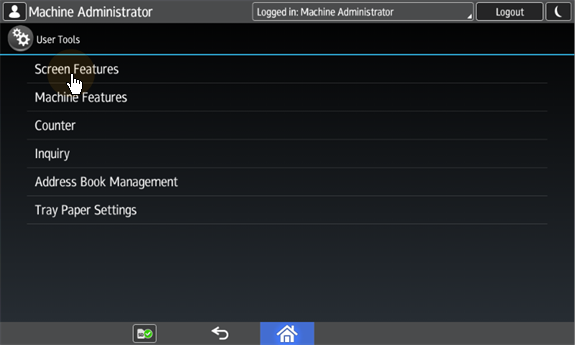
On the screen, tap User Tools. The User Tools screen opens.
-
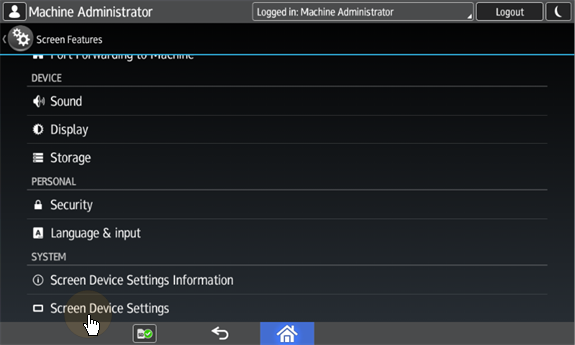
Tap Screen Features. The Screen Features screen opens.
-
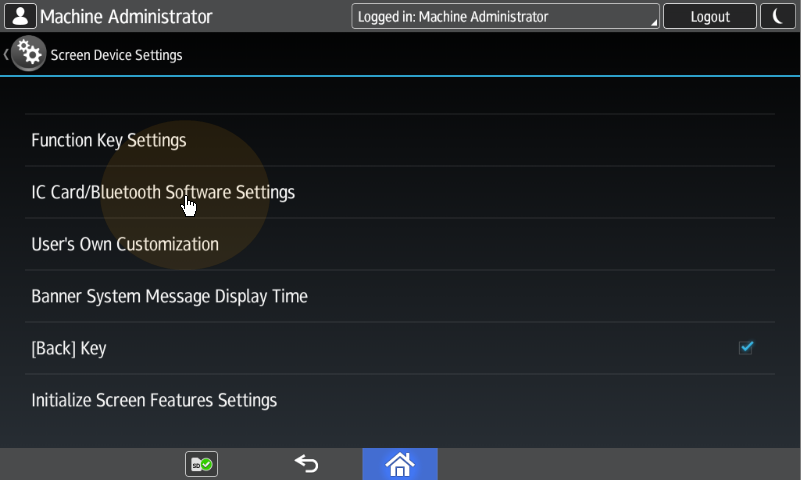
Tap Screen Device Settings. The Screen Device Settings screen opens.
-
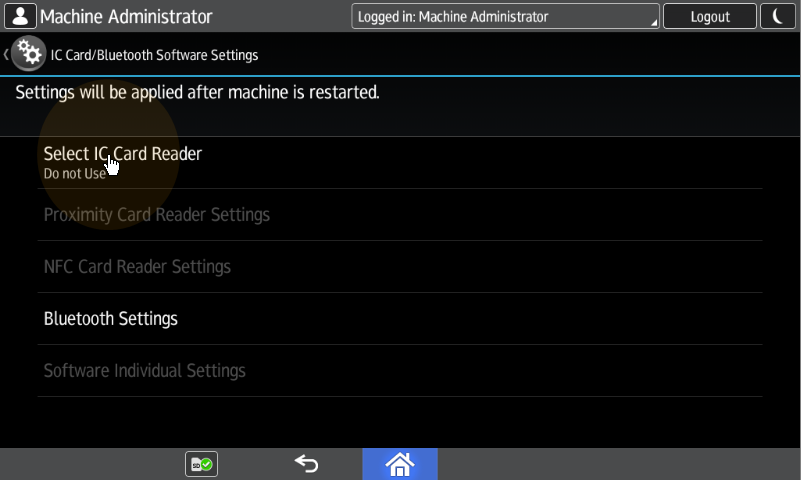
On the Screen device Settings screen, scroll down and tap IC Card/Bluetooth Software Settings. The IC Card/Bluetooth Software Settings screen opens.
-
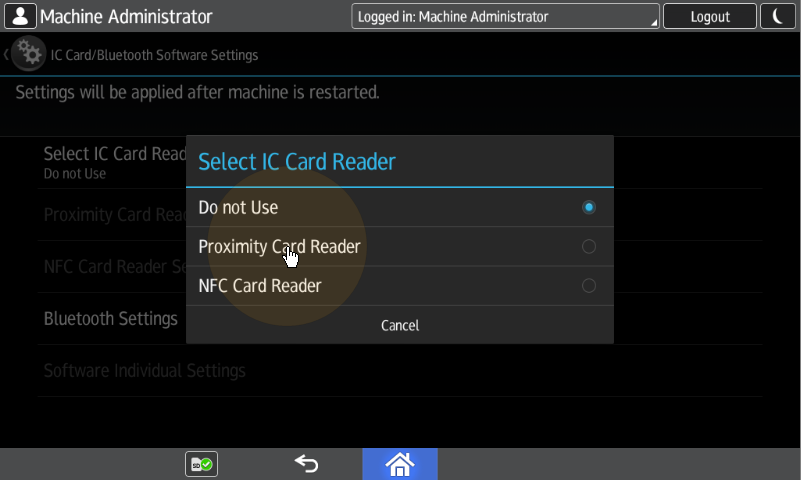
Tap Select IC Card Reader. The Select IC Card Reader dialog box appears.
-
Tap Proximity Card Reader. The dialog box is closed.
-
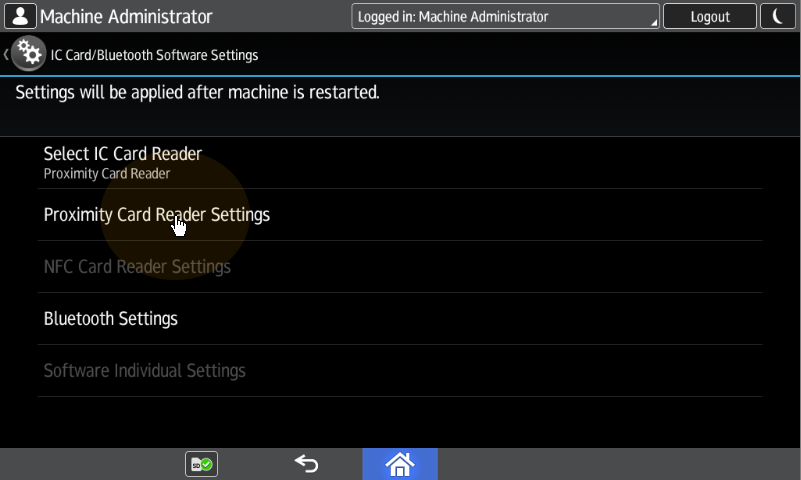
Back on the IC Card/Bluetooth Software Settings screen, tap Proximity Card Reader Settings. The Proximity Card Reader Settings screen opens.
-
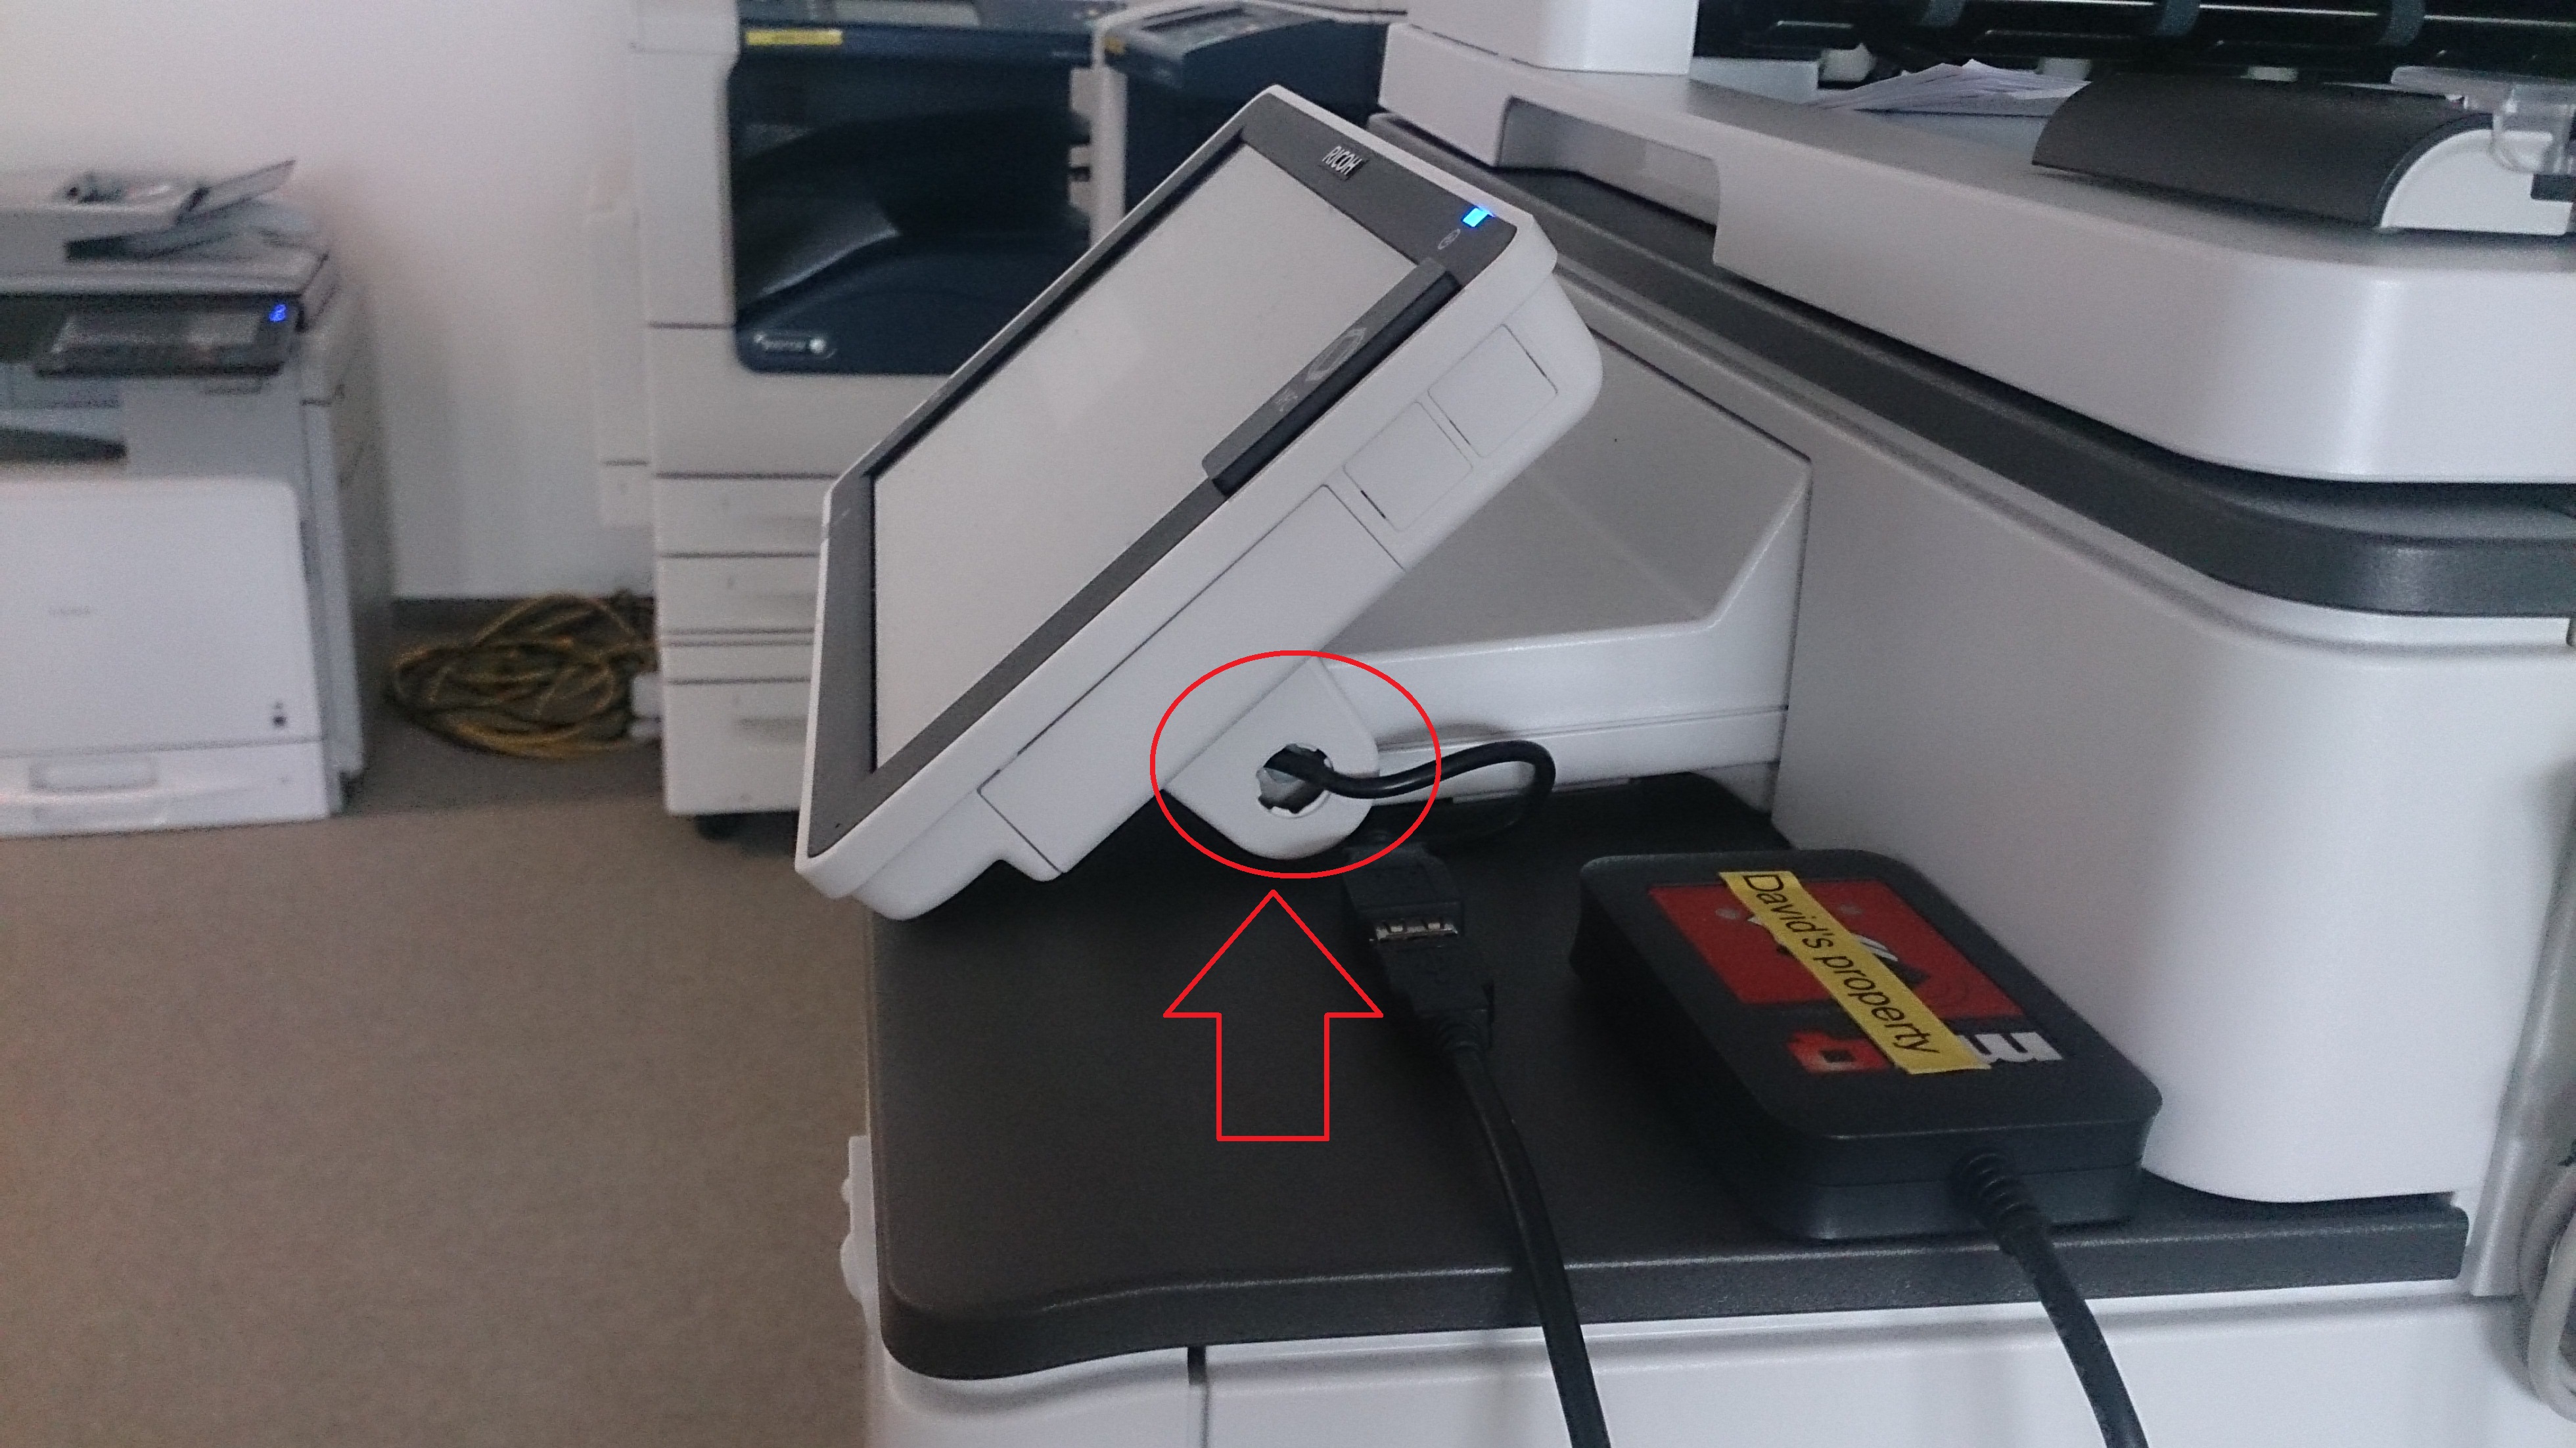
Plug in the card Reader to the Android panel via Mini USB — USB (female) reduction. The Proximity Card Reader Settings message box informs you that a USB card reader was registered.
-
Tap OK to close the Proximity Card Reader Settings message box.

-
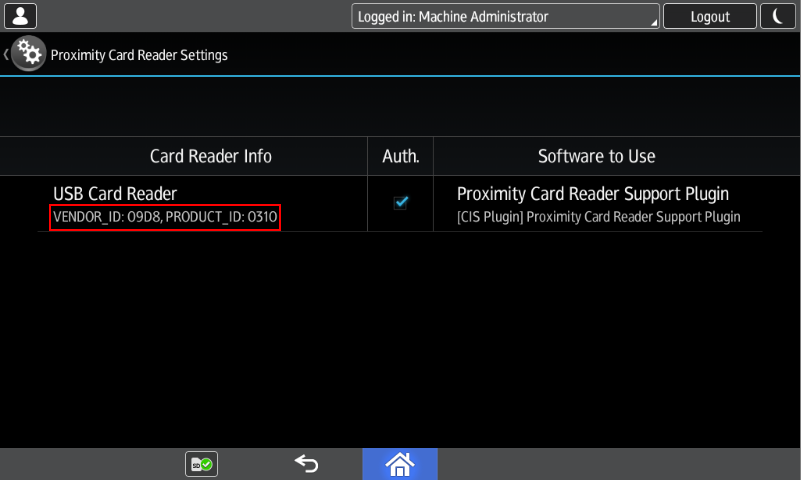
Back on the Proximity Card Reader Settings screen, remember (write down) the VENDOR_ ID number and the PRODUCT_ ID number displayed under Card Reader Info. These numbers have to be added to the printing device USB device list.
-
Exit the system settings.
For some newer devices, the system menu is different. Here are the steps in the updated system menu.
-
On the initial screen of the MyQ Embedded application, tap the MyQ logo to open the admin login screen.
-
On the admin login screen, enter the admin password (the default password is 1087), and then tap OK. The Admin menu opens.
-
Tap Admin Login for opening the device’s panel screen.

-
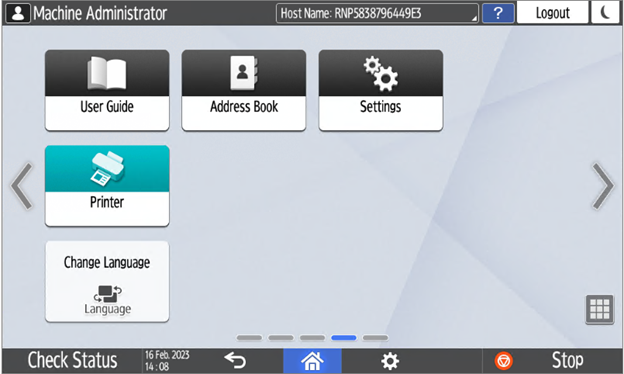
On the device panel, open Settings.
-
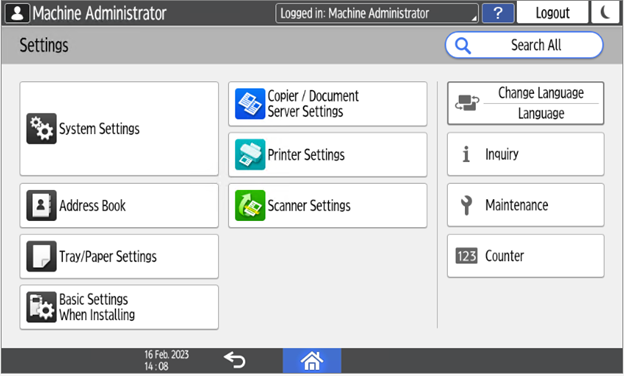
Tap System settings.
-
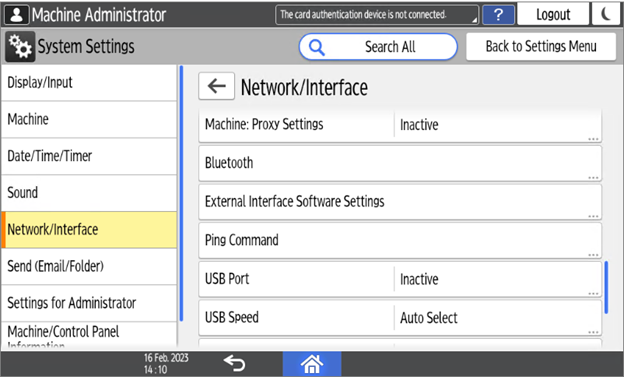
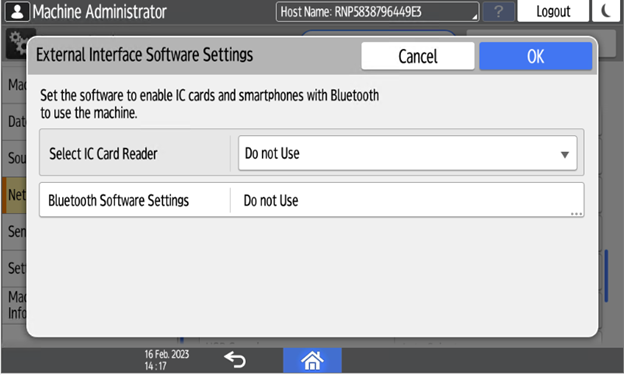
Open Network/Interface and then tap External Interface Software Settings.
-
In the Select IC Card Reader field, tap on Do not use.
-
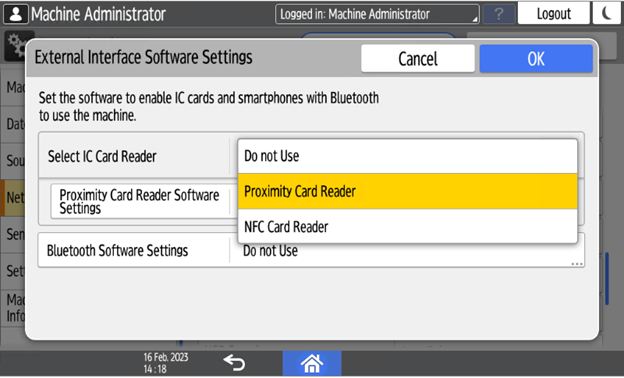
And then select Proximity Card Reader.
-
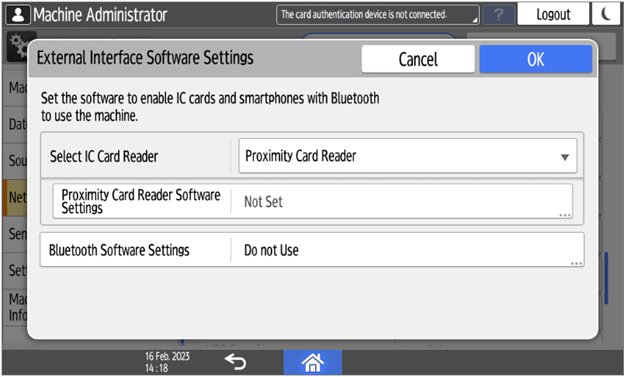
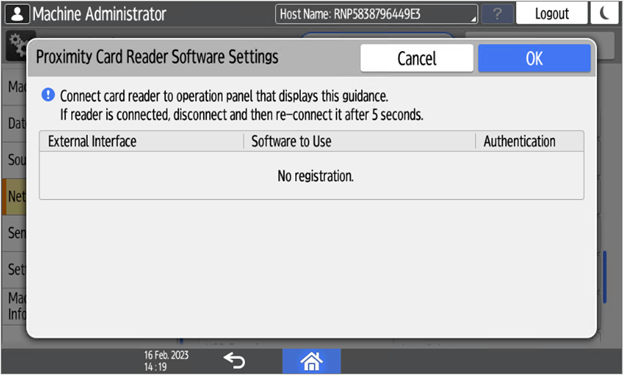
Select Not Set for Proximity Card Reader Software Settings.
-
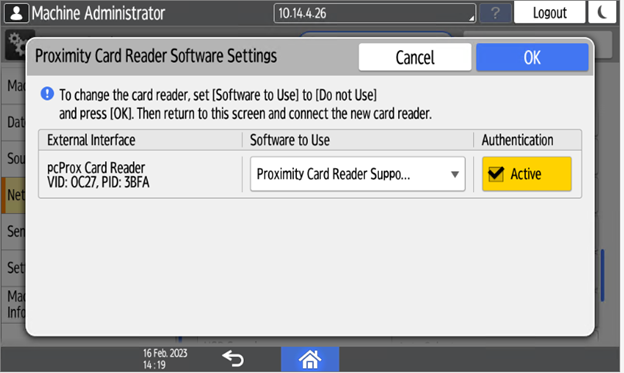
Connect the card reader when this screen is displayed:
-
Confirm the settings.
-
Restart the device.