
Jobs tab
You can open the Jobs overview tab from the Home dashboard in three ways:
Click Jobs on the Quick links widget.
Click on the MyQ menu, and select Jobs.
Click on the Ready jobs, Paused jobs, or Favorite jobs links on the Jobs widget.
On the list of jobs on the Jobs overview tab, you can see all your print jobs and information about them.
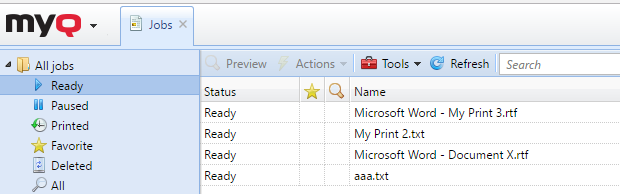
On the left side of the Jobs tab, you can see the All jobs drop-down menu. On the menu you can select from the following options:
Ready - Displays jobs ready to print, meaning that the job has been placed on a print queue and is waiting for you to authorize it, or for preceding jobs to finish.
Paused - Displays paused jobs, meaning that the job has been paused by you or, automatically, by the MyQ system.
Printed - Displays printed jobs, meaning that the job has been printed and is stored on the MyQ server.
Favorite - Displays favorite jobs. All print jobs, except for the deleted ones, can be marked as Favorite.
Deleted - Displays deleted jobs, meaning that the job has been deleted from the MyQ server.
All - Displays all jobs.
To open a print job properties panel, double-click the job on the list (or select the job, then click Actions on the toolbar above, and then click Edit in the job action dialog box). The panel opens on the right side of the screen.
On the panel, you can see general information about the print job, such as its name and ID, size, its author and the IP address of the author's computer. If the Jobs Parser tool is used on the MyQ server, you can see additional data such as the B&W total, color copies, number of copies, paper format, duplex, toner saving, staple, punch, the printer language used, and the price of the job.
You can also change the print job’s Owner and Project in their respective fields. Only an administrator and user group leaders can change the owner of a print job. If you change the job owner, the new owner has to have rights to the current queue and project. If you change the project, the current job owner has to have rights to the new project.
To delete selected jobs:
On the jobs list, select the jobs that you want to delete, and then click Actions.
In the Actions drop-down, select Delete. You can find the deleted jobs on the Deleted jobs list.
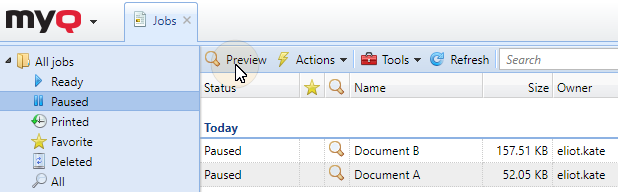
The jobs can be previewed before printing.
To preview a print job, select the job on the tab and click Preview at the left side of the toolbar. (Or right-click the job, and then click Preview on the shortcut menu.)
Directly upload and print files
If enabled by your administrator, you have the option to upload files directly on the web user interface, and print them. The files are automatically assigned to the Email_Web queue and can be printed only on printing devices assigned to this queue.
To upload a file:
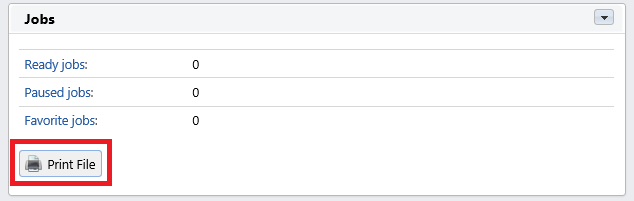
click the Print File button on the toolbar in the Jobs tab

or click the Print File button in the Jobs widget, in the Home dashboard.
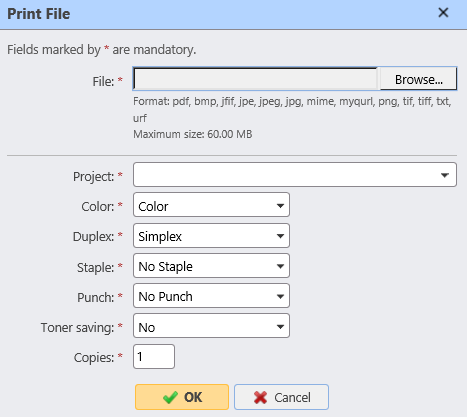
The Print File options window opens with the following fields:
File - Browse for the file you want to upload, select it, and click Open. The supported file formats are: pdf, bmp, jfif, jpe, jpeg, jpg, mime, myqurl, png, tif, tiff, txt, urf. The maximum size is 60.00MB.
Project - Only visible if project accounting is enabled on the server. Select a project from the drop-down.
Color - Select if you want the job to be printed in Color or B&W.
Duplex - Select between the Simplex, Duplex long edge, and Duplex short edge options.
Staple - Select between the No Staple, Upper left corner, Booklet, and Lower left corner options.
Punch - Select between the No Punch, 2 holes, and 3/4 holes options.
Toner saving - Select Yes or No.
Copies - Set the number of copies.
Some of the options (Duplex, Staple, Punch), may not be supported by your printing device. If you are not sure, use the default options.
After setting the print options, click OK. The file is uploaded to MyQ and the job is displayed on the Ready jobs list, waiting to be printed.