Installing the terminal on the MyQ Web UI
Select and configure the terminal on the printing device's properties panel on the Printers main tab in the MyQ web administrator interface.
Selecting and configuring the terminal
Run a Printer discovery, find the printing device using the IP address, add and activate the printing device. For more information, check the MyQ Print Server guide.
On the Printers main tab, double-click the printing device. The printing device properties panel opens on the right side of the screen. On the panel, under Terminal type, select the MyQ TerminalPro / TCP Conv 2
/ NET2USB Converter V2 terminal type, or the MyQ TerminalPro / TCP Conv 2 / NET2USB Converter V2 + Touch Panel. Additional settings appear.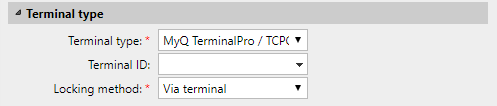
Select the Terminal ID and Locking method, and then click Save at the bottom of the panel.
Three locking methods might be available, depending on the printing device model:Via Terminal — With this option, the printing device operation panel can be locked and unlocked using the Key Counter cable.
SW lock — With this option, the printing device operation panel can be locked and unlocked without the need to use Key Counter.
No lock — The printing device operation panel stays unlocked.
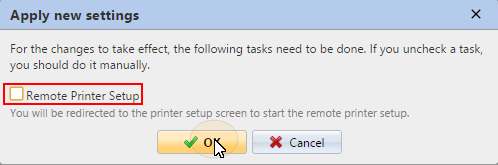
In the Apply new settings pop-up, deselect the Remote Printer Setup option, and then click OK. The settings are saved.