
Preferences
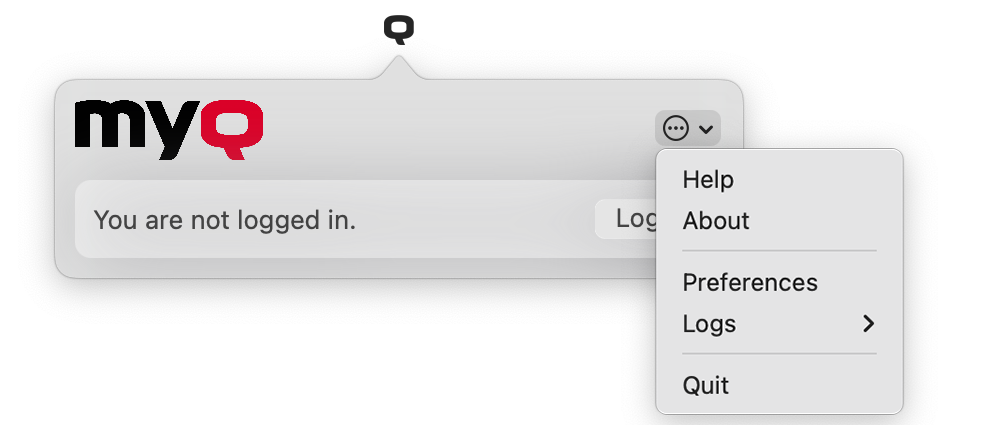
To set up or modify the MyQ Desktop Client (MDC) settings, click on the MyQ icon on the macOS system tray. Click the three dots in the upper-right corner to open the Actions Menu and click Preferences. You can also use the Actions Menu to visit the online help (Help), view information about the app (About), open the logs (Logs), and close the application (Quit).
Server Preferences
The following preferences are available in the Server tab:
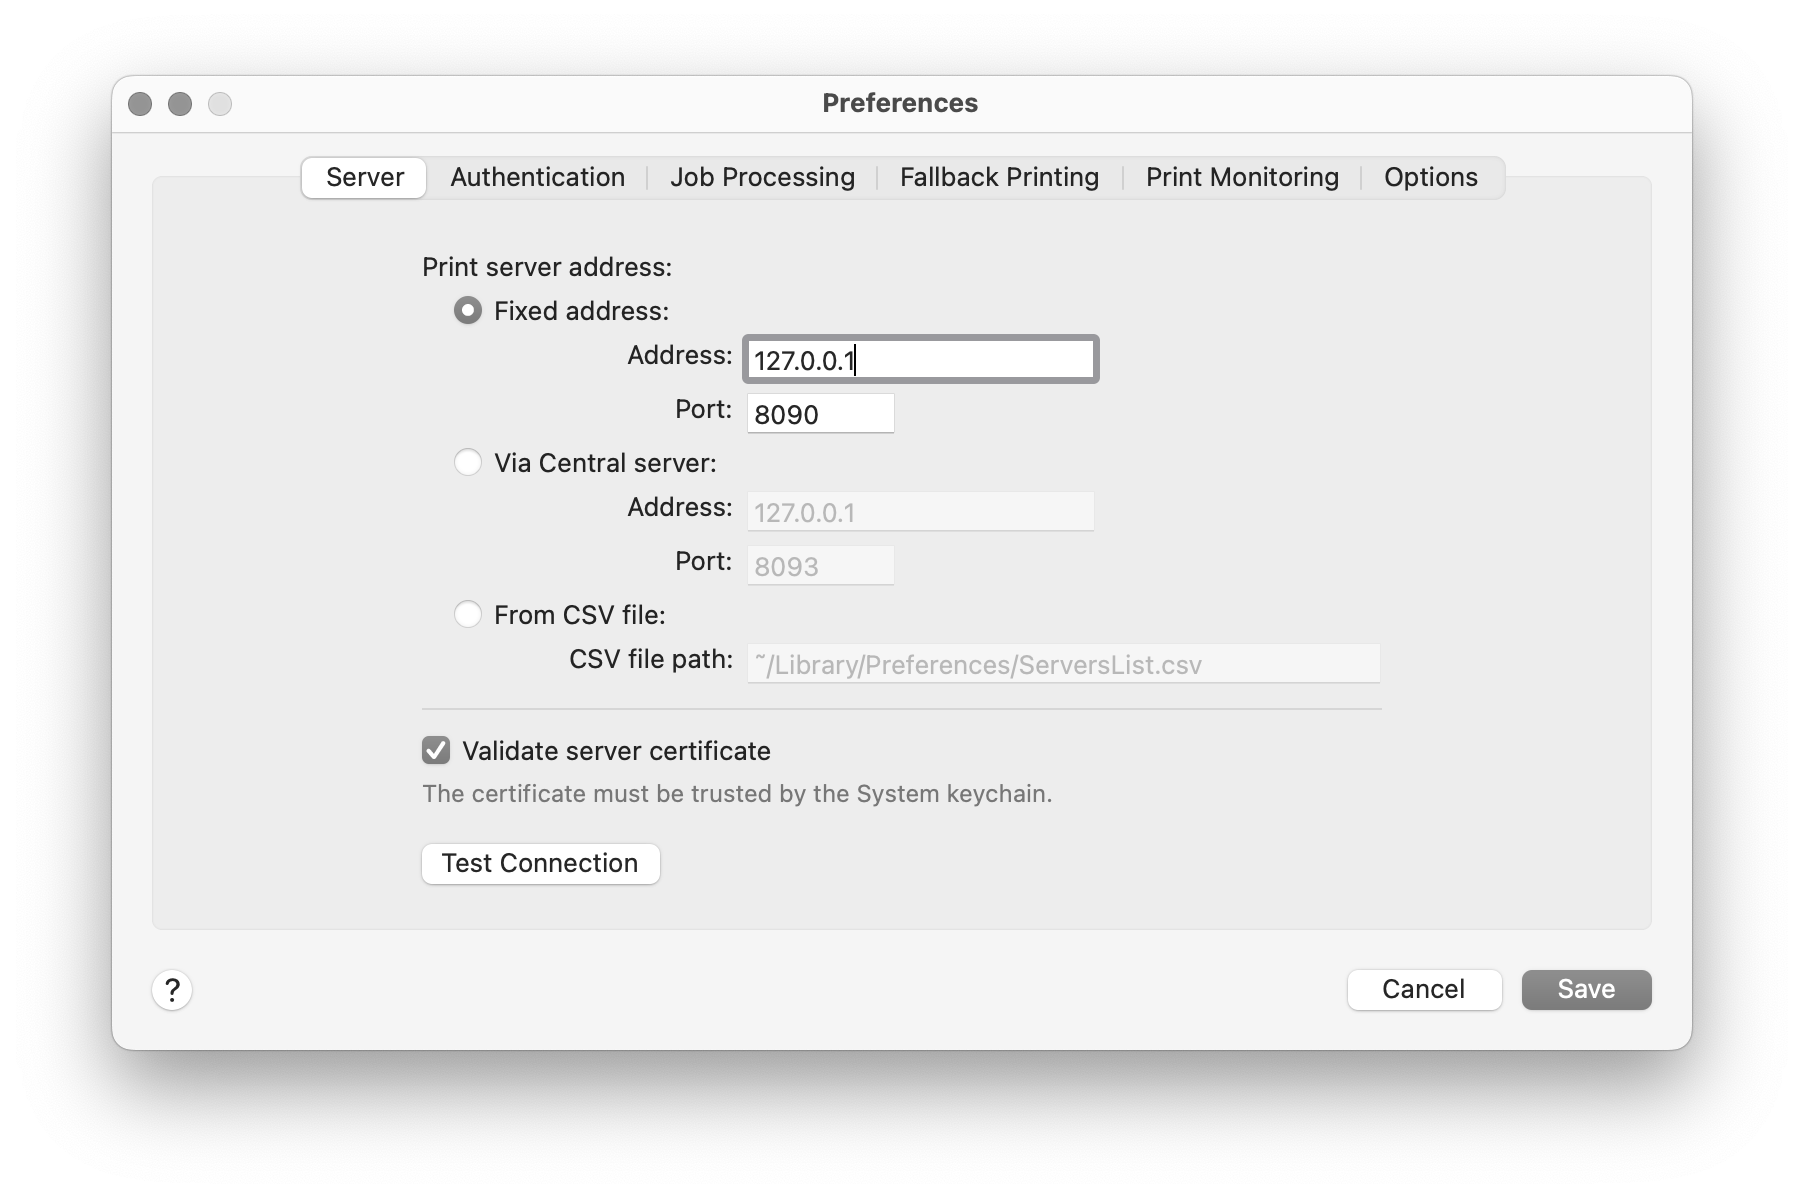
Print server address:
Fixed address - Address: Enter the IP address or hostname of the MyQ server. Port: Enter the MyQ server's port. By default, it is 8090 for a secure (SSL) connection.
Via Central server - Address: Enter the IP address or hostname of the MyQ Central server. Port: Enter the MyQ Central server's port. By default, it is 8093 for a secure (SSL) connection. When using this option, you must also set up the IP range of the client PC’s that will be using MDC. Check here for more information.
From CSV file - Select this if you wish MDC to automatically switch between multiple servers on an IP subnet. This is done by uploading a CSV file with the required information, by adding the exact path to the file in the CSV file path field. NOTE: The CSV file can be stored anywhere except for user folders (/Users/username). If you want it to be stored in a user folder, you must give MDC Full Disk Access via System Settings. Search for the “Full Disk Access” keyword, find MyQ Desktop Client, and enable the switch.
Validate server certificate: If enabled, the connection between MDC and the MyQ server is secure and requires a certificate. The option is enabled by default.
Test Connection: Click to test the connection between MDC and MyQ Server, with or without a certificate.
IP subnet CSV file information
To automatically switch between multiple servers on an IP subnet, the uploaded CSV file should contain the information about the subnets. The file's headers should be subnet, serveraddress, serverport, and lprport, as seen on the image below.
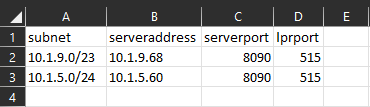
You can also use the following CSV template, modifying the fields according to your needs:
In case the configuration for the current subnet does not match or something is incorrect on the file or it can't be opened, MDC will go to the disconnected state.
Authentication Preferences
The following preferences are available in the Authentication tab:
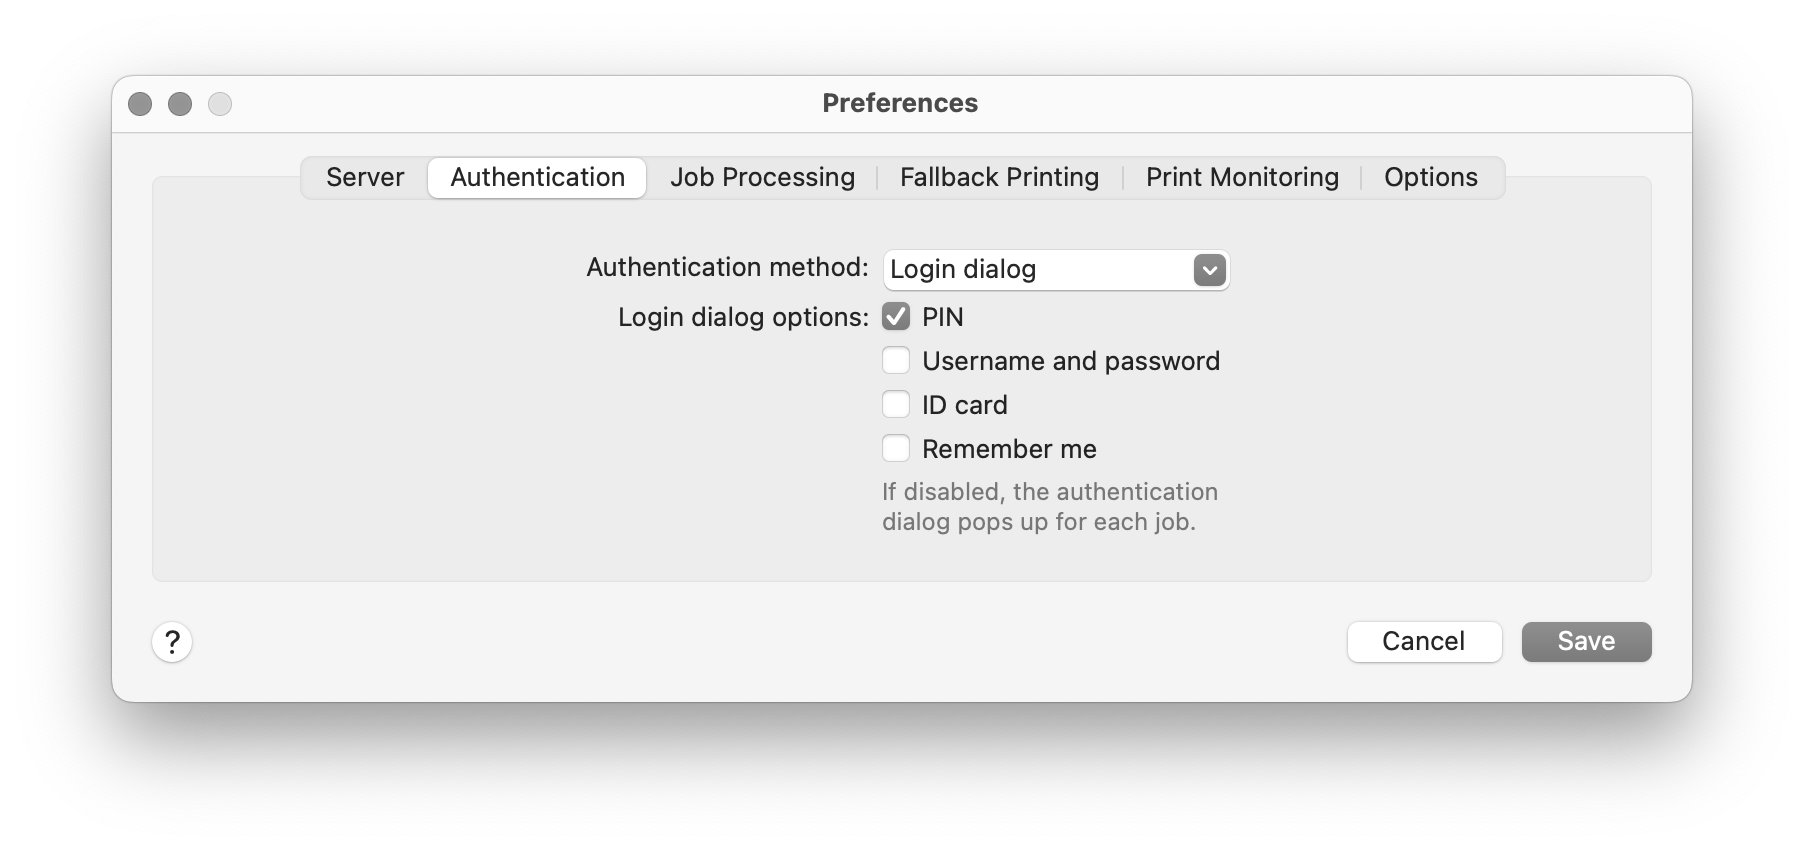
Authentication method:
List of users: With this option selected, the job sender has to select one of the MyQ user accounts from the list of all MyQ users. The job sender is then identified as the selected MyQ user.
Login dialog: With this option selected, the job sender has to log in under their MyQ credentials. The job sender is then identified as the logged in MyQ user. You can select up to three Login dialog options: PIN, Username and password, and ID card, as well as enable the Remember me feature, which is used to display/hide the option to remember the logging user.
Mac single sign-on: With this option selected, the job sender is identified as the macOS user account where the job is sent from.
Once done configuring the server and authentication settings, click Save. You are prompted to enter your MacOS password to save the settings.
The ‘Q’ icon in the taskbar will always be black, whether the client is connected to the MyQ server or not. MDC starts in silent mode and there is no communication via API with the MyQ server until the user sends a job or clicks on the icon.
Job Processing Preferences
The following preferences are available in the Job Processing tab:
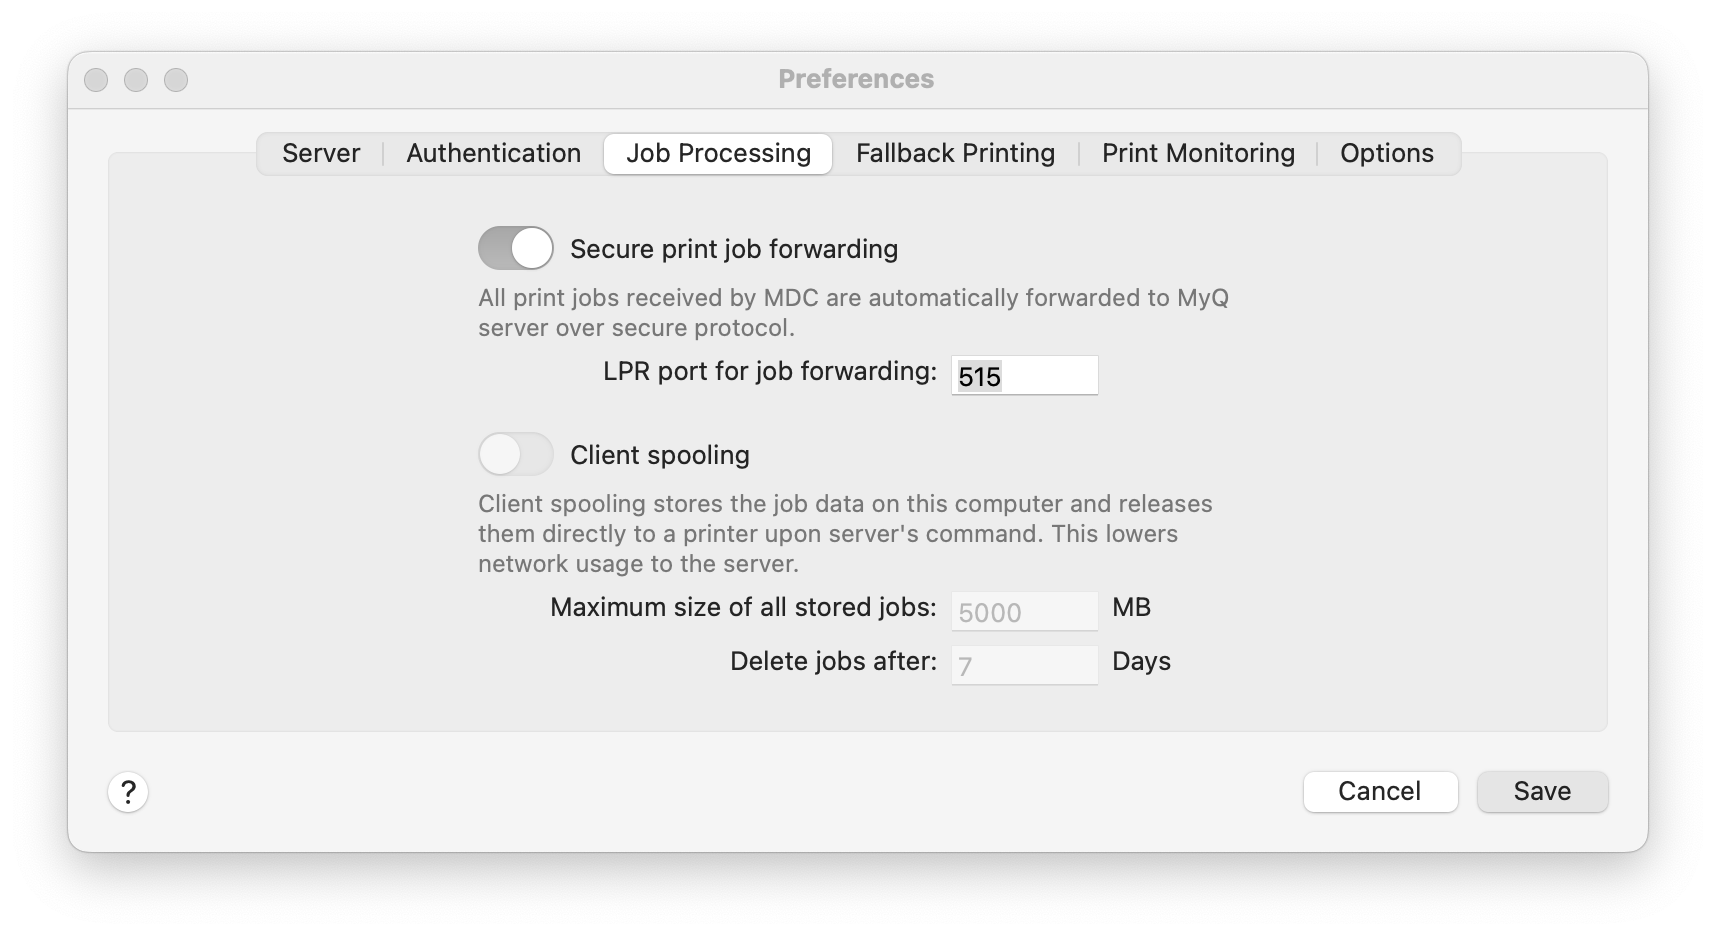
Secure print job forwarding: If enabled, all print jobs received by MDC are automatically forwarded to MyQ server over a secure protocol.
LPR port for job forwarding: Enter the LPR port of the MyQ server. This is the port that MyQ Desktop Client listens to and receives print jobs via the LPR protocol. The default port is 515
Client spooling: Toggle the slider if you want to use this option. This option sets the local storage for the jobs spooled on the user's computer (check Client Spooling for details). Add the desired values to the fields below:
Maximum size of all stored jobs: This is the limit of the local storage (in MB). After the maximum size of the job folder is reached, jobs will be deleted starting from the oldest one, until the size of all stored jobs is below the limit.
Delete jobs after: The spooled job is stored only for the duration of this period (in days).
Fallback Printing Preferences
The following preferences are available in the Fallback Printing tab:
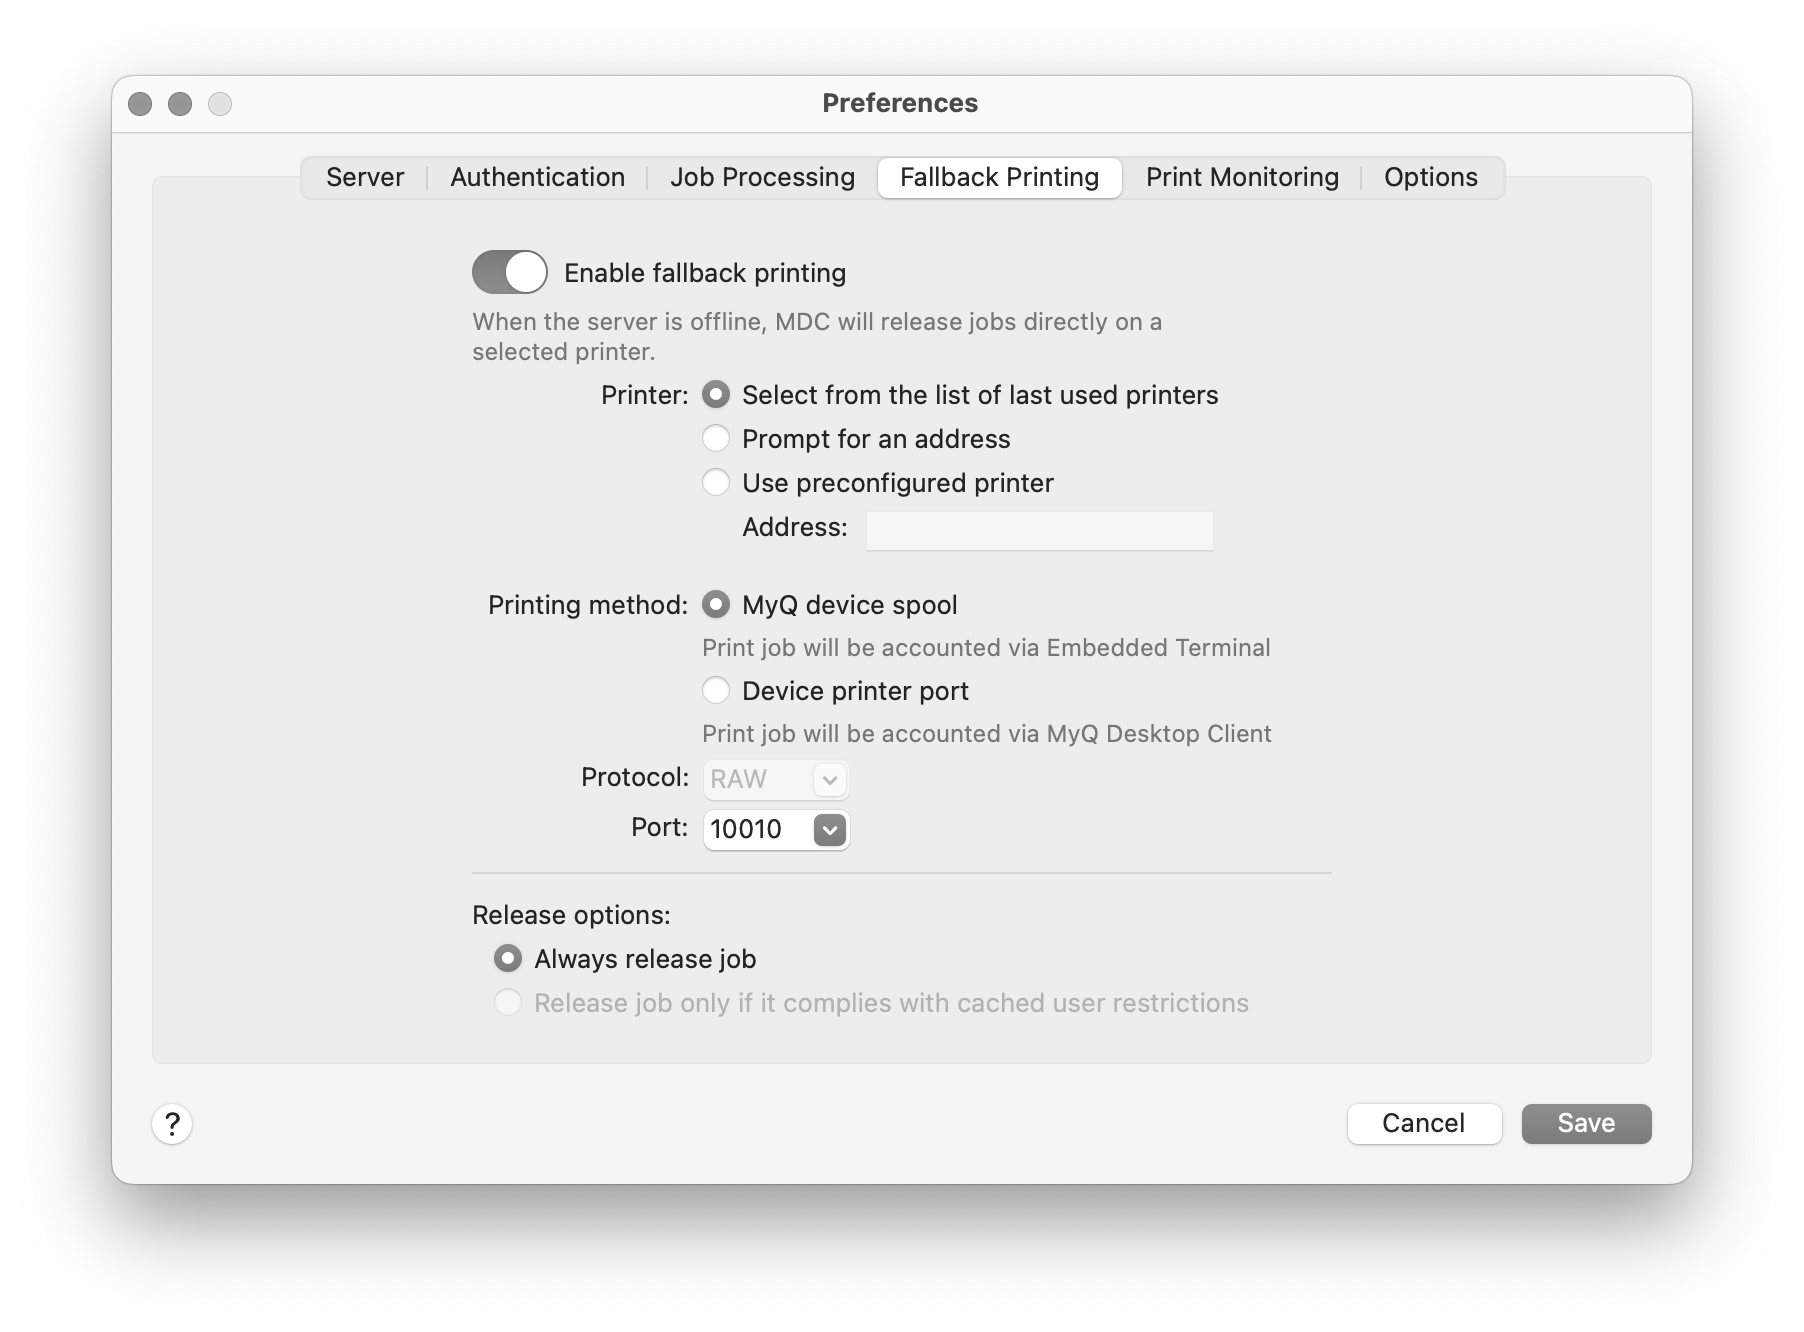
Printer:
Select from the list of last used printers: Select this to show a pop-up and select the fallback printer from a list of the last used devices.
Prompt for an address: Select this to show a pop-up where you can type the fallback printer's IP address.
Use preconfigured printer: Select this to use fallback printing by setting the fallback printer’s IP address to print jobs automatically. Address: Enter the IP address or hostname of the backup printing device that you want to use for fallback printing.
Printing method:
MyQ device spool - This option will release the job to the failover printer with an embedded terminal and the printer will report the released job once the connection to the server is back. For more information about the feature, check the MyQ Print Server guide. Select one of the following port options:
10010: Client spooling port for direct print. The job is automatically printed after it is received by the printing device.
10011: Client spooling port for secured hold print. The job is spooled by the printing device and waits there until the user logs in and releases it. It is not possible to release this job on any other printing device.
10012: Client spooling port for Pull Print. The job is spooled by the printing device. Once the user logs on any of the devices connected to the same subnet, information about this job is provided, the job is displayed in the list of the available jobs and can be released there.
10013: Client spooling port for delegated print. It works the same as Client spooling Pull Print, except that the job can be released by delegates of the sending user.
Device printer port - Select the printer protocol for sending the job to the backup printing device. The job will be reported to the server by the client once the connection to the server is back. After you change the protocol, the Port number automatically changes according to it. The following Protocols can be used:
RAW (default port: 9100): Basic printing protocol, set by default.
IPP (default port: 631): Internet printing protocol, no port is used (or needed); all the information is inside the printer address.
IPPS (default port: 443): Secure version of IPP.
LPR: (default port: 515): Line Printer Remote protocol. In the Queue field, enter the name of the queue where the jobs will be sent.
Release options: Choose to Always release job or Release job only if it complies with cached user restrictions.
Check Fallback Printing for further details.
Print Monitoring Preferences
The following preferences are available in the Print Monitoring tab:

Local print monitoring (LPM): Toggle the slider if you want to use this option.
Limit monitoring to these printers: Enter the names of the printers that you want to monitor, separated by comma (,). You can leave this field empty to monitor all printers.
What to do when MyQ Server is offline:
Always release job - Jobs will be released even if the MyQ Server is offline.
Discard Jobs - Jobs will be discarded if the MyQ Server is offline.
Release job only if it complies with cached user restrictions - Jobs will not be released if the user has restrictive policies or insufficient credit or quota.
Check Local Print Monitoring for further details.
Options Preferences
The following preferences are available in the Options tab:
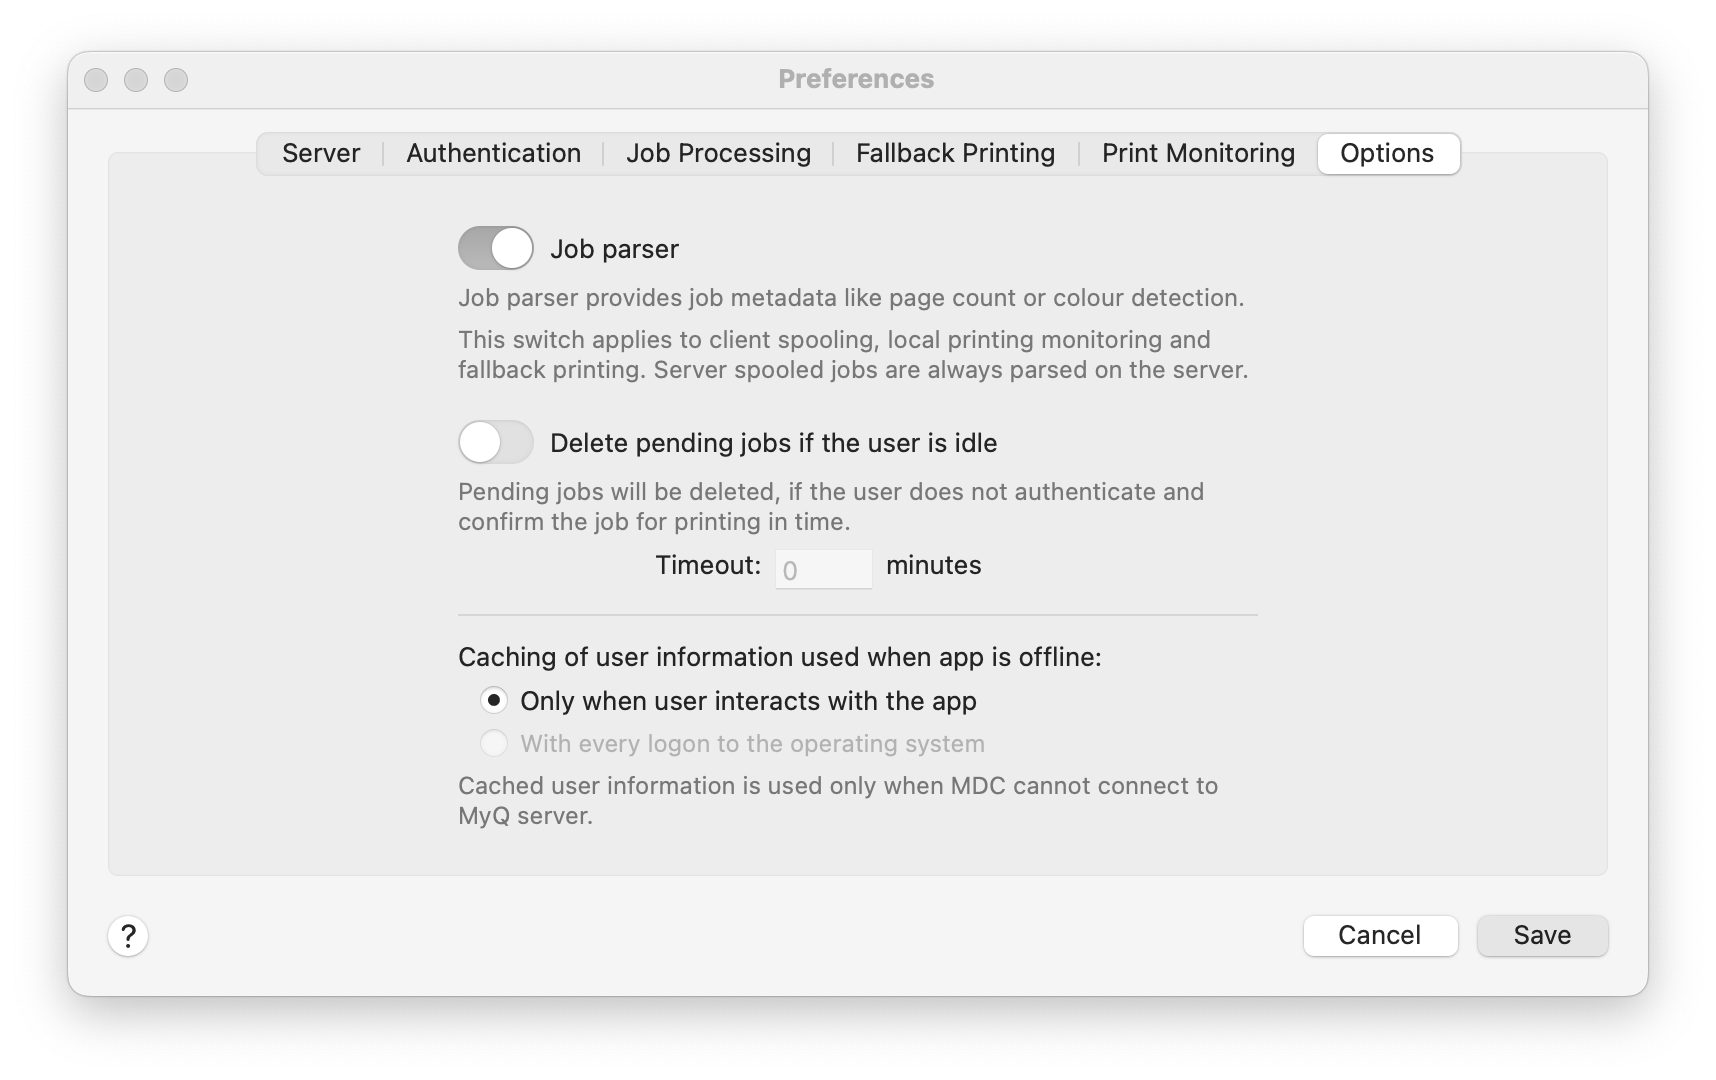
Job parser: Toggle the slider to enable the job parser for client spooling, local print monitoring, and fallback printing. Server spooled jobs are always parsed on the server. Job properties that are parsed and reported: job name, user, computer, job size, BW pages, color pages, copies, paper format, duplex, toner saving, staple, punch, printer language. If the job parser is disabled, only the job name, user, computer, and job size are reported to the server.
The job parser supports the majority of available printer drivers in PCL5, PCL6 and PostScript. For further information, check Job Parser.
Delete pending jobs if the user is idle: Toggle the slider to enable it. Set the duration of the Timeout in minutes. The default is 5 minutes. This security feature allows you to set up a time (in minutes) to log the user out as soon as the MDC gets to the idle state. If the option to delete all the pending jobs once the client is idle is enabled, that’s another step to protect your users and their print jobs.
With this feature enabled, print jobs are sent from MyQ Desktop Client to the MyQ server over the TLS security protocol. This allows printing over MyQ to be end-to-end encrypted. A must in environments where confidential data are often printed.
Caching of user information used when app is offline: Select if you want to cache user information Only when user interacts with the app or With every logon to the operating system (this option may create a higher load on the server during rush hour). Cached user data is used only when the Server is not reachable. During uptime, MDC always verifies user accounting and policies against MyQ.