Once you have created/edited a theme in MyQ Theme Editor, you must export it and then import it to the MyQ web administrator interface, in order to make it available to your terminals.
On MyQ Theme Editor, click File at the main menu, and select Export Theme. Change the destination of the export if needed, and click Save. Your theme is exported as a .zip file. Copy the .zip file.
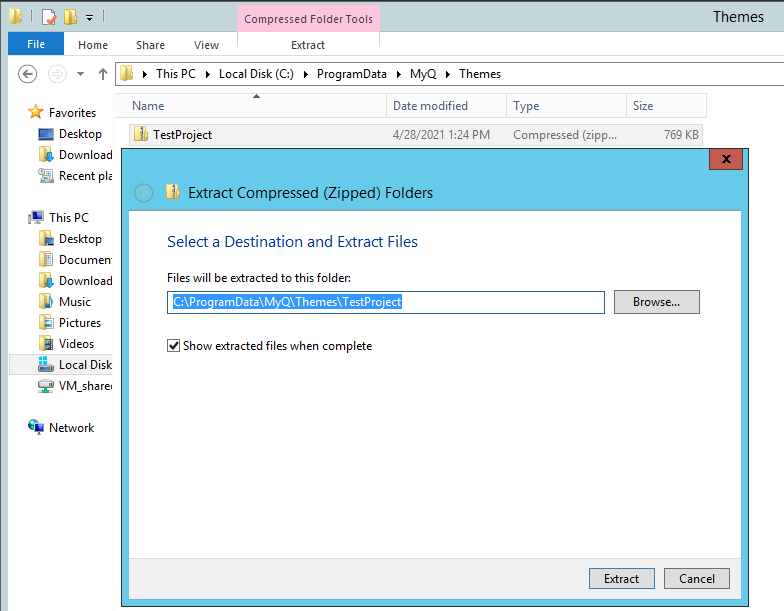
Go to your MyQ Data folder (located by default in C:\ProgramData\MyQ\) and create a new folder named Themes (C:\ProgramData\MyQ\Themes\).
Paste the .zip file in the Themes folder and extract it to a sub-folder.
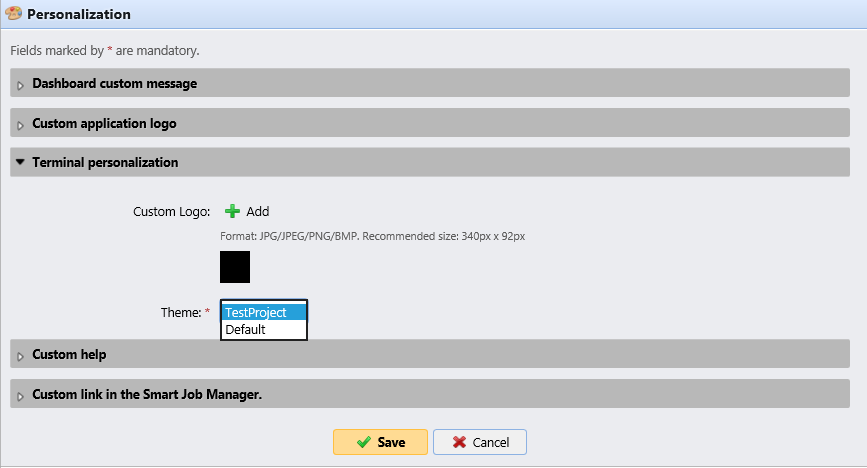
Log in to the MyQ web administrator interface and go to MyQ, Settings, Personalization.
In the Terminal personalization section, click on the arrow next to Theme, and select your imported theme from the drop-down. Click Save and confirm the restart in the pop-up window.
You theme is now imported in MyQ and you can use it to stylize your terminal actions.
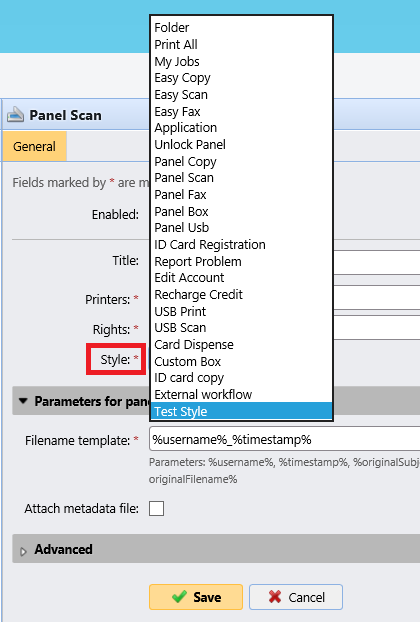
Go to MyQ, Settings, Terminal Actions.
Add a new terminal action node or double-click on an existing node to open its properties panel to the right.
In the Style parameter, select your newly imported style from the list, and click Save.
The imported style is applied to the terminal action node, visible in the preview and on the embedded terminals that use this terminal action.