.png)
Configuration Profiles
Configuration profiles are profiles you can create and attach to your printer discovery, that contain essential information about your terminals installation and settings.
You can create a new configuration profile in two places:
Go to MyQ, Settings, Configuration Profiles and click +Add.
When you are creating or configuring your printer discovery, in the configuration profile drop-down, click +Add new….
Both ways open a new configuration profile pane on the right side of the screen.
In the General tab:
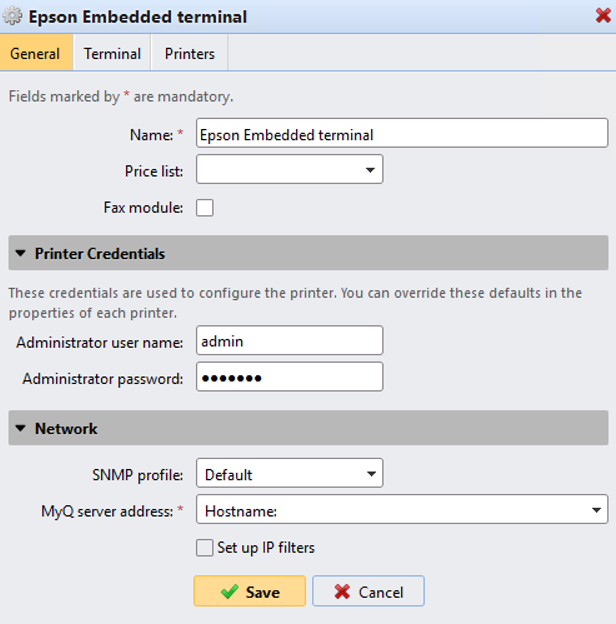
Enter a Name for the configuration profile.
Select a Price list from the drop-down. For further information, check Price List.
Check the Fax module checkbox if you can and want to use it. Otherwise, leave it unchecked (default).
Continue with entering the Administrator user name and Administrator password in the Printer Credentials section. They must apply to all the printers in the discovery. If these are left empty or entered incorrectly, the applied actions will fail.
In the Network section, select an SNMP profile, and in the MyQ server address field set your MyQ server’s Hostname.
Click Save. You Configuration Profile is created. Continue to the Terminal tab to configure the terminal type.
In the Terminal tab:
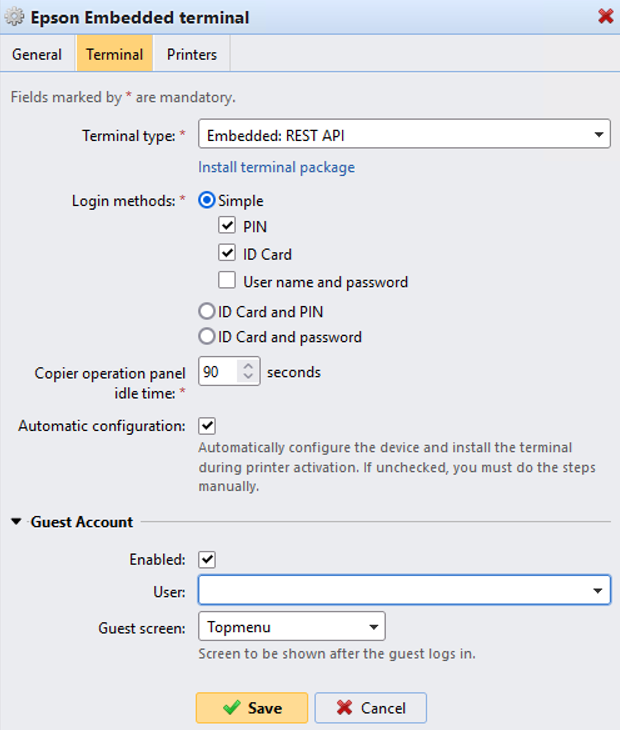
Select a Terminal type from the drop-down. If the type you want is not listed, install the terminal package first (details in the next step) and then the correct type will be available on the drop-down menu.

Click Install terminal package.
Click Browse to search for the *.pkg file, select it and click Open. If you want to set a specific port, check the Advanced settings checkbox, and set the port.
Click OK to upload the installation package.
If you have selected one of the embedded options as the Terminal type, Login methods become visible.

You can choose between two types of login: simple login and two- step authentication. With the simple login option, you can select up to three methods of login, and with the two-step authentication, you can select from two combinations of the login methods. The Login methods are:
PIN - Users can log in by entering their MyQ PIN.
ID Card - Users can log in by swiping their ID Card. The ID Card has to be registered on the user's account on the terminal.
User name and password - Users can log in by entering their MyQ username and password.
ID Card and PIN - Users have to swipe their ID card, and then enter their MyQ PIN.
ID card and password - Users have to swipe their ID card, and then enter their password.
In the Copier operation panel idle time field, add a number between 1 and 86400 to set how many idle seconds it will take the panel to automatically log a user out.
Check the Automatic configuration checkbox, so that every new device is automatically configured, and the terminal package is installed to it, when activated. If left unchecked, you would need to do these steps manually.
In the Guest Account section, check the Enabled checkbox to use a guest account. The setup fields are now editable. Select the User you want to associate with the guest account. You can also set what the guest user can see in the embedded terminal once they log in, by choosing one of the options from the
Guest screen list: [empty], Topmenu, Copy, Scan, USB, Box, Fax.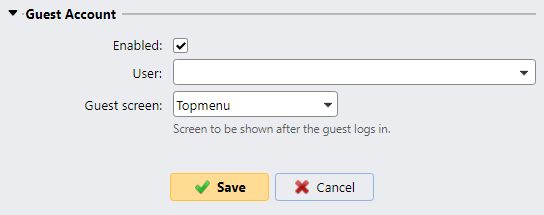
In the Printers tab:
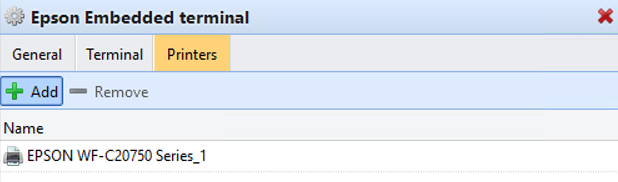
In this tab, you can Add or Remove printers from the configuration profile.